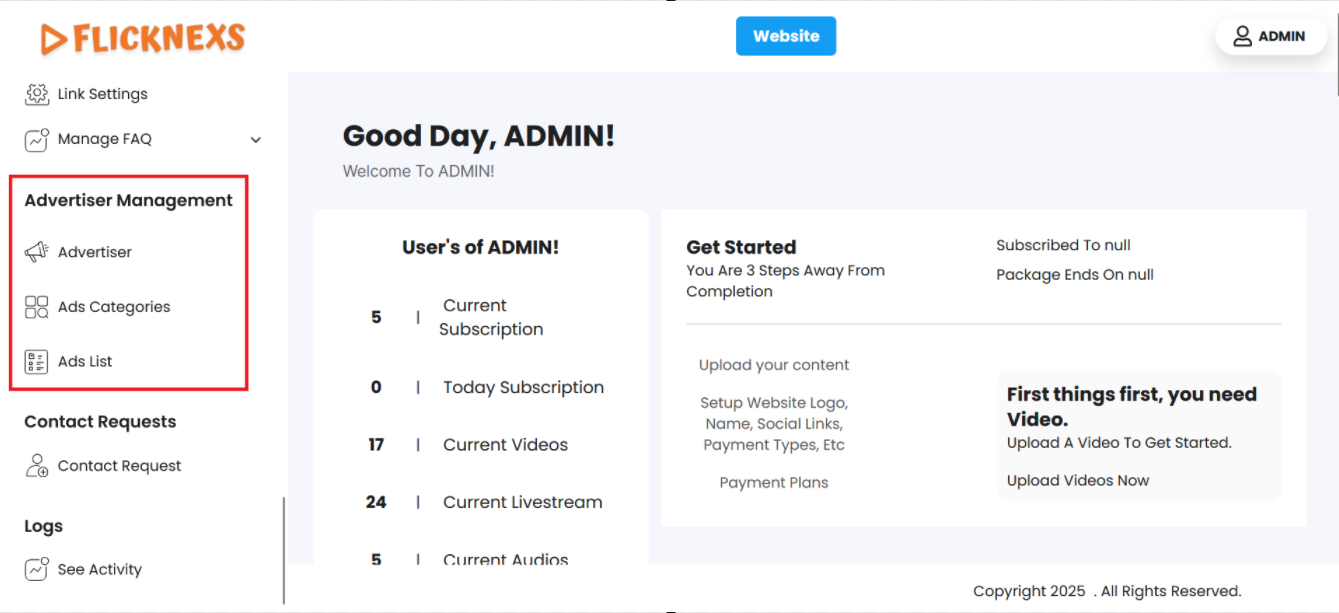
Login to your admin panel and navigate to the ‘Advertiser Management’ in the side menu. You will find four options. Follow these steps to manage ads:
- Access the Admin Panel: Log in to the Admin panel from your platform.
- Locate the Sidebar: On the left side of the page, you will see a sidebar containing multiple options.
- Select ‘Advertiser Management’: From the sidebar, click on the ‘Advertiser Management’ option.
- Navigate to the Advertiser Management Section: After selecting ‘Advertiser Management’, you will be directed to the Advertiser Management section where you can add the Advertiser’s details, Ad categories, Ad lists and Ad plans.
By following these steps, you can efficiently manage your ads through the Admin panel.
Advertiser

There are dedicated columns to store the information of all the advertisers. These will be mentioned one after the other. Each of them is listed below:
- Advertiser name: Mention the name of the advertiser.
- Email ID: Mention the Email ID.
- Mobile Number: Mention the contact number.
- Status:
If the admin approves the advertiser then the status will be shown as approved, otherwise it will be shown as disapproved.
- Action:
- You will find ‘Edit Advertiser’ and ‘Delete Advertiser’ options.
- Under ‘Edit Advertiser’, you can update the following details:
- Advertiser Name: Mention the name of the advertiser.
- Email: Mention your Email ID.
- Password: Type your password.
- Mobile Number: Mention your contact number.
- License Number: Mention your license number.
- Address: Mention your address.
- Status:
- You will find a toggle switch that reads ‘On’ and ‘Off’. This indicates whether the advertisers are actively or inactively engaged in inserting ads on your platform.
- Update:
After editing, press the ‘Update’ button to update the changes. You will get a confirmation toast notification saying ‘Advertiser has been updated successfully’.
Under ‘Delete Advertiser’, you can either confirm deletion or choose to retain the field.
- A pop-up named ‘Confirm Deletion’ will appear.
- It will ask, “Are you sure you want to delete these items?”
- You can choose to click ‘Cancel’ or ‘Delete’ based on your preference.
To delete, you can also click on the checkbox in each row to individually or collectively delete the row/rows.
NOTE: You can add an unlimited number of entries.
- To simplify your workflow, there is a ‘Search’ button at the top left corner of the table. You can mention specific variables to filter the entire data.
- In the top-right corner, you will find a ‘Reload’ button. Just in case you need the table to reflect the real-time data, you can use this button to refresh and display the information.
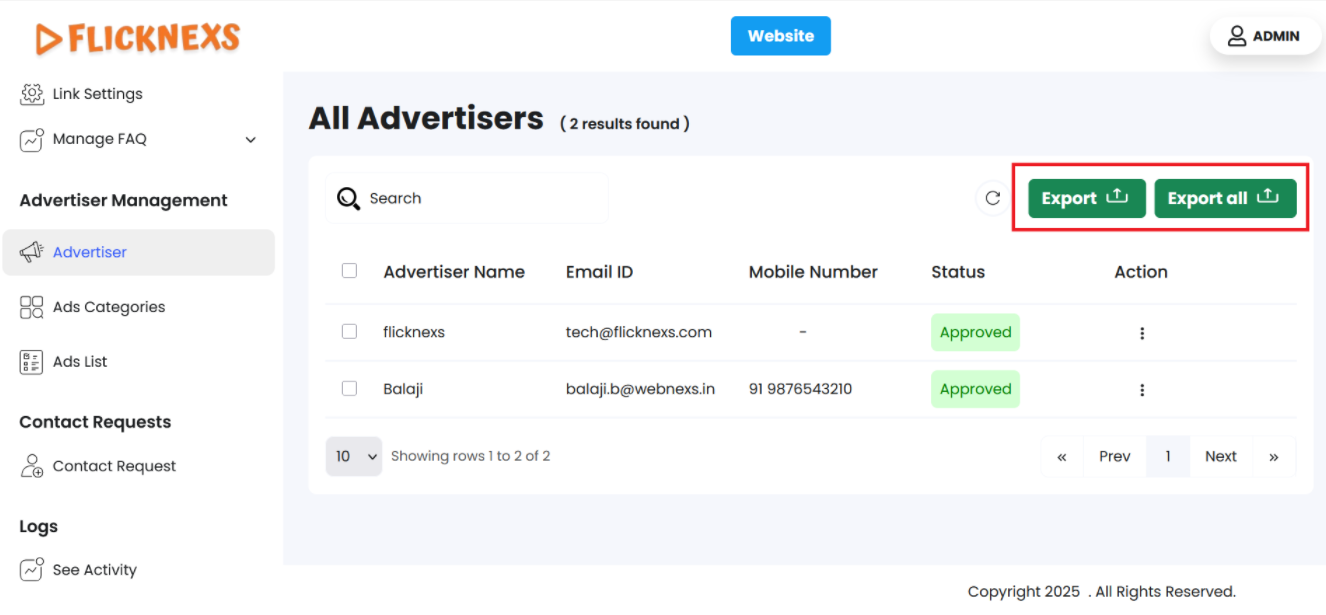
To make it convenient for analysis, you can export either one of the fields or all fields using the buttons – ‘Export’ and ‘Export all’. Under both the ‘Export’ buttons, you can download the data in the formats mentioned below:
- CSV
- XLSX
You can directly store the data in your desired location.
NOTE:
- To go back to the table you can click on the ‘Back’ button at the top of the ‘Edit Advertiser’ section.
- The fields marked with ‘*’ are mandatory fields, the form modal will not close unless you enter the required input.
Ad categories
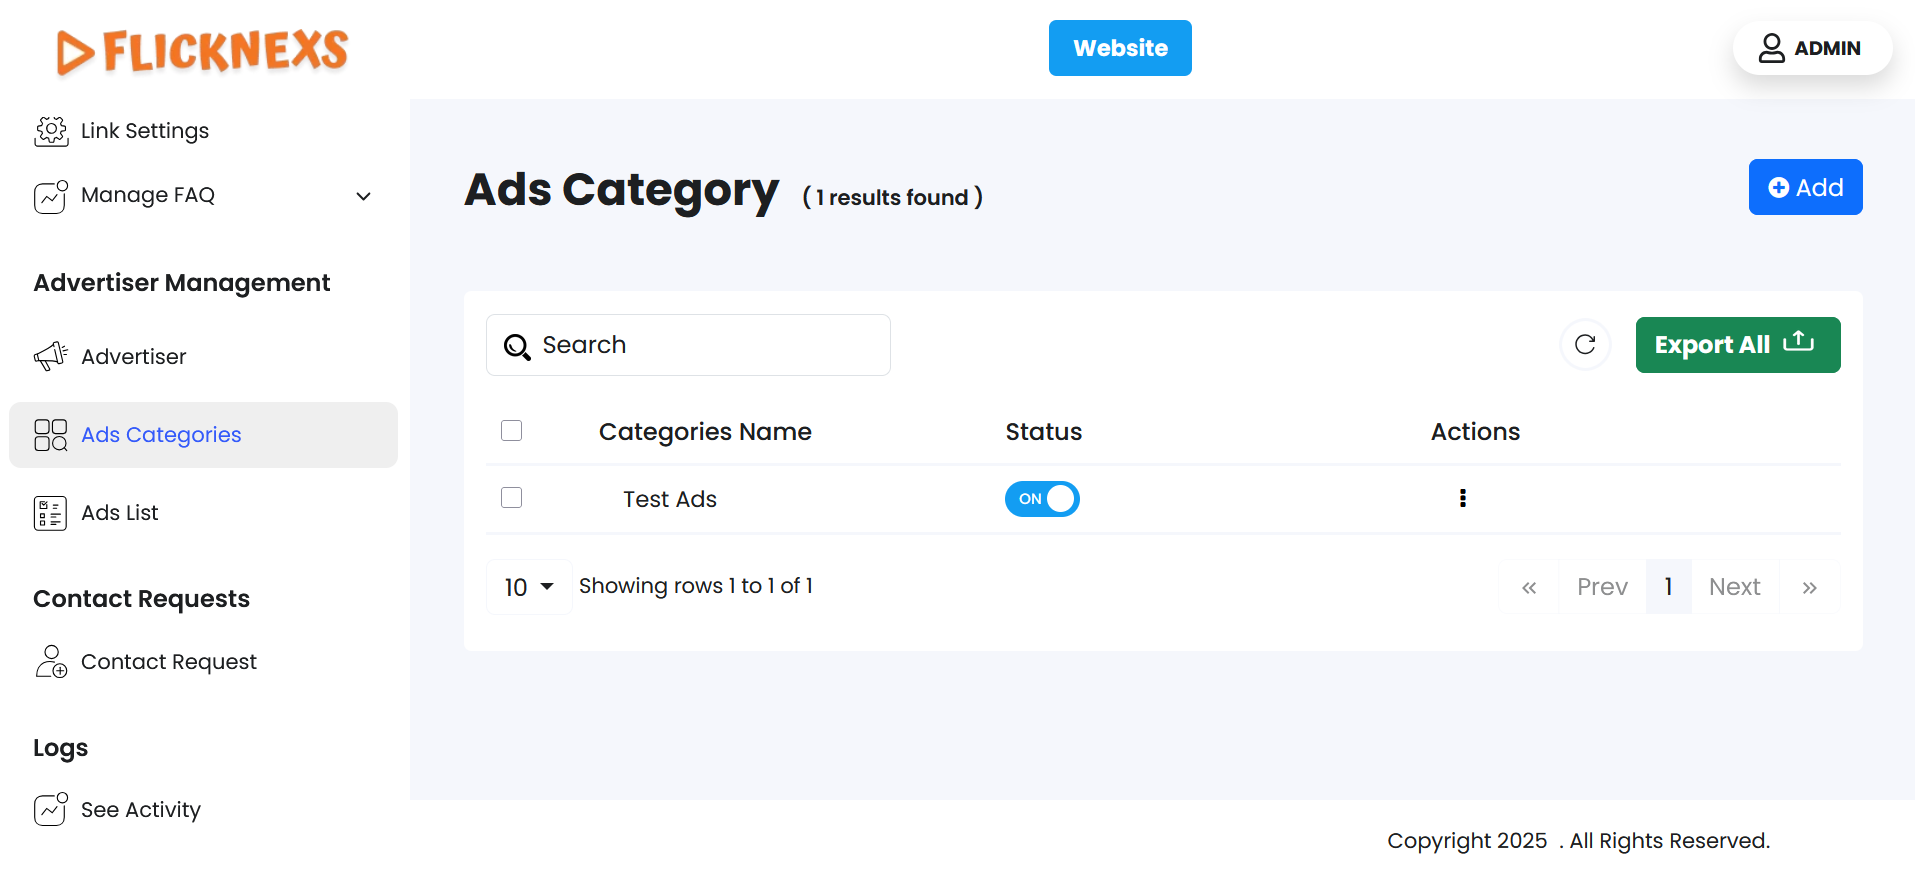
You can view the ads that run on your platform, category-wise, to quickly take action. You will find a table with the following items:
- Category Name: Mention the name of the ad category.
- Status:
You will find a toggle switch that reads ‘On’ and ‘Off’. This indicates whether the ad category is actively or inactively engaged in functioning on your platform. Each of the two options will display a pop up.
For switching ‘On’: The pop up will read ‘Are you sure you want to switch the slider status?’. You will also find the ‘Cancel’ and ‘Enable’ option just below the question.
For switching ‘Off’: The pop up will read ‘Are you sure you want to switch the slider status?’. You will also find the ‘Cancel’ and ‘Disable’ option just below the question.
- Actions
Alongside each category, you will see an action button. When you hover over it, it will show ‘Edit’ and ‘Delete’.
- Under ‘Edit’ you will find the following fields:
- Name: Mention the name of the ad category.
- Slug: Mention the readable part of a URL that identifies a specific page.
- Status:
You will find the toggle switch that reads ‘On’ & ‘Off’.
- Update:
Once you click on this, a toast notification that reads ‘Advertisement category updated successfully’ will appear.
- Under ‘Delete’, you can either confirm deletion or choose to retain the field.
A pop-up named ‘Confirm Deletion’ will appear.
It will ask, ‘Are you sure you want to delete this Ad category?’
You can choose to click ‘Close’ or ‘Yes’ based on your preference.
NOTE: You can add an unlimited number of entries.
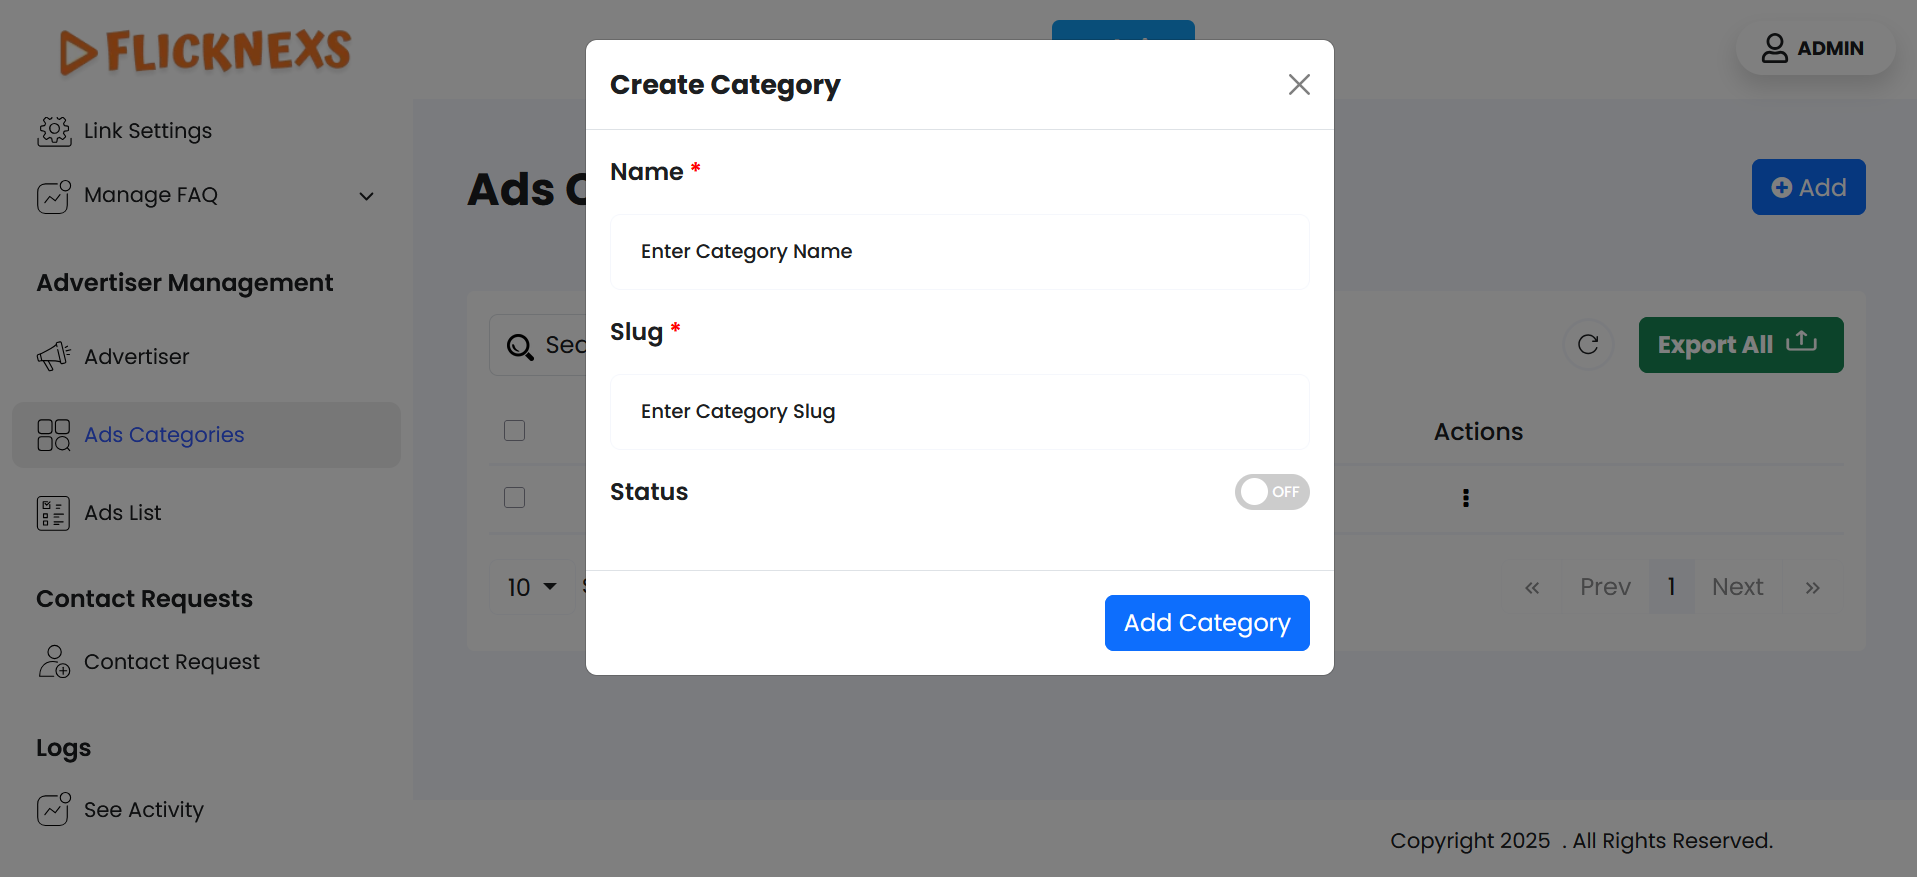
- You can add new categories also using the ‘Add Ad Categories’ located in the topmost section of the page. Navigate to the right corner and click on the button. A form modal called ‘Create Category’ will appear.
It will contain the same fields:
- Name: Mention the name of the ad category.
- Slug: Mention the readable part of a URL that identifies a specific page.
- Status: You will find a toggle switch that reads ‘On’ & ‘Off’ for indication.
- Add category: Click on this button to update the changes.
- To simplify your workflow, there is a ‘Search’ button at the top left corner of the table. You can mention specific variables to filter the entire data.
- In the top-right corner, you will find a ‘Reload’ button. Just in case you need the table to reflect the real-time data, you can use this button to refresh and display the information.
- You can export all fields directly by navigating to the top right corner of the table, click ‘Export All’, and you will find the following format options:
- CSV
- XLSX
Download in your preferred format.
NOTE:
- To go back to the table you can click on the ‘Back’ button at the top of the ‘Edit Ads Category’ section.
- The fields marked with ‘*’ are mandatory fields, the form modal will not close unless you enter the required input.
Ads list
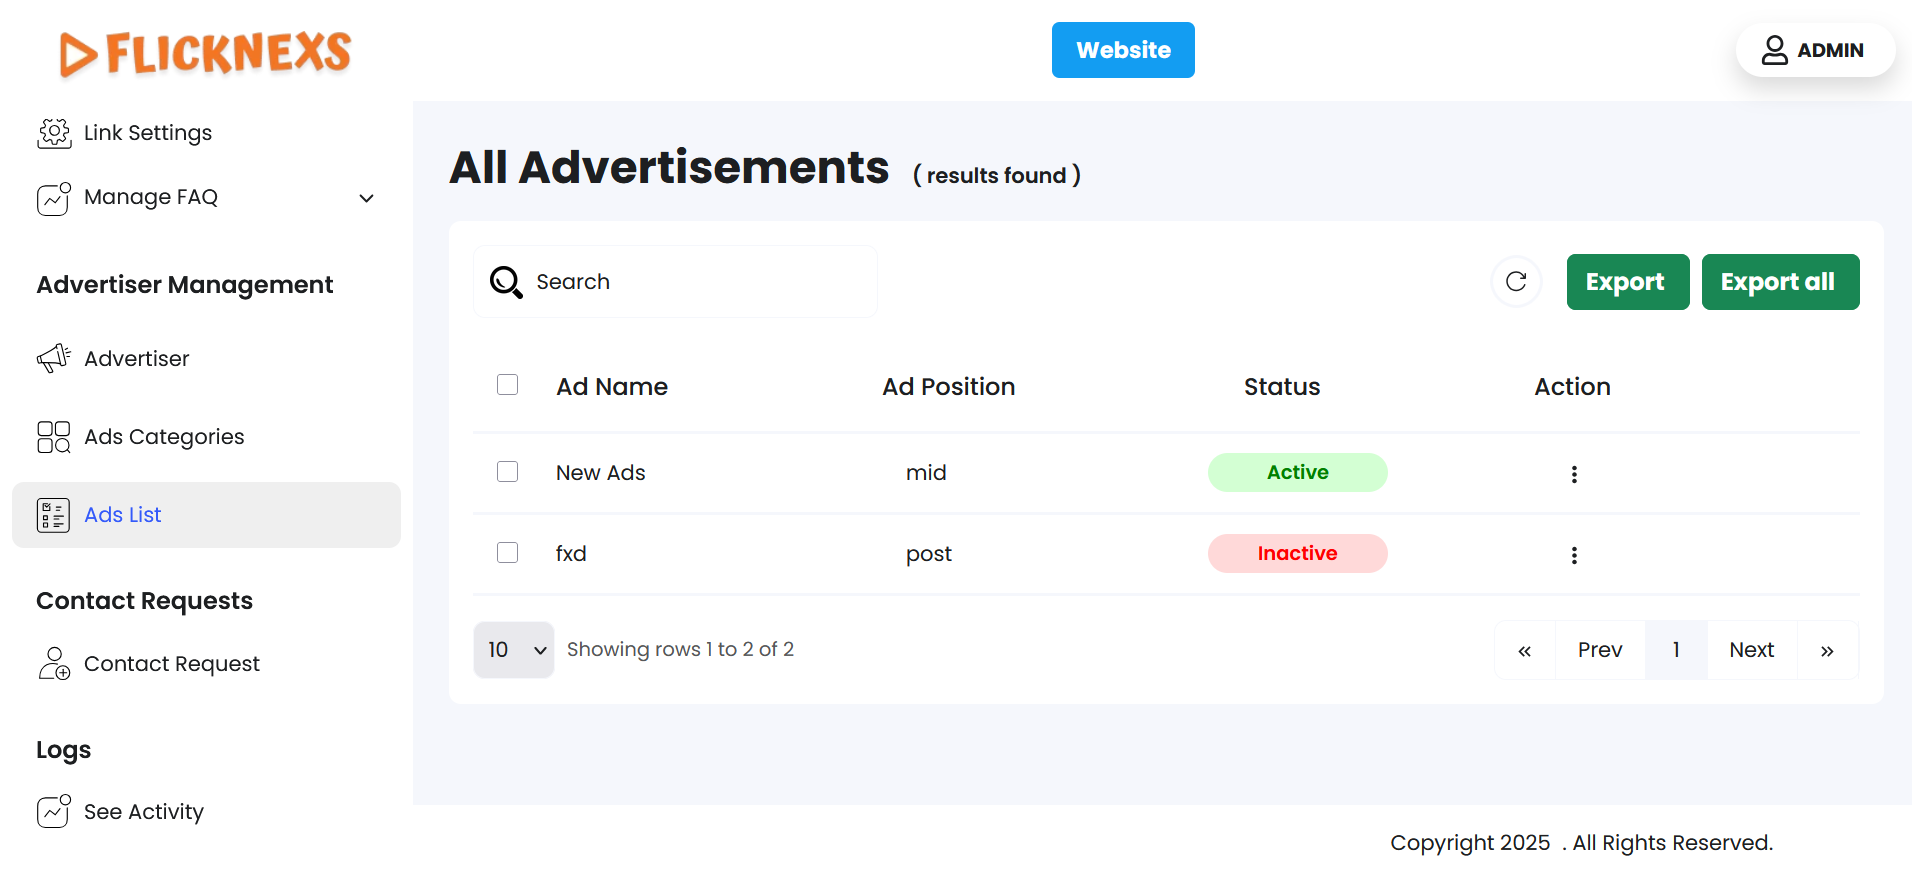
There are dedicated columns to store the information of the advertisement. These will be mentioned one after the other. Each of them is listed below:
- Ad Name: Mention the name of your advertisement.
- Ad Position: Mention the ad placement, i.e., whether it is pre-roll, mid-roll, or post-roll.
- Status:
There are two scenarios, namely ‘Active’ and ‘Inactive’, to indicate whether the advertisements are being displayed or not on the platform.
- Action:
- You will find ‘Edit Advertisement’ and ‘Delete Advertisement’ options.
Under ‘Edit Advertisement’, you can update the following details:
- You will find three boxes in the form modal. The first one is a dynamic field that will synchronously update the name you enter in the ‘Advertisement Name’ textbox. The second and third are named Category and Status Settings.
Dynamic Field
- Navigate to the first form field called ‘Ads Name’ and mention the name.
- Go to the next form field called ‘Ads Upload Type’. From the dropdown menu select from the options – Tag URL/Ads Video Upload.
- If you select Tag URL, another textbox called ‘Ad Tag URL’ will appear. Here you can directly paste the link of your Ad.
- If you select ‘Ads Upload Type’, the video upload field will appear, you can choose and drop the file. Additionally, another field called ‘Ads Redirection URL’ will appear, in case your traffic needs to be redirected.
Category
- Navigate to the first form field called ‘Ads Position’ and from the dropdown menu select from the options – Pre/Mid/Post.
- Go to the next form field called ‘Ads Category’ and from the dropdown menu select from the options that you have mentioned in the Ads category section previously.
Status Settings
- You will find a toggle switch called ‘Ads Publish’ and based on your need, you can enable either option.
Update
- After editing, press the ‘Update’ button to update the changes. You will get a confirmation toast notification saying ‘Advertisement updated successfully’.
- Under ‘Delete’, you can either confirm deletion or choose to retain the field.
- A pop-up named ‘Confirm Deletion’ will appear.
- It will ask “Are you sure you want to delete this item?”.
- You can choose to click ‘Cancel’ or ‘Delete’ based on your preference.
NOTE: You can add an unlimited number of entries.
- To simplify your workflow, there is a ‘Search’ button at the top left corner of the table. You can mention specific variables to filter the entire data.
- In the top-right corner, you will find a ‘Reload’ button. Just in case you need the table to reflect the real-time data, you can use this button to refresh and display the information.
- You can export either one of the fields or all fields using the buttons – ‘Export’ and ‘Export all’. Under both the ‘Export’ buttons, you will find the following options:
- CSV
- XLSX
Download in your preferred format.
NOTE:
- To go back to the table you can click on the ‘Back’ button at the top of the ‘Edit Advertisement’ section.
- The fields marked with ‘*’ are mandatory fields, the form modal will not close unless you enter the required input.