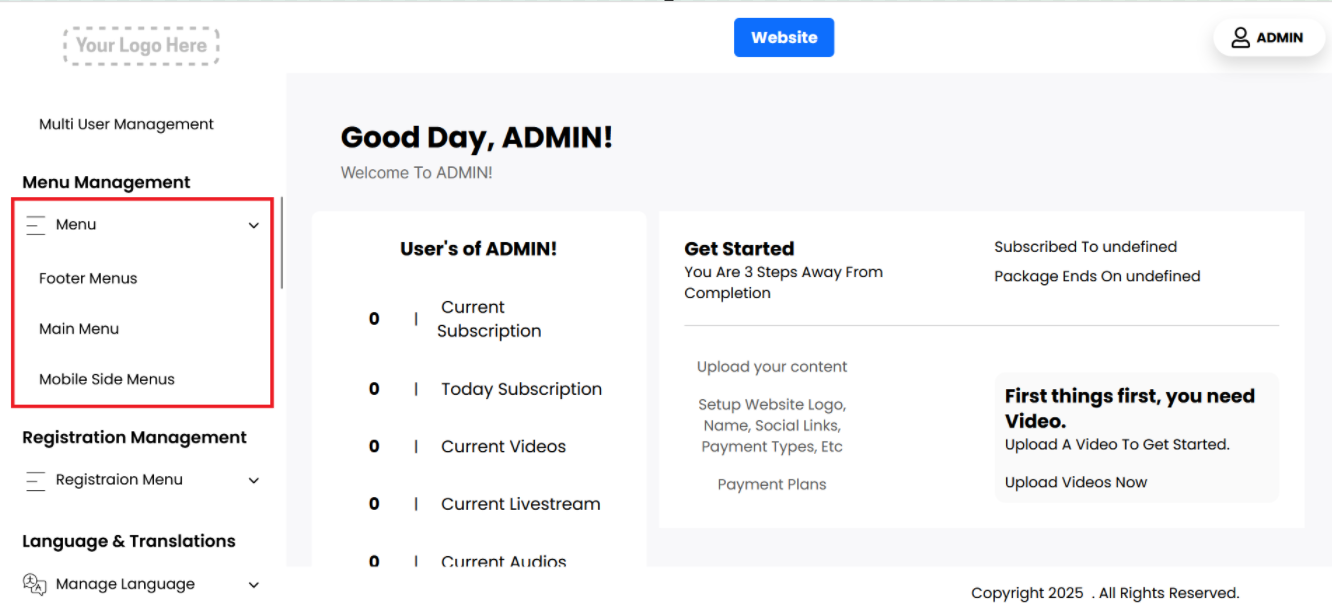
Adding menus to the header and footer of your platform allows you to enhance navigation, improve user experience, and maintain a consistent site structure.
From the Admin Dashboard, you can create and manage menu items that appear at the top (header) or bottom (footer) of your platform. These menus typically include links to important pages such as Home, About Us, Contact, FAQ, Privacy Policy, Terms & Conditions, Categories, or custom URLs.
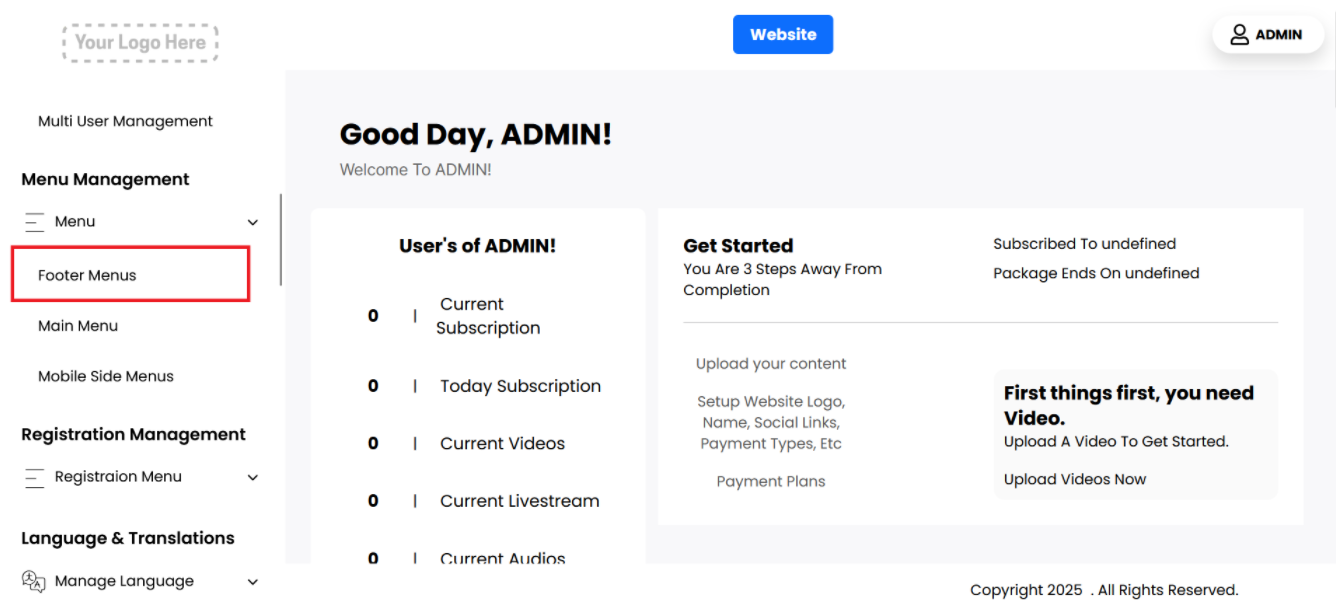
Footer Menu
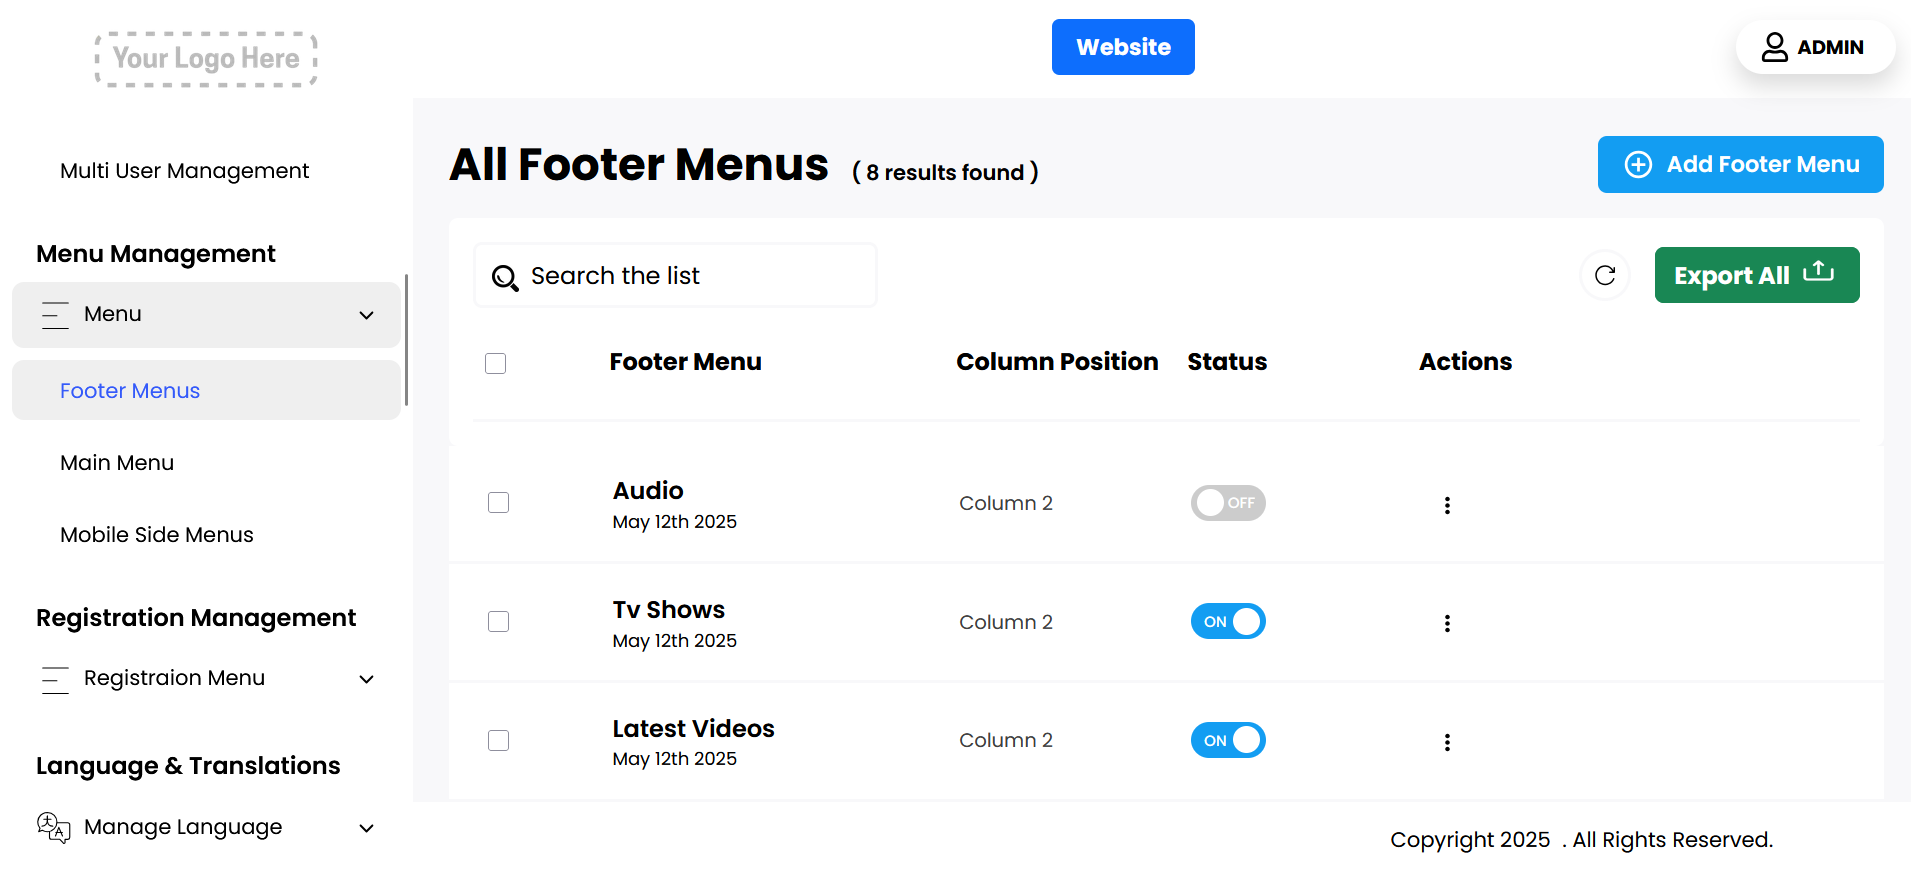
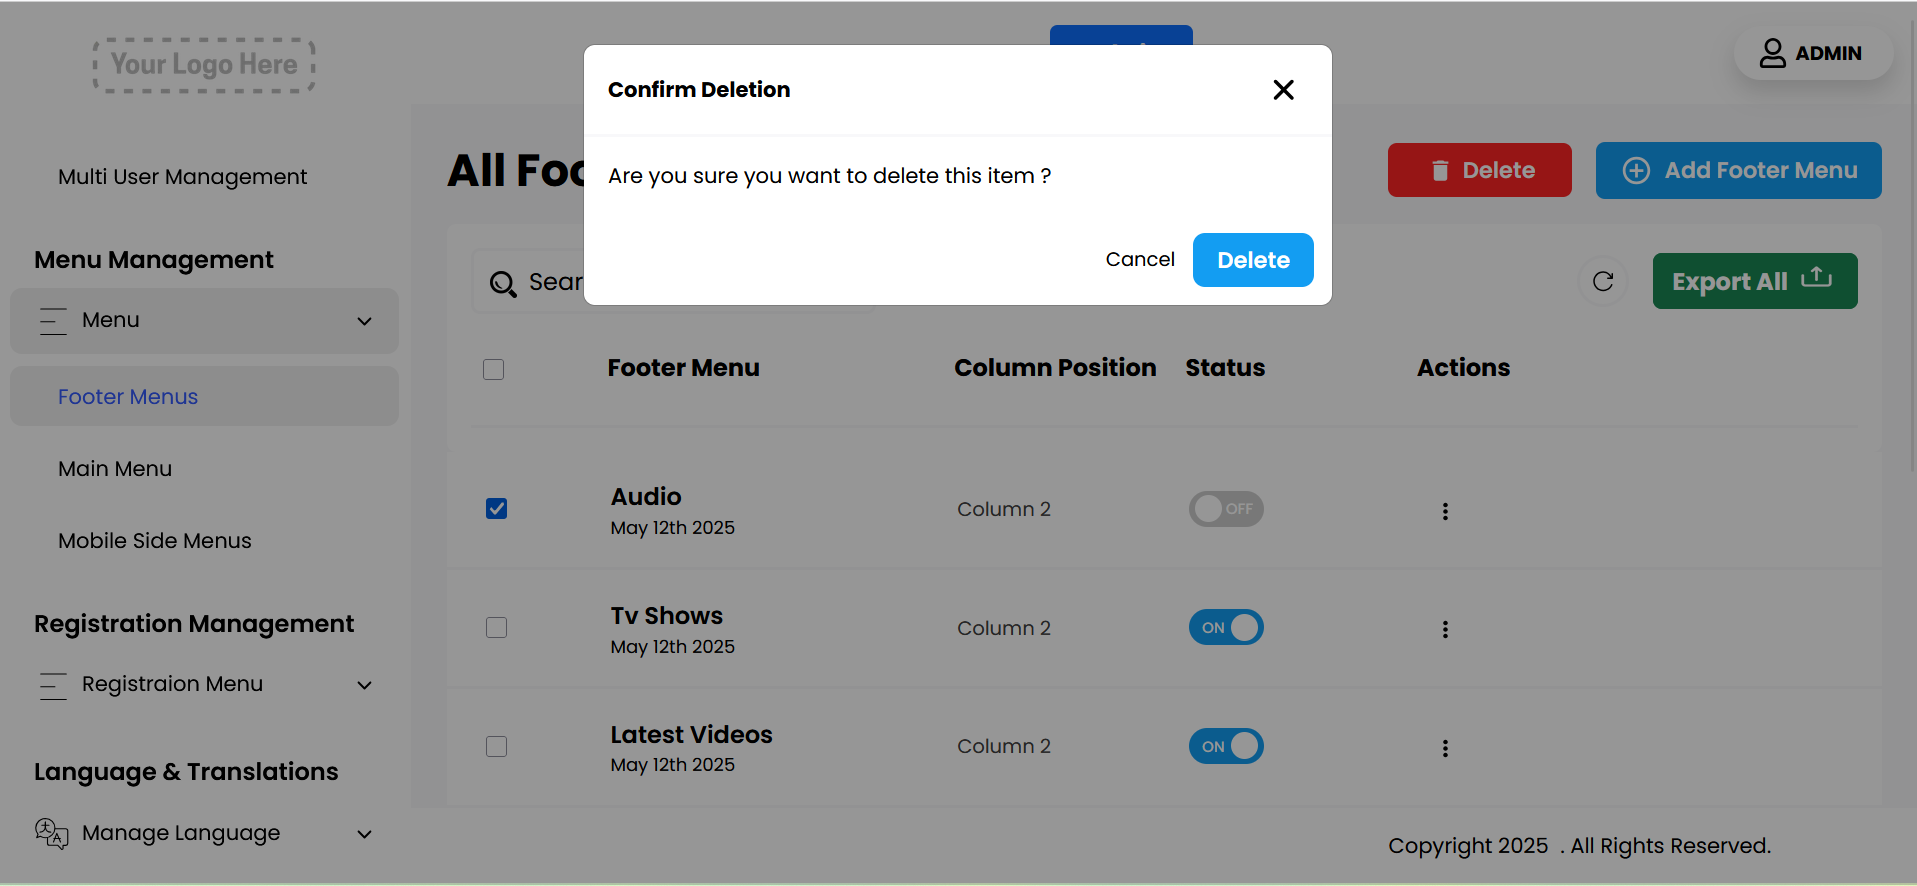
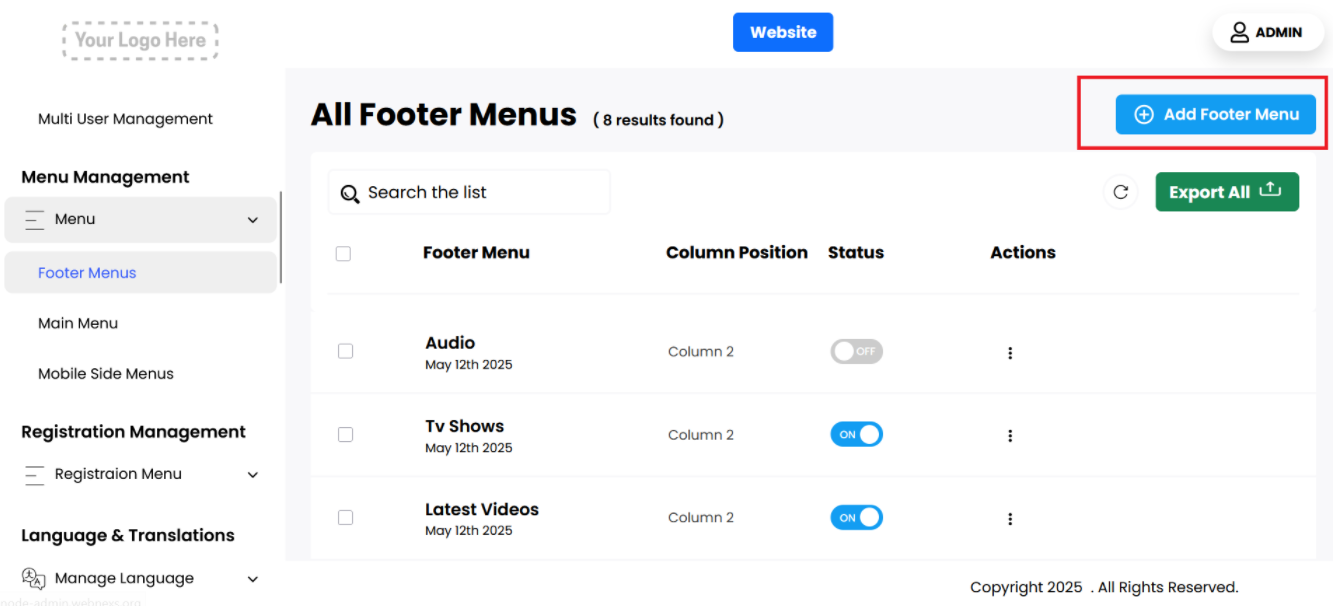
You can view a comprehensive list of footer menus, which includes several key attributes for each menu item:
- Footer Menu: This displays the title of the menu item, allowing you to easily identify it within the list.
- Column Position: This indicates the specific column in which the menu will appear in the footer layout. You can adjust this position as needed to ensure the menu is displayed where you want it.
- Status: This setting allows you to control the visibility of the menu in the footer of the homepage. If you want the menu to be displayed, you should enable this option. Conversely, if you prefer not to show it, you can disable this setting to hide the menu from the footer.
- Actions: For managing the menus, you have two options:
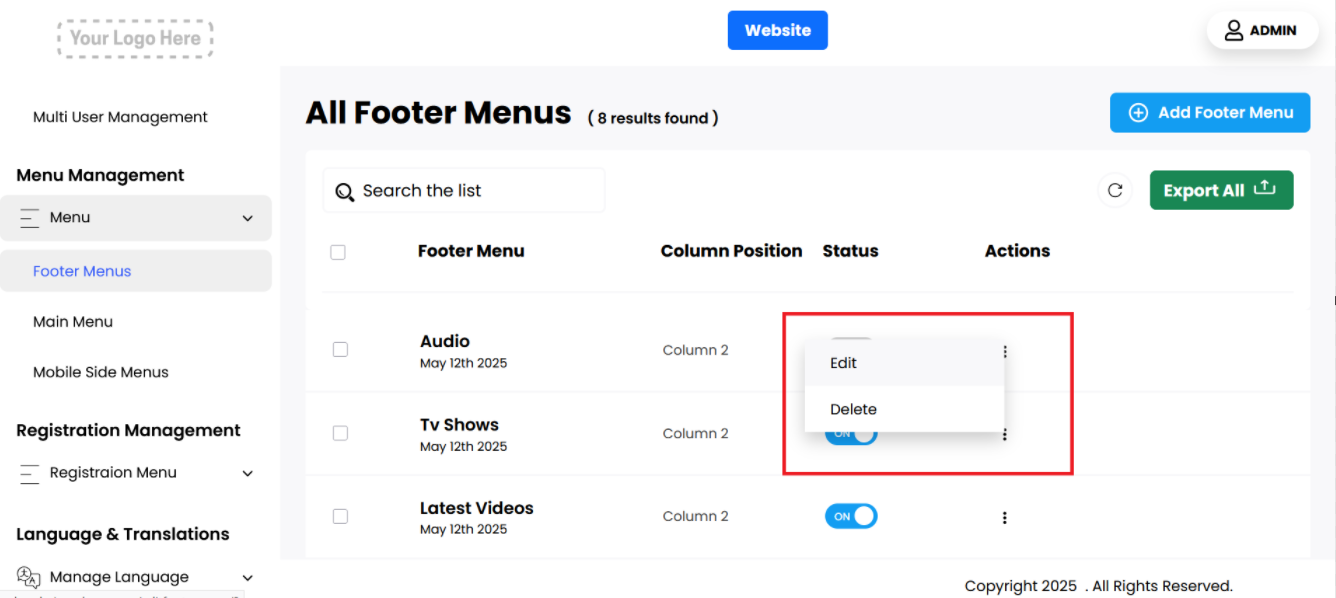
- Edit: When you select this option, you can modify various aspects of the menu, including changing the menu name, updating the menu link (URL), and adjusting the column position where it appears in the footer.
- Delete: If you decide that a menu is no longer needed, you can select this option to permanently delete it from the footer menu list.
These features provide you with full control over the organization and presentation of footer menus, allowing for an optimal user experience on your platform.
Add New
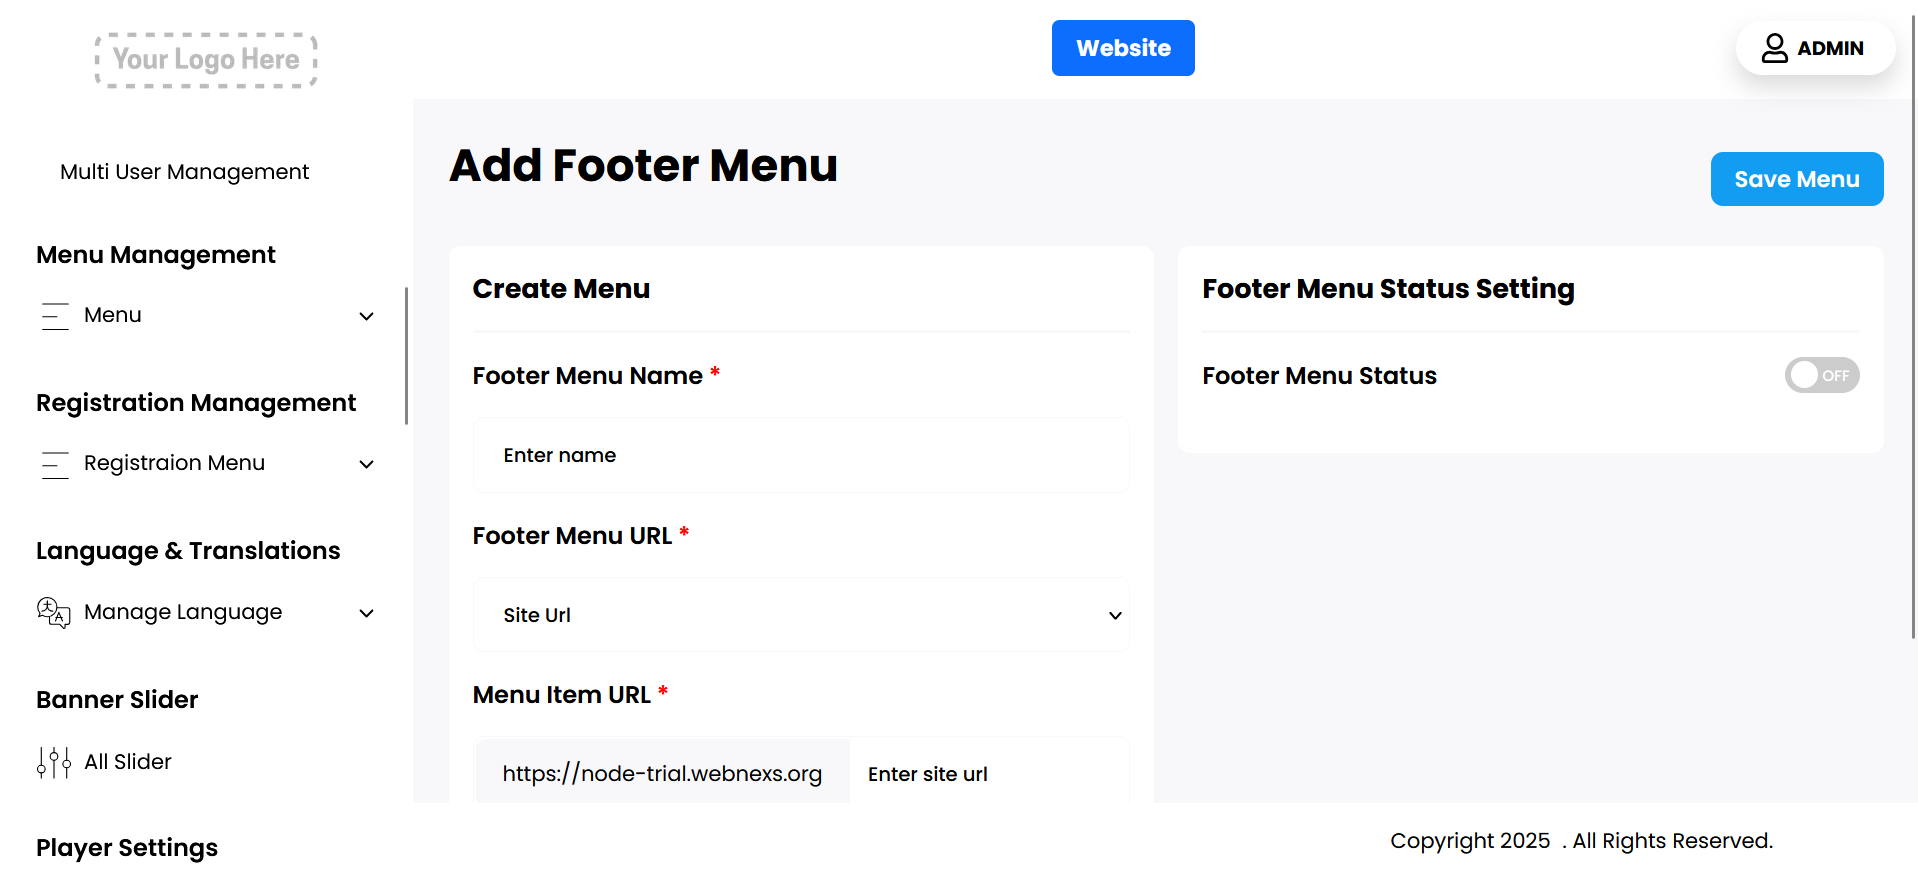
You can easily add a new footer menu by following these steps:
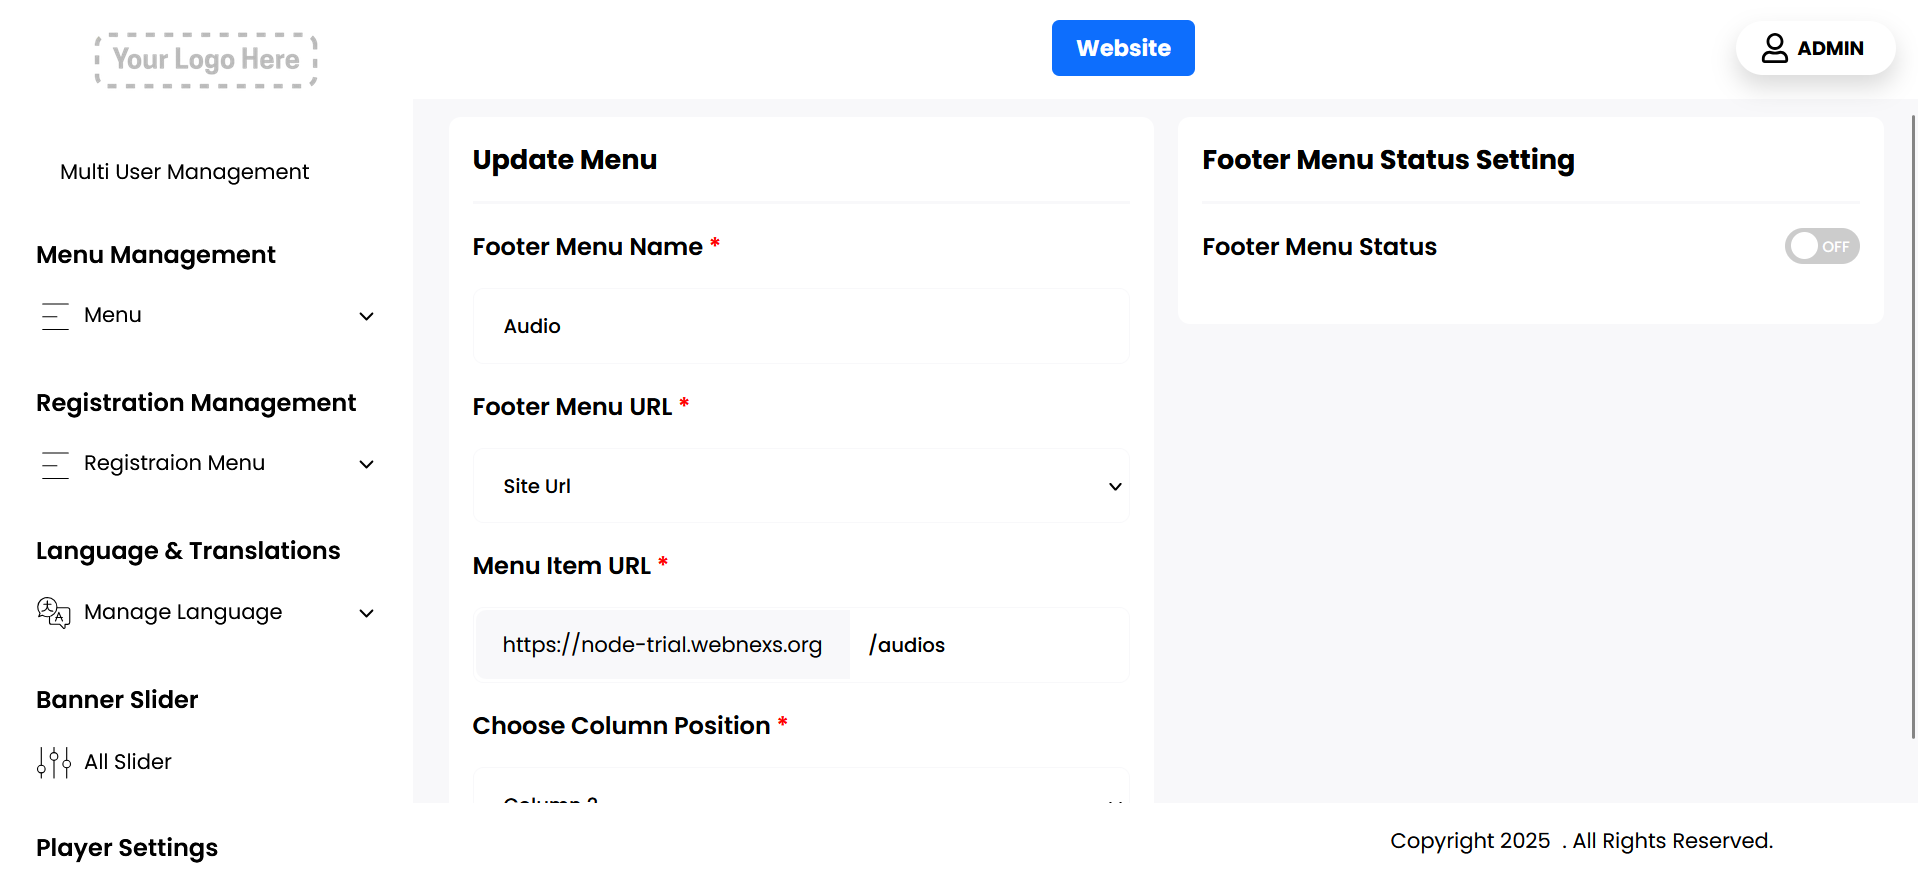
- Footer Menu Name: Begin by entering a name for the new footer menu. This name will be displayed to users in the footer section of your website, so choose a clear and descriptive title that accurately represents the content or function of the menu.
- Footer Menu URL: Next, provide the URL link that the menu item will direct users to when clicked. This can be an internal link to another page on your site or an external link to another website. Ensure that the link is valid and leads to the desired content.
- Choose Column Position: Choose the column position where you want the new footer menu to appear. Depending on your website’s layout, you may have multiple columns to choose from, and selecting the appropriate position will help organize the footer content effectively.
- Menu Item URL: You should add the site URL here
- Footer Menu Status: This setting allows you to control the visibility of the menu in the footer of the homepage. If you want the menu to be displayed, you should enable this option. Conversely, if you prefer not to show it, you can disable this setting to hide the menu from the footer.
- Save Changes: After filling in the name, link, and selecting the column position, click the “Save Changes” button. This will add the new footer menu to your website, making it accessible to users immediately.
By following these steps, you can enhance the navigation and accessibility of important information on your website, improving the overall user experience.
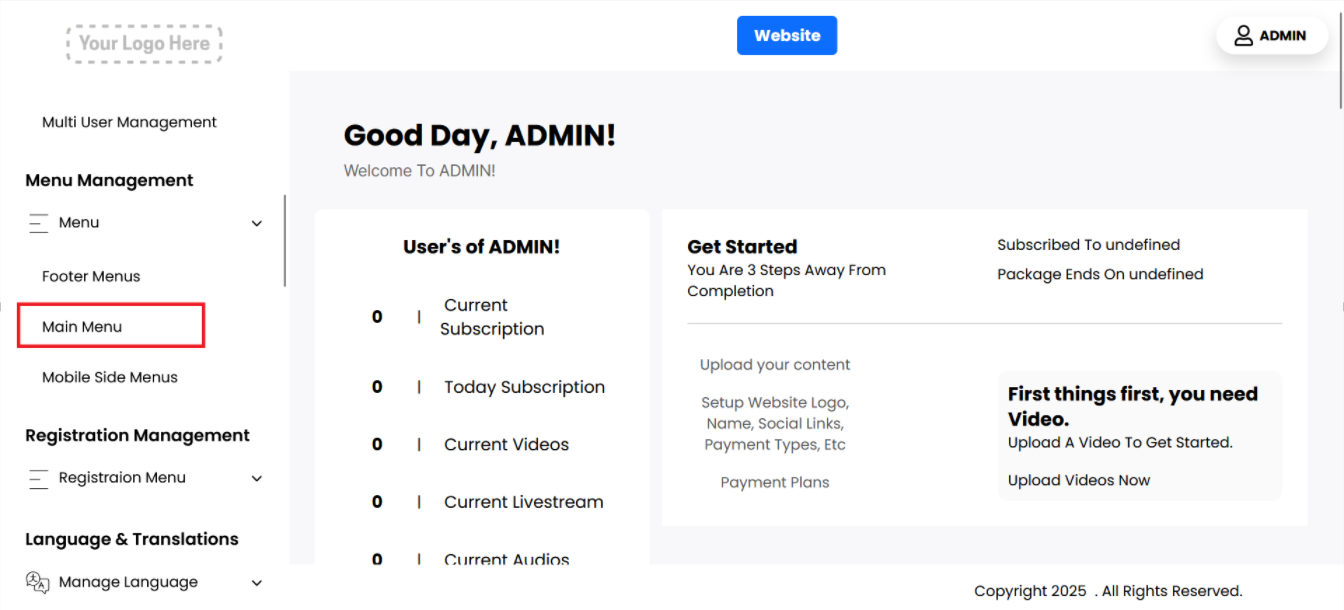
Main Menu
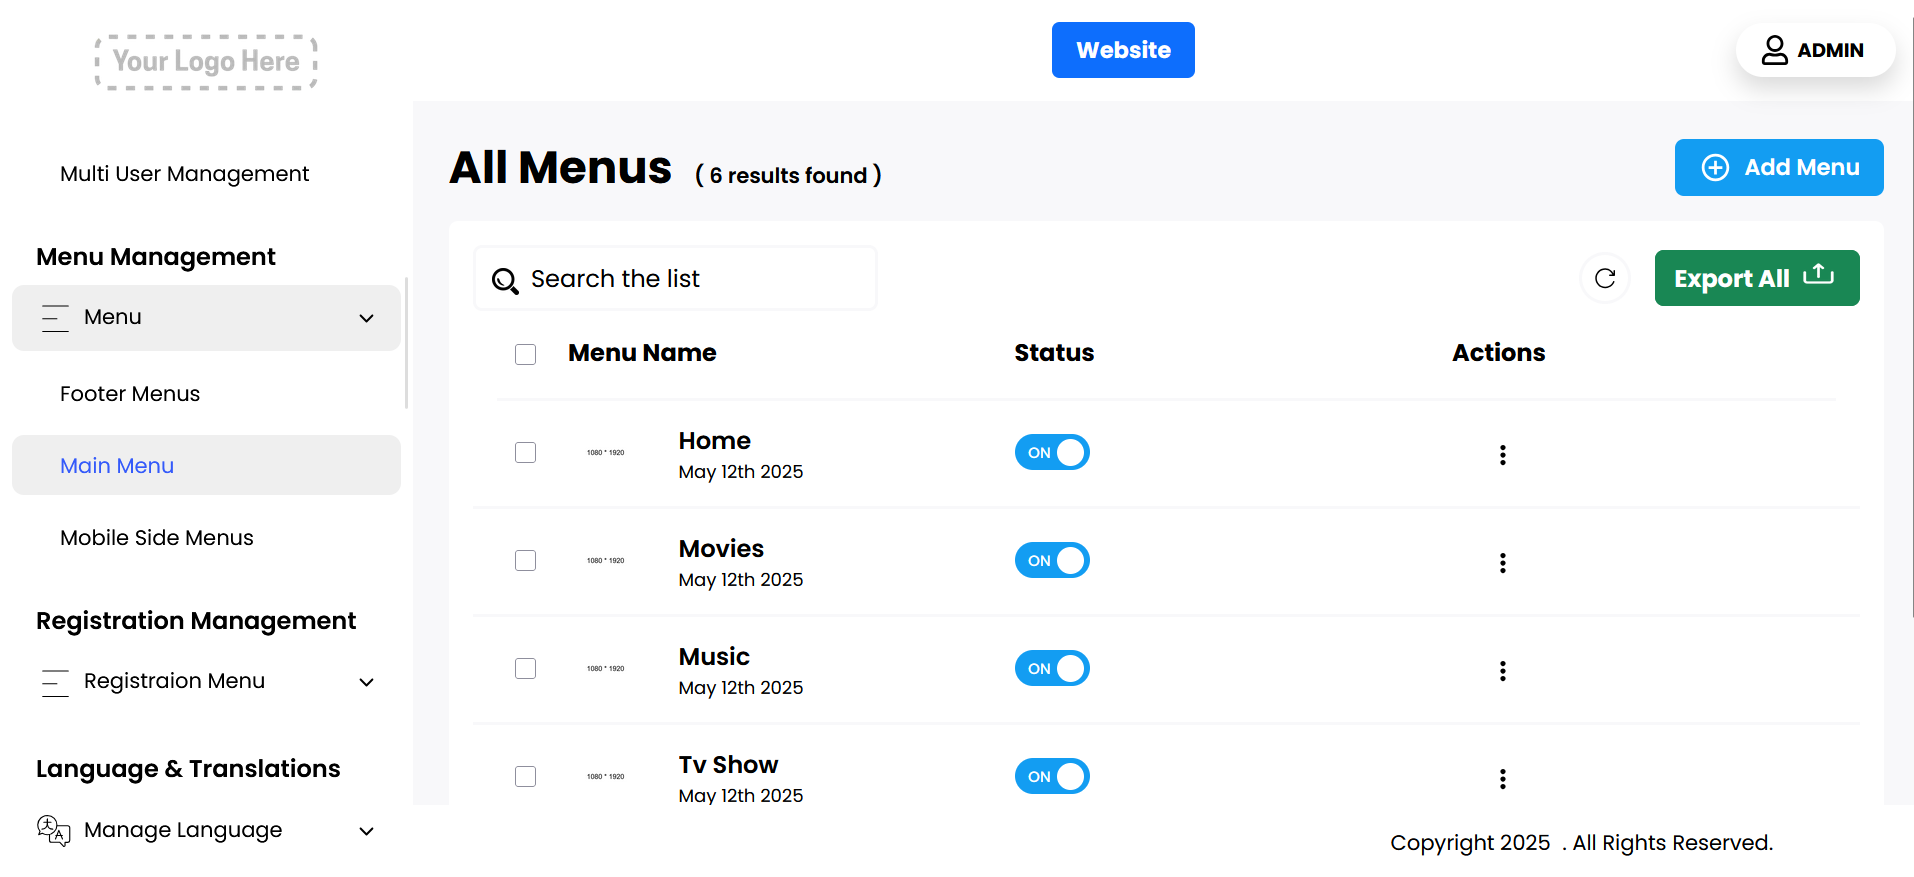
You can view a list of menus displayed in this section, each with the following options:
- Menu Name: This shows the title of the menu item.
- Status: This setting allows you to control whether the menu is displayed on the homepage header. If you want the menu to be visible, you can enable it; otherwise, you can disable it to hide it from the header.
- Actions: You have the ability to edit the menu. This includes changing the name of the menu, updating any details, or modifying its settings as needed.
- Menu Icon: If you want to display an image alongside the menu, you can enable this option. If no image is needed, you can leave this option disabled.
- Menu Item URL: Here, you can specify the URL for the menu item. You have the flexibility to use either the site’s internal URL or provide a custom external URL.
- Drop Down For Category: You can choose a specific category to associate with the menu. If the menu is not tied to any category, you can select “None” for this option.
- Drop Down For Subcategory: You can choose a specific category to associate with the menu. If the menu is not tied to any category, you can select “None” for this option.
- Delete: If you no longer need a menu, you can permanently delete it by selecting this option.
These settings provide full control over how your menus are displayed and managed across the platform.
Add New
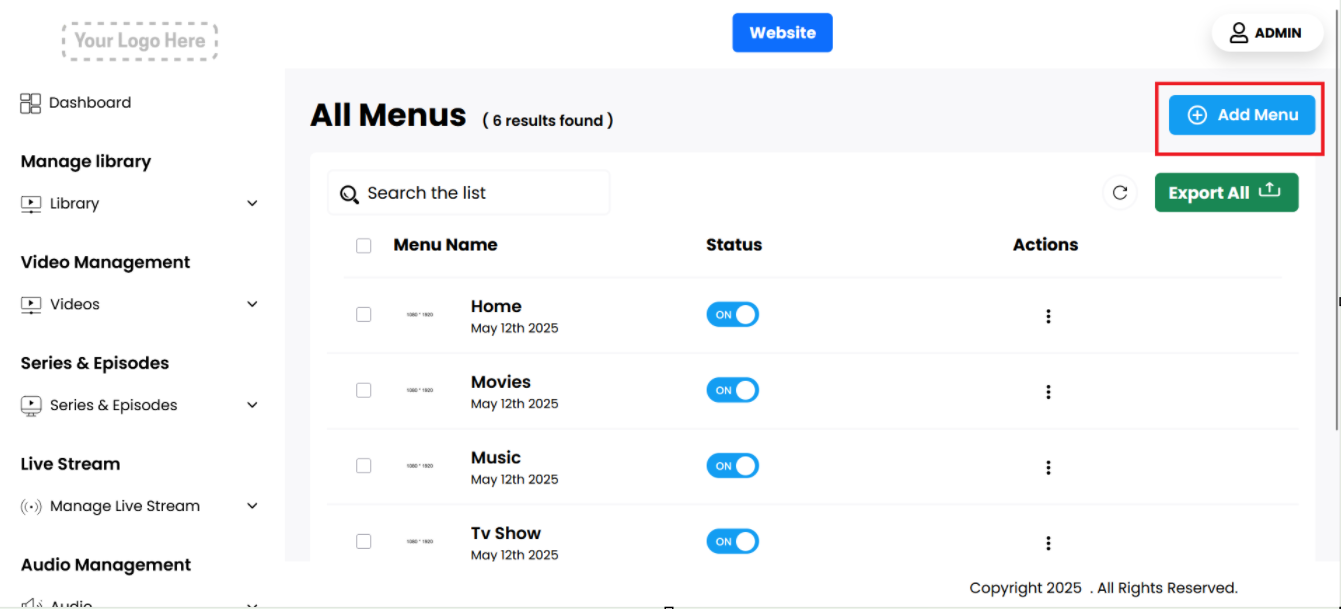

You can easily add a new menu to your platform by following these steps:
- Menu Name: Begin by entering a name for the new footer menu. This name will be displayed to users in the footer section of your website, so choose a clear and descriptive title that accurately represents the content or function of the menu.
- Menu URL: Next, provide the URL that the menu item will direct users to when clicked. This can be an internal link to another page on your site or an external link to another website. Ensure that the link is valid and leads to the desired content.
- Menu Item URL: You should add the site URL here
- Status Settings:
- Menu Status: This setting allows you to control the visibility of the menu in the footer of the homepage. If you want the menu to be displayed, you should enable this option. Conversely, if you prefer not to show it, you can disable this setting to hide the menu from the footer.
- Show in Home: This setting allows you to show the menus on the home page.
- Show Icon: This setting allows you to display the icon for the menus.
- Save Changes: After filling in the name, link, and selecting the column position, click the “Save Changes” button. This will add the new footer menu to your website, making it accessible to users immediately.
By following these steps, you can customize your website’s navigation and improve user accessibility to important content and features.