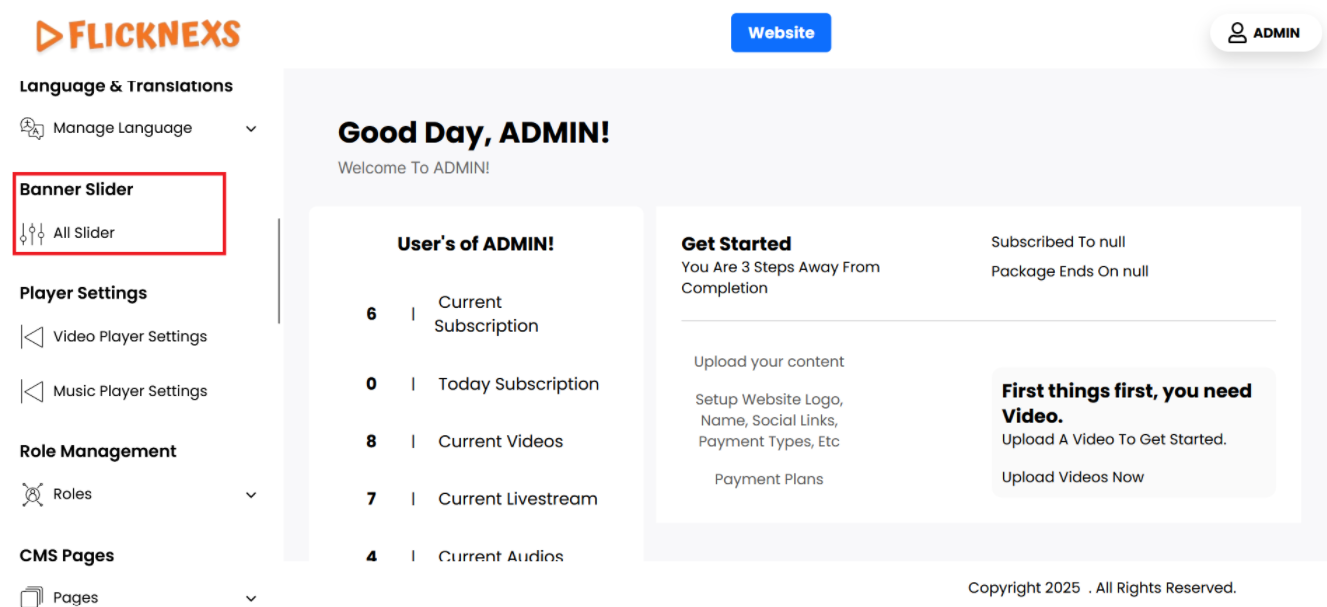
A Banner Slider is a dynamic, rotating visual section typically placed at the top of your homepage or major category pages. It is used to highlight featured content, new releases, special promotions, or editors’ picks, offering users an engaging visual preview and quick access to key content.
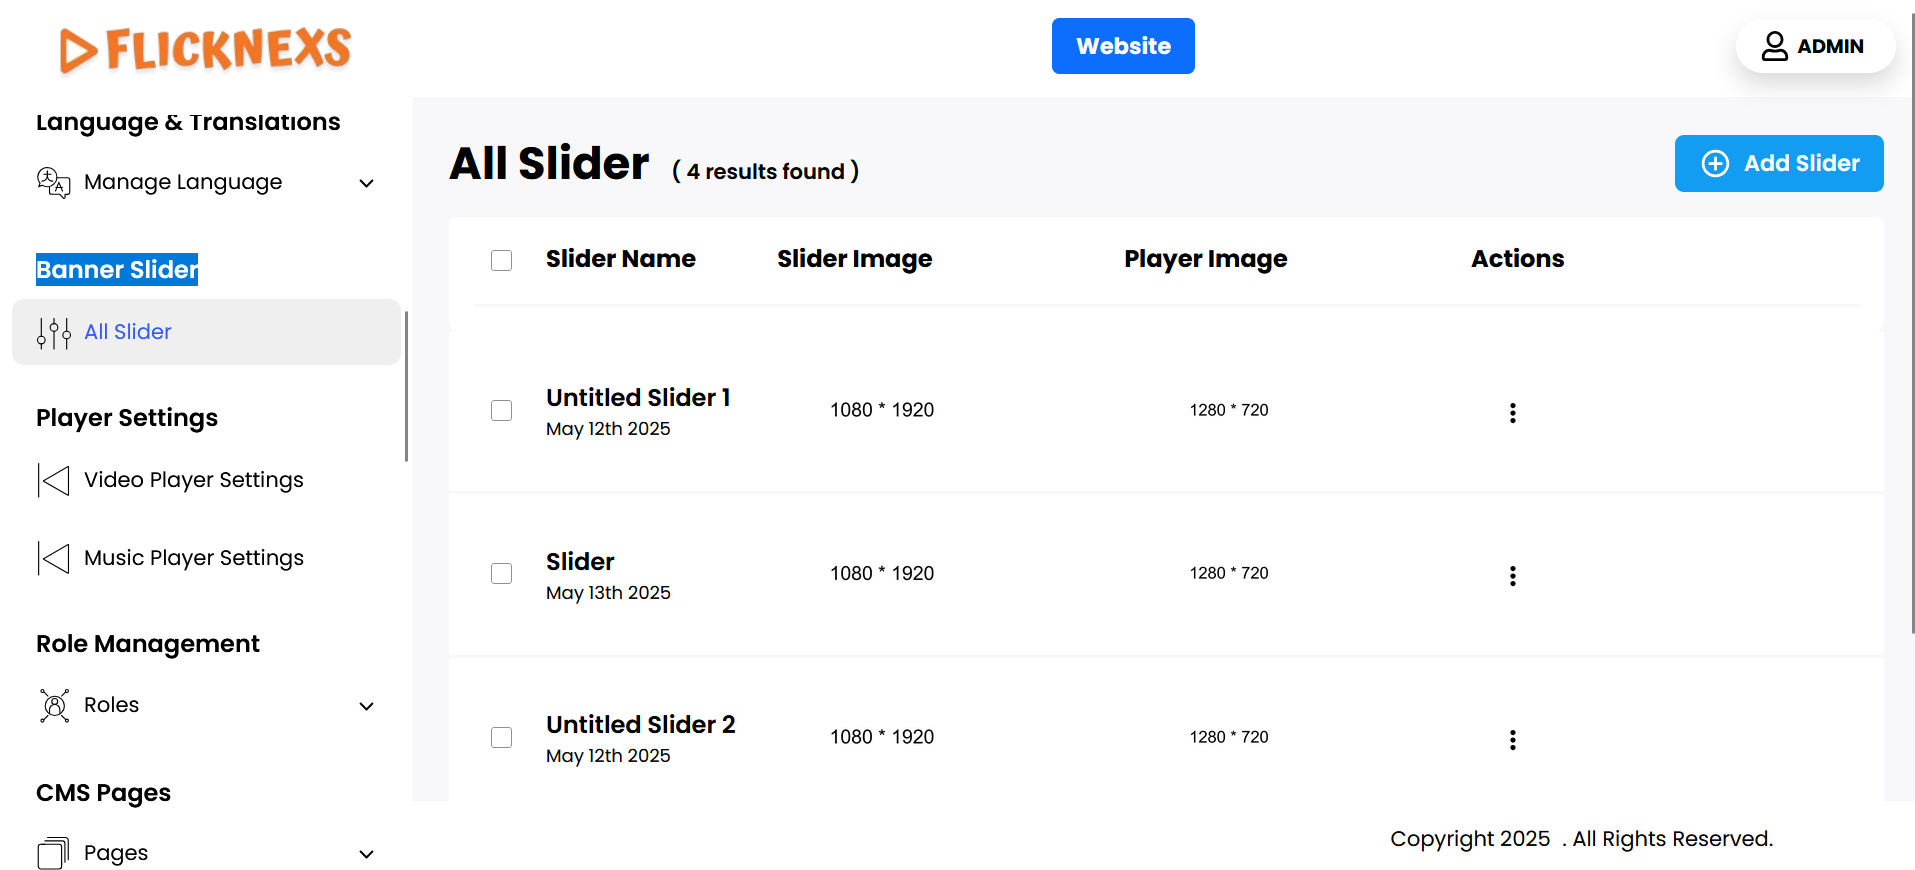
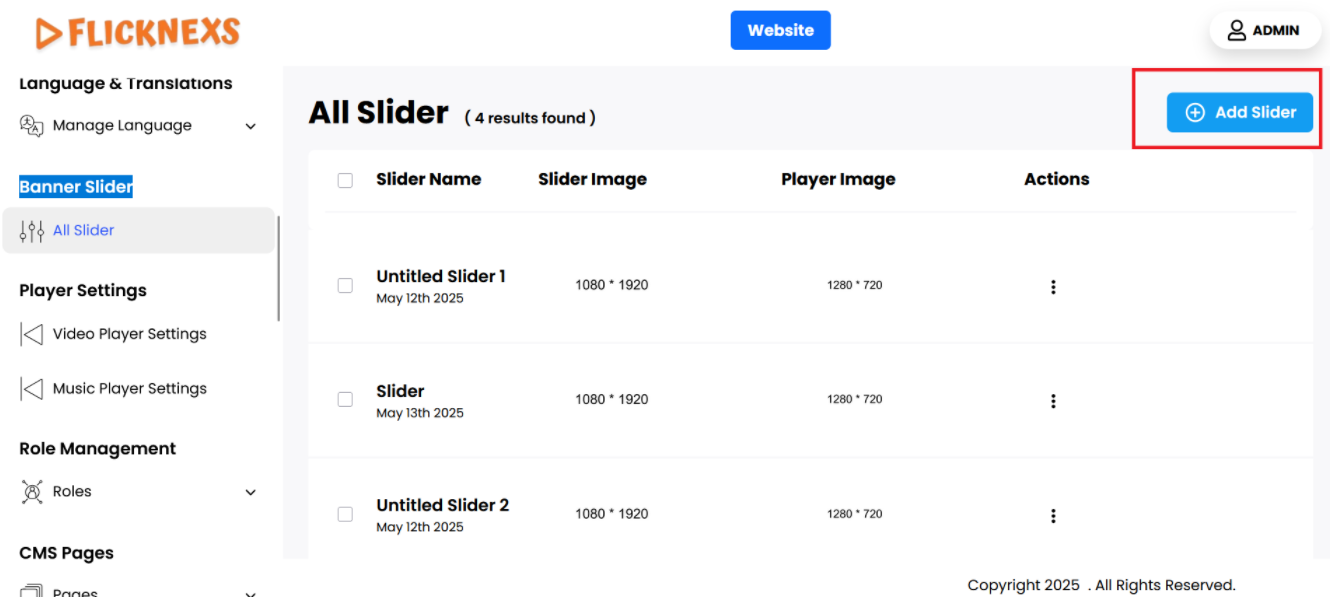
You can view a comprehensive list of all the sliders that have been added to your website. Each slider is displayed with specific details and management options, allowing you to easily monitor and modify them. Here’s a breakdown of what you can see and do:
- Slider Name: This shows the name of the slider, which helps you identify what the slider is about. For example, if the slider promotes a new movie, the title might be the movie name.
- Slider Image: This is the main image associated with the slider. It’s the visual banner or cover that appears on the website. The slider image is usually designed to capture attention and promote content, such as a movie, TV show, or special offer.
- Player Image: The Player Image is the image that will be displayed when the slider is clicked and the media (such as a video) starts playing. This image is often different from the main slider image and is optimized for the player interface.
- Actions: Under this section, you have two management options:
- Edit: You can update various aspects of the slider. Clicking the Edit button allows you to modify:
- Slider Image: Change the main image of the slider.
- Player Image: Update the image that appears when the slider content (like a video) is played.
- Target Link: Set or modify the URL link where users will be directed when they interact with the slider.
- Trailer Link: Add or update the trailer link if the slider is promoting a video or movie trailer.
- Slider Name: Edit the name of the slider to reflect any changes in the promotion or content.
- Status: Change the status of the slider. If you want to activate or deactivate the slider, you can set the status to Yes (Active) or No (Inactive), depending on whether the slider should be visible on the site.
- Delete: If you no longer need a particular slider, you can remove it by clicking the Delete button. This will completely remove the slider, along with its images and settings, from your website.
- Edit: You can update various aspects of the slider. Clicking the Edit button allows you to modify:
This list provides you with a centralized view of all the sliders on your website, helping you to quickly manage, update, or delete them as needed. The Edit and Delete options ensure that you have full control over how each slider appears and behaves on your site.
Add New
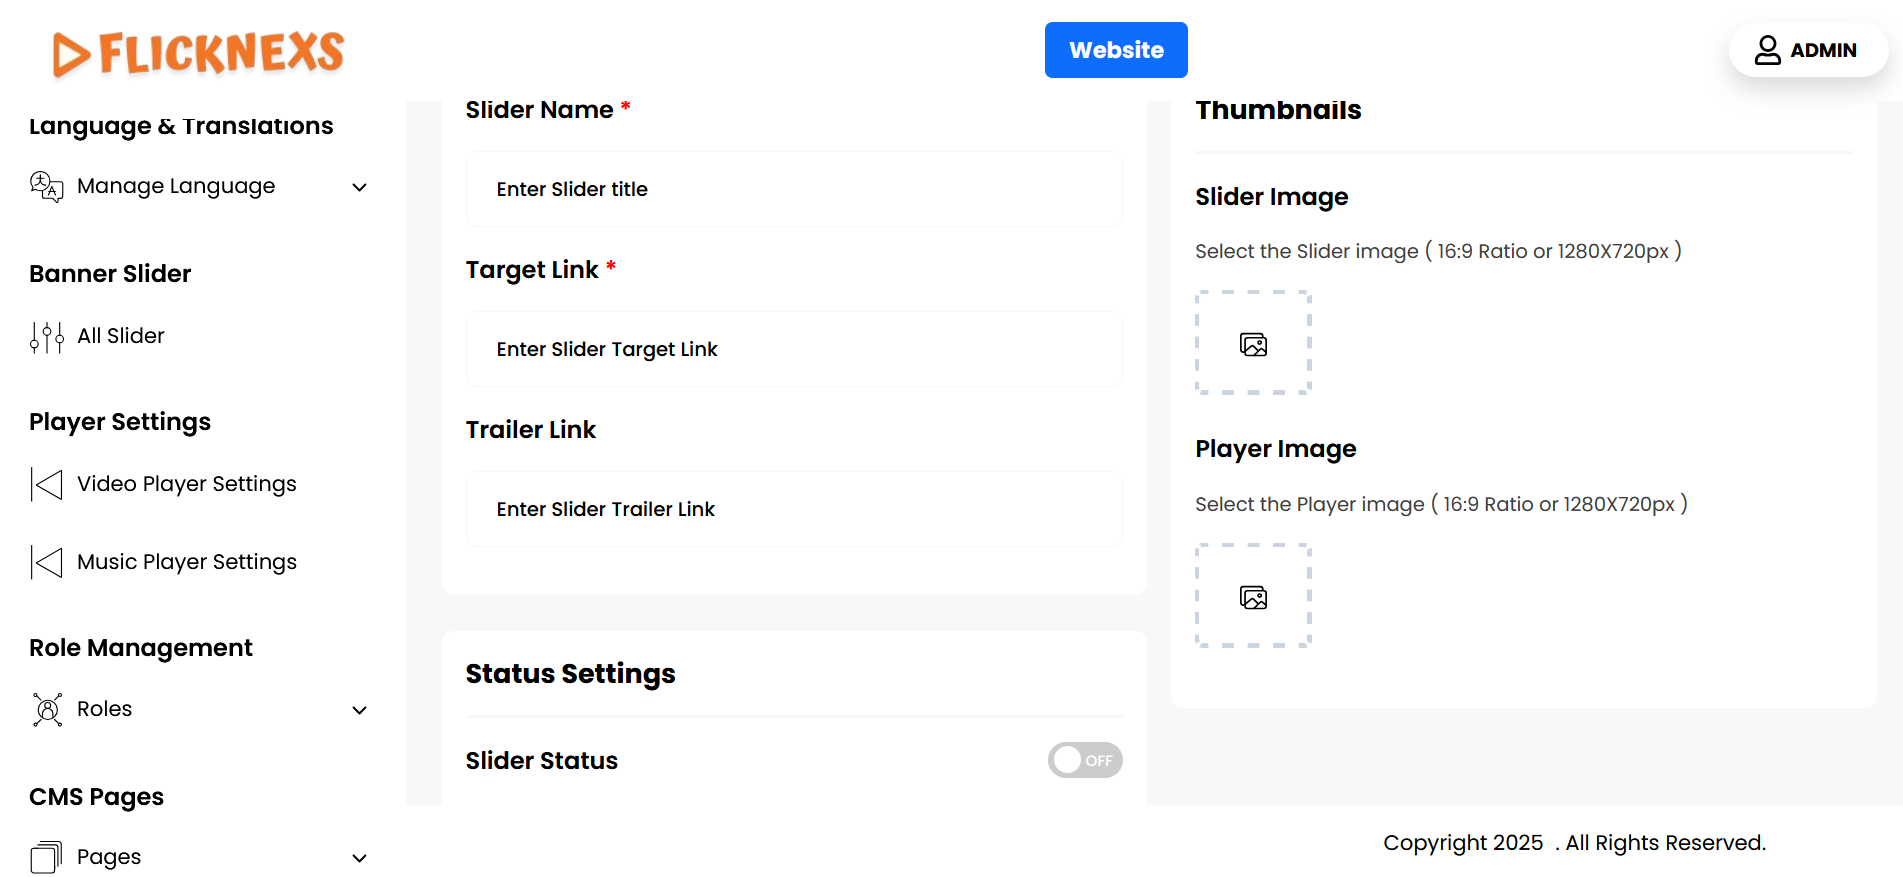
When creating a slider on your website, here are the key fields and steps you need to follow:
- Select the Slider Image:
- You can choose a slider image to represent the content you want to promote. This image should be in a size of 1280 x 720 px or maintain a 16:9 aspect ratio to ensure proper display and visual consistency across devices. The slider image serves as the main banner or thumbnail for the slider on your website.
- Player Thumbnail:
- You can upload a player thumbnail for the slider, which is the image that will appear when users play the content (such as a video). This image should also be 1280 x 720 px or maintain a 16:9 aspect ratio to match the slider image. This thumbnail provides a visual cue when the content begins playing, ensuring a seamless visual experience.
- Target Link:
- If you want the slider to redirect users to a specific page or external URL when they click on it, you can add the target link here. This could be a link to a detailed page, product, or promotional content you want to highlight.
- Trailer Link:
- If you are promoting a video, movie, or show and want to provide a preview or trailer, you can add the trailer link here. This link will be used to direct users to a video preview, allowing them to view the trailer before interacting further with the slider content.
- Name:
- Enter the name of the slider, which should clearly describe the content or promotion. This title will be displayed with the slider and should be attention-grabbing and relevant to the content being promoted.
- Status:
- Use the status option to control whether the slider is Active or Inactive. If the slider is currently in use and should be visible to users on the website, you can enable the Active status. If the slider should be hidden or is no longer relevant, you can set it to Inactive. This allows you to manage when and where the slider appears on the site.
- Save Changes:
- After completing all the required fields, click Save Changes to finalize the slider. This will apply all your updates, ensuring that the slider appears correctly on your website based on the provided images, links, title, and status.
By following these steps, you can efficiently manage sliders, ensuring they are visually appealing, functionally linked, and properly titled for your audience.