Users
Here’s a more detailed breakdown of how to navigate and utilize the User Management section after logging in to the admin panel, with a focus on managing users:
1. Logging into the Admin Panel:
- First, log in to your platform’s admin panel using your admin credentials.
- Once logged in, you’ll typically be directed to the dashboard, where you can manage various aspects of your platform.
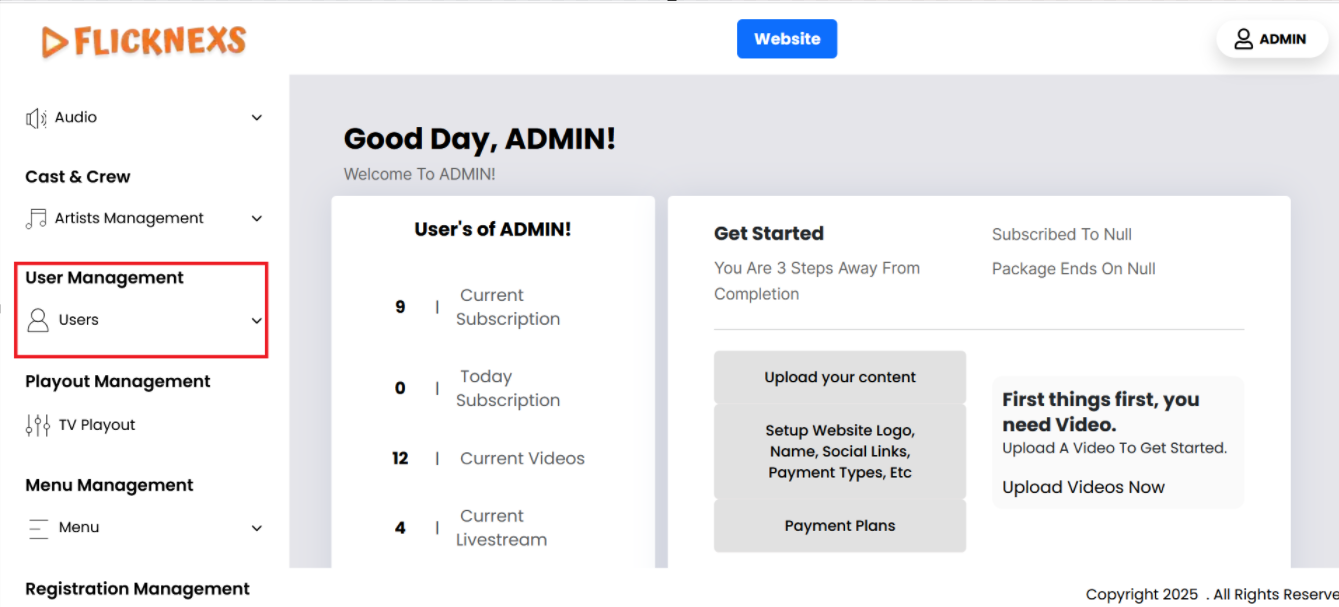
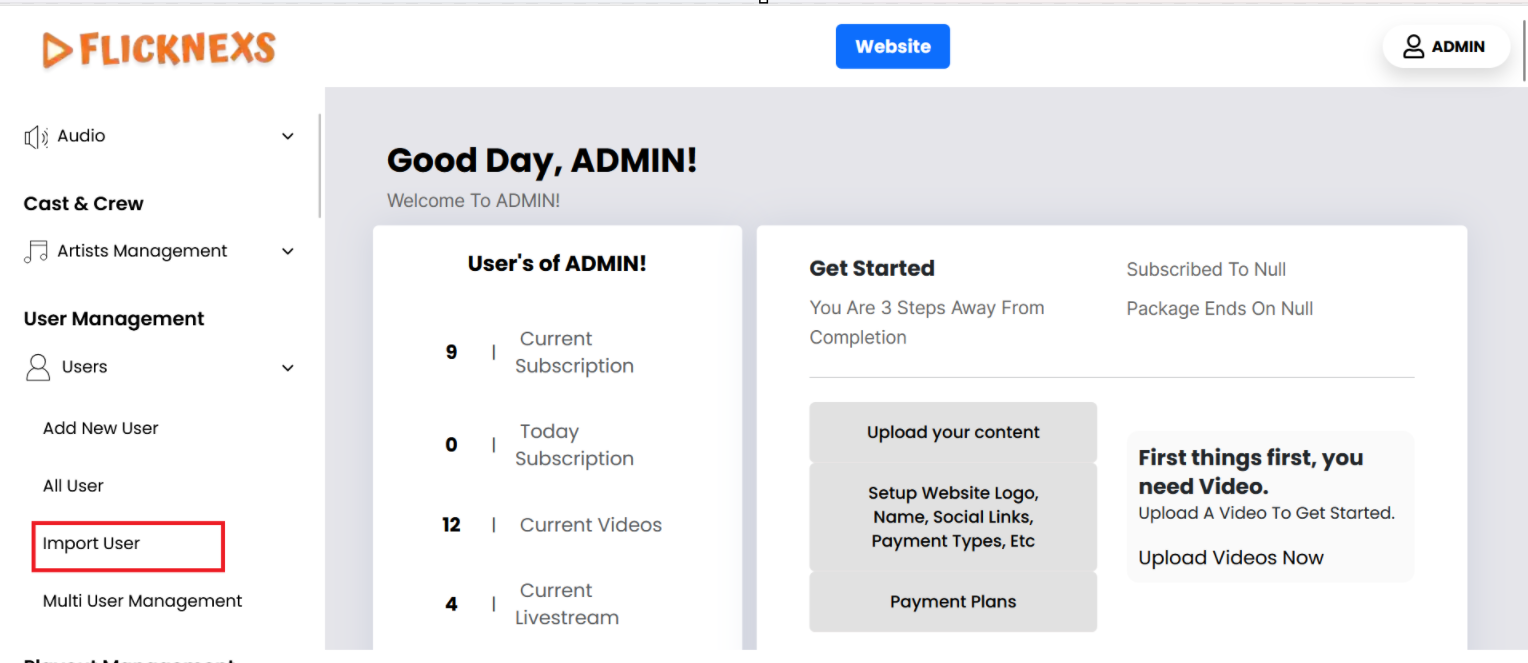
2. Navigating to the User Management Section:
- After logging in, look at the left side of the admin panel, where you usually have a vertical navigation menu. This is where the different sections of the panel are listed.
- One of these sections will be labeled User Management. This section is dedicated to managing everything related to user accounts.
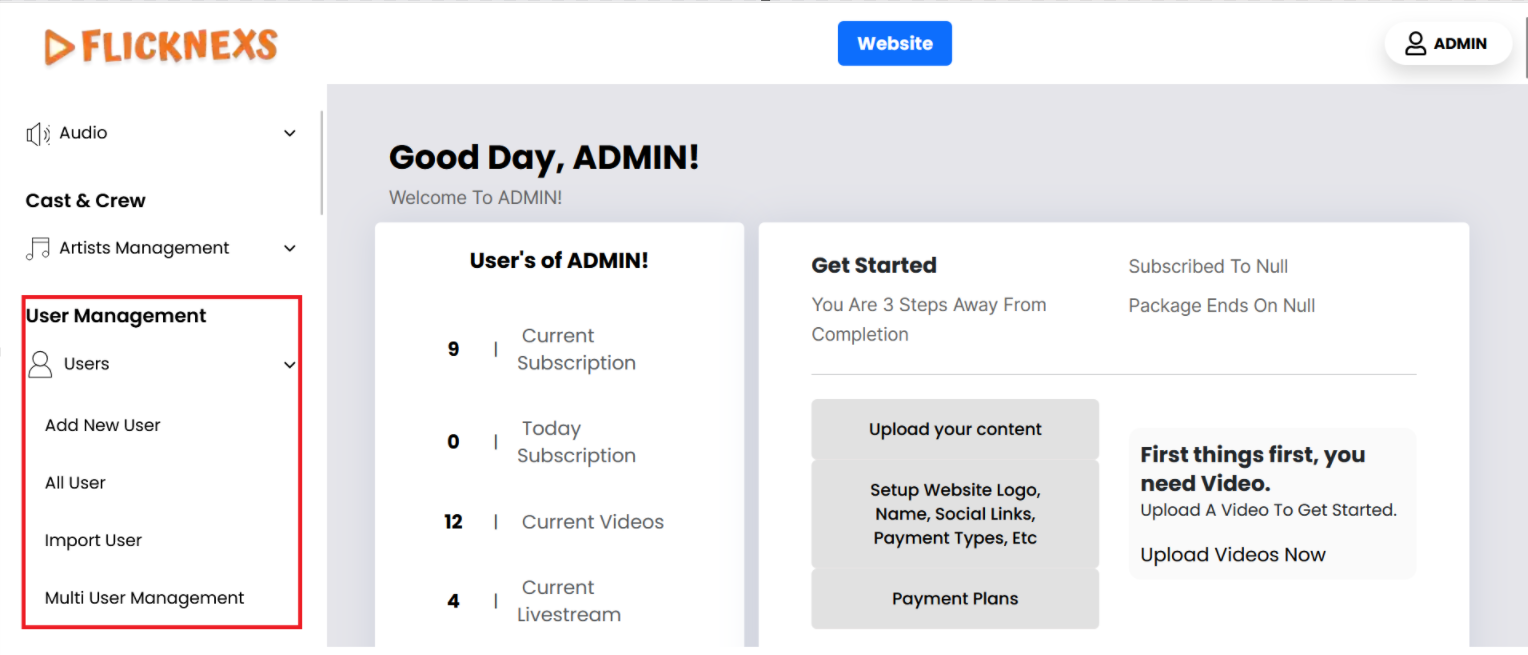
Here’s a detailed breakdown of the various options under the Users section in the admin panel, which allows you to manage users efficiently
Benefits of These Options:
- Efficiency: These options allow for easy management of users without having to individually edit or update each user’s profile. You can manage large groups of users with just a few clicks.
- Customization: Each section gives you the ability to tailor the user experience, assigning roles, importing users in bulk, and making quick adjustments based on the platform’s evolving needs.
- Automation: Features like Import Users and Multi-User Management help automate the user management process, especially in scenarios where you expect a high volume of users.
This structured approach ensures that your platform can scale easily while maintaining control over user access and functionality.
All users
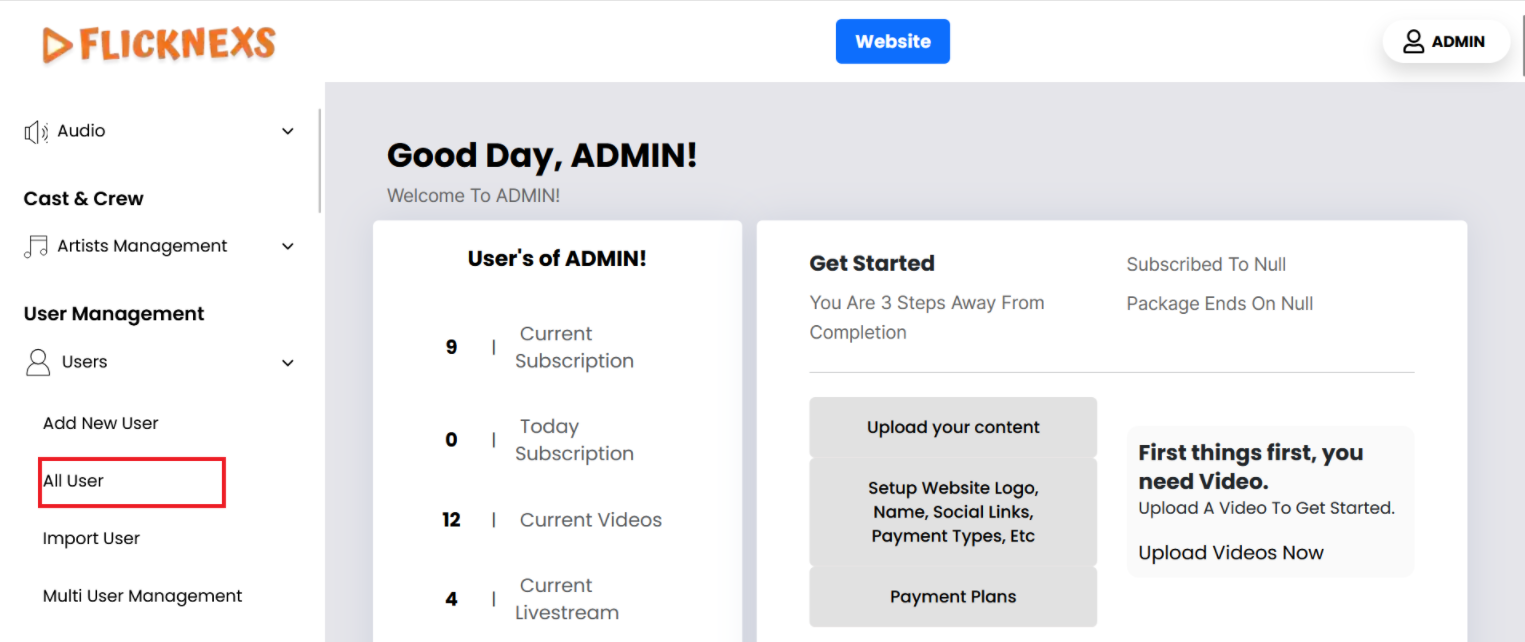
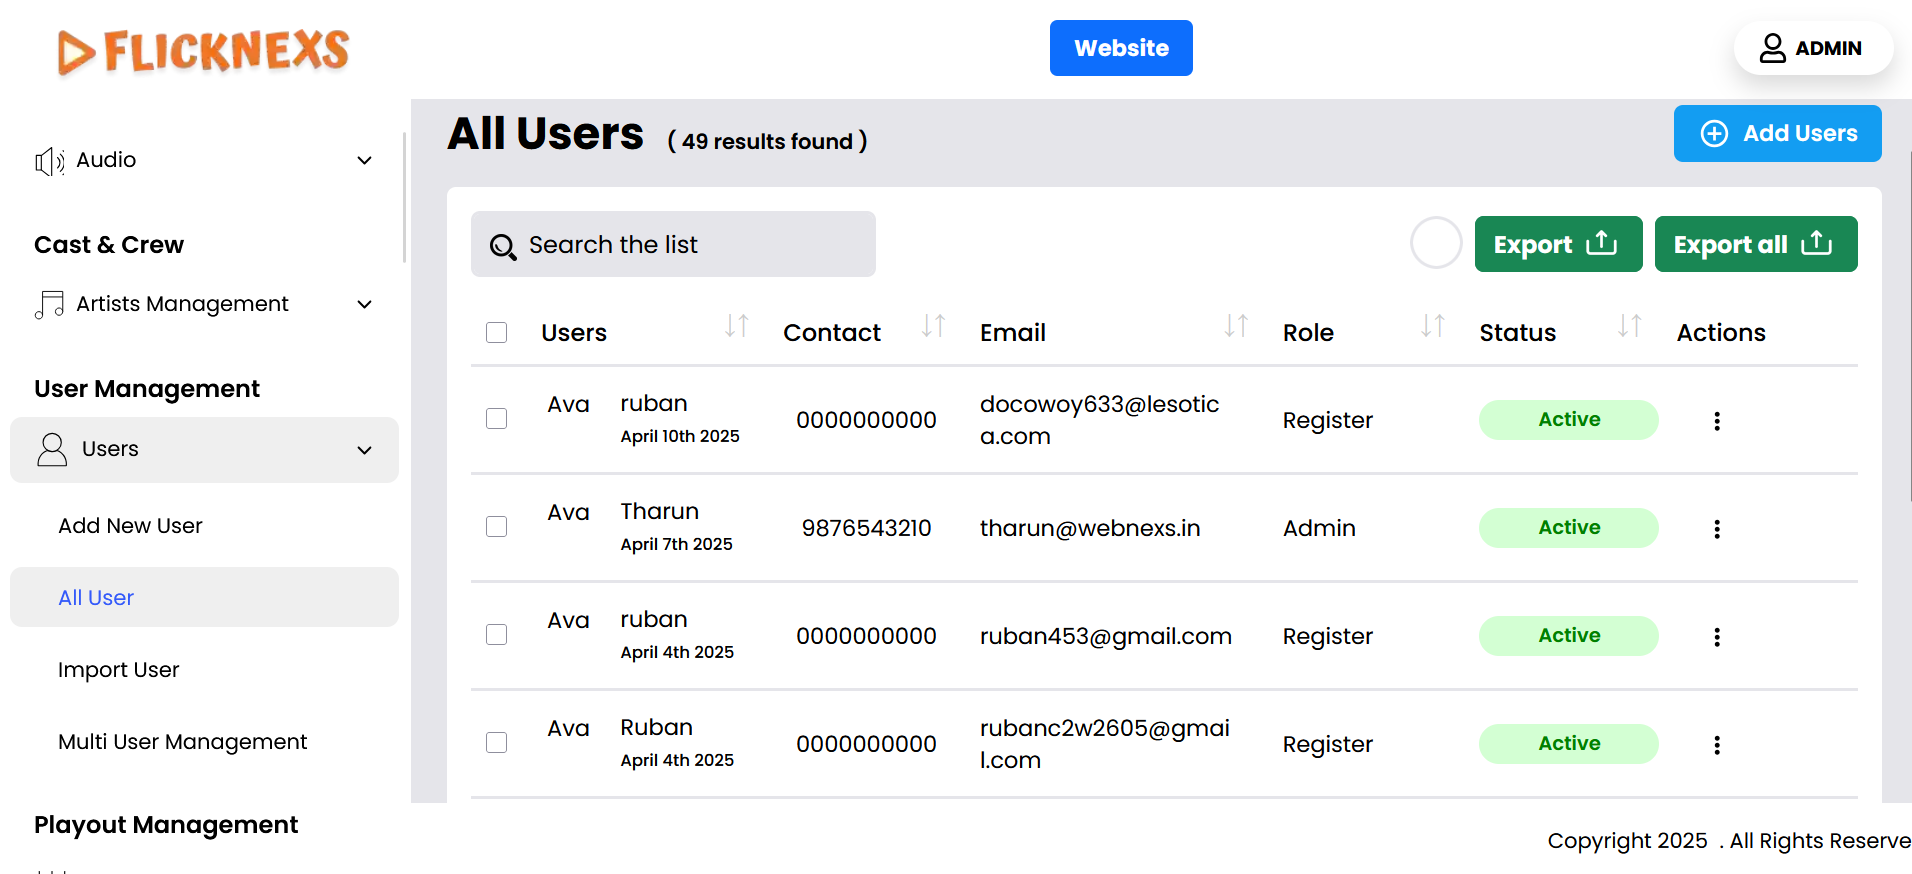
In the All Users section of your admin panel, you have the ability to view and manage a list of all registered users. Here’s a detailed explanation of each component you can see and the functionalities available:
1. Profile Name:
- The Profile Name column displays the unique username or screen name chosen by the user at the time of registration.
- This is typically used as the identifier that the user may be recognized by on the platform, especially if your platform allows users to interact or have public profiles.
2. Contact:
- The Contact Number field displays the phone number provided by the user.
- This is essential for platforms that use phone-based verification systems such as OTP (One-Time Password) verification.
- It can also be used to directly reach out to users for customer support or account-related issues.
- In cases of content partners or special subscribers, it might be important to keep these numbers handy for emergency contact or high-priority issues.
3. Email:
- The Email Address column shows the email the user registered with.
- This is one of the most important identifiers and is often used for:
- Logging in.
- Receiving account-related notifications (password resets, account status updates, etc.).
- Receiving newsletters, marketing emails, or service updates.
- If the platform has multiple user roles (like content creators), emails are also important for direct communication about their submissions or contributions.
4. Role:
- The Role column defines what type of access and functionality the user has on the platform.
- The common roles include:
- Registered User: A standard user who has signed up to consume content or use the platform but has no administrative or content submission privileges.
- Subscriber: A user who has purchased a subscription and has access to premium content or features. You may also differentiate between free users and paying subscribers.
- Admin: Users with administrative access who can manage other users, content, payments, and platform configurations.
- In some cases, you may have additional roles like:
- Content Creators/Partners: Users who can upload content (e.g., videos, live streams, audio) but don’t have full administrative rights.
- Moderators: Users who manage community or content but don’t have full admin access.
5. Status:
- The Status column indicates whether the user account is Active or Deactivated.
- Active: The user is actively able to log in and use the platform. Their account is in good standing.
- Deactivated: The user account has been temporarily disabled, meaning they can no longer access the platform. This may be due to violation of terms, inactive subscriptions, or the user requesting deactivation.
- In some cases, there might be an additional status such as Pending Activation for users who have signed up but haven’t verified their email or phone number yet.
6. Action:
- The Action column allows you to perform specific tasks on individual user accounts. These actions typically include:
A. Edit:
– Clicking Edit allows you to modify the user’s profile information. You can:
– Update the user’s name, email, phone number, or other personal information.
– Change the user role (e.g., promote a user to Admin or downgrade from Subscriber to Registered User).
– Update their account status (e.g., activate or deactivate their account).
– Reset or change the user’s password if needed.
B. Delete:
– Clicking Delete will permanently remove the user account from the system. It is important to use this with caution, as deletion is often irreversible.
– Deleting a user will remove all their data from the platform, including their profile information, subscription status, and any content they may have contributed (if applicable).
Summary:
The All Users list provides a powerful interface to view and manage users on your platform, allowing you to access key information such as profile names, contact details, roles, and account status. The Actions section makes it easy to manage user profiles with options to edit, delete, or preview individual user accounts. This setup allows for efficient management of your user base, ensuring you can make adjustments as needed while maintaining control over user access and functionality.
Export
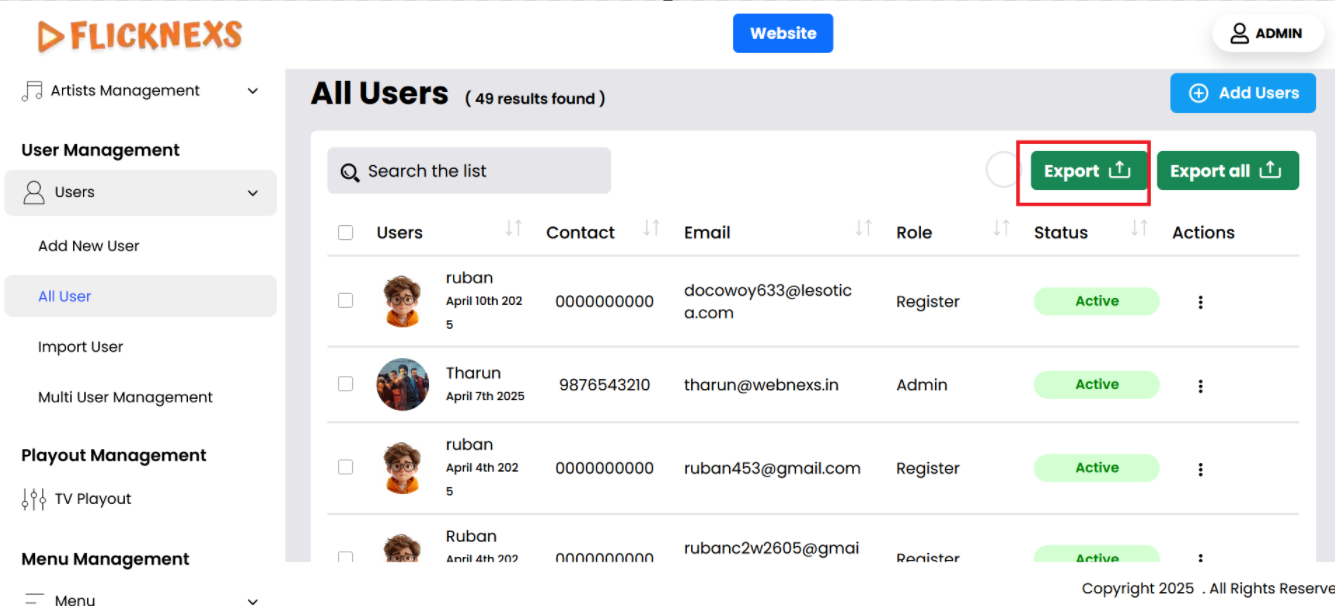
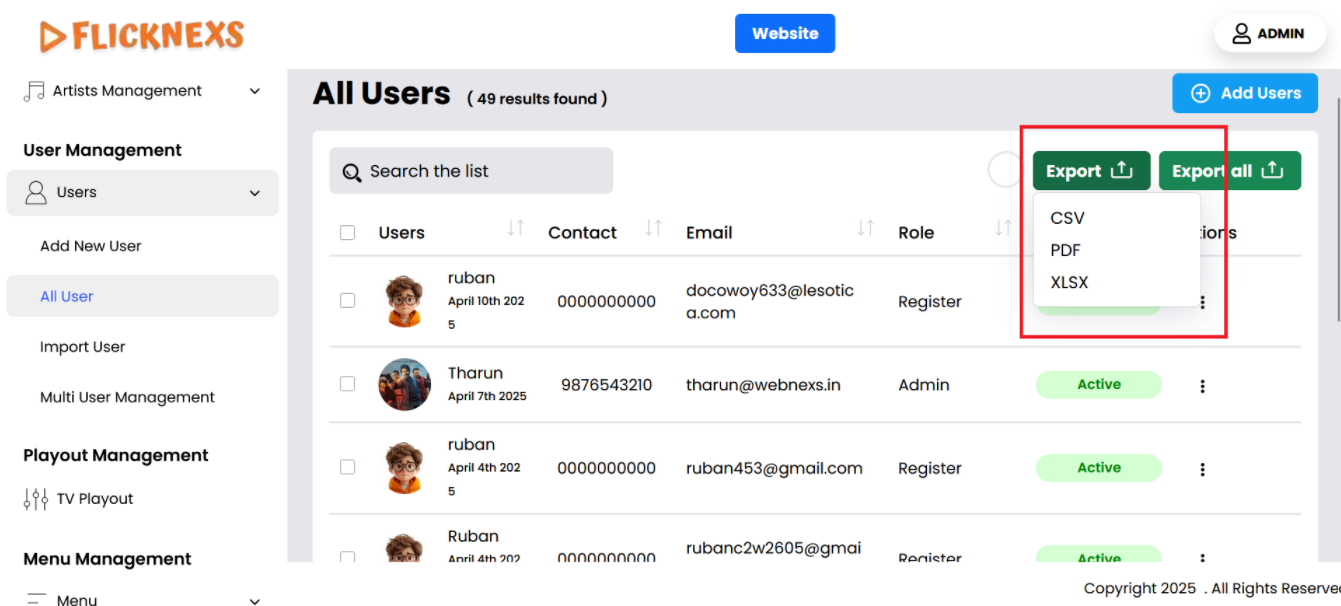
- You can download the user’s list by utilizing the export option available within the admin dashboard or user management section. This feature allows administrators to export data related to users, such as names, email addresses, registration dates, and other relevant details. The export process generates a CSV (Comma-Separated Values) file, which is a simple text format that organizes the user data in a structured, tabular form, PDF, and XLSX file.
- This CSV file is useful for analysis, backups, reporting, or transferring user data to other platforms or systems.
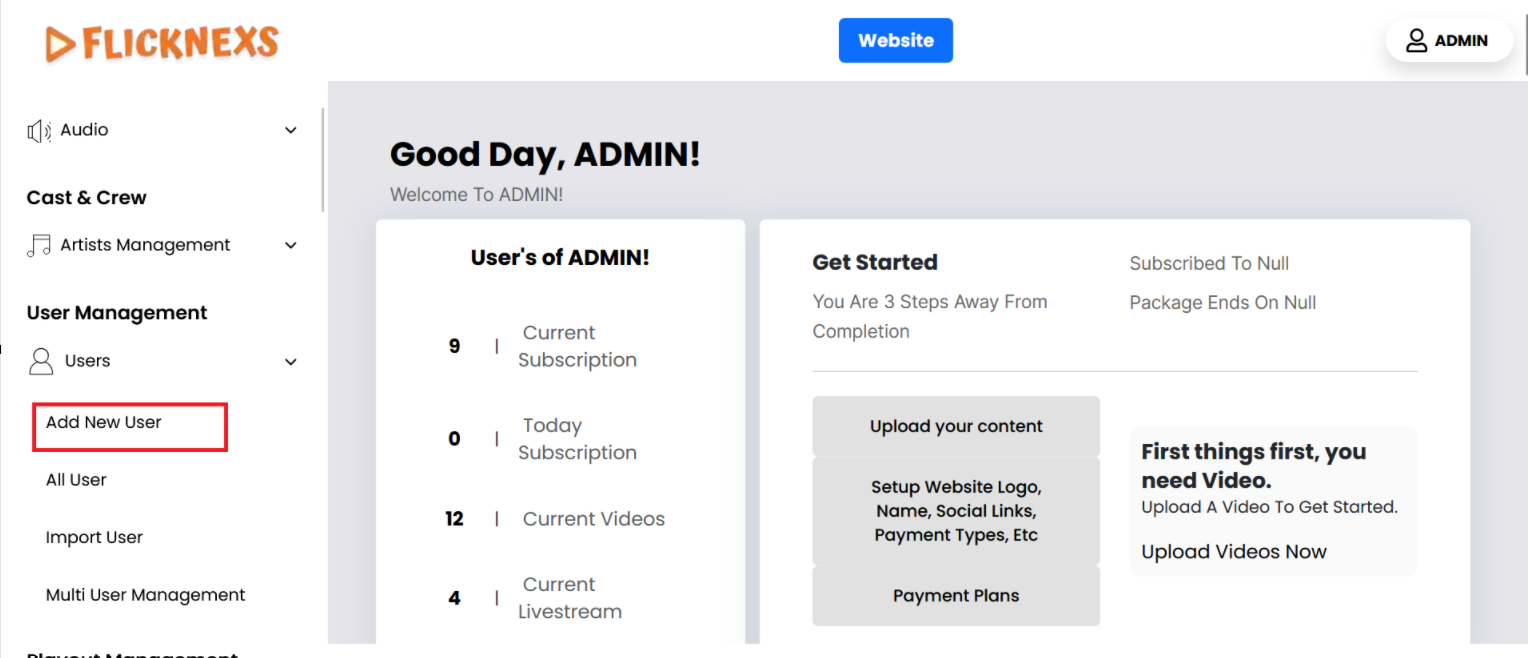
Add New User
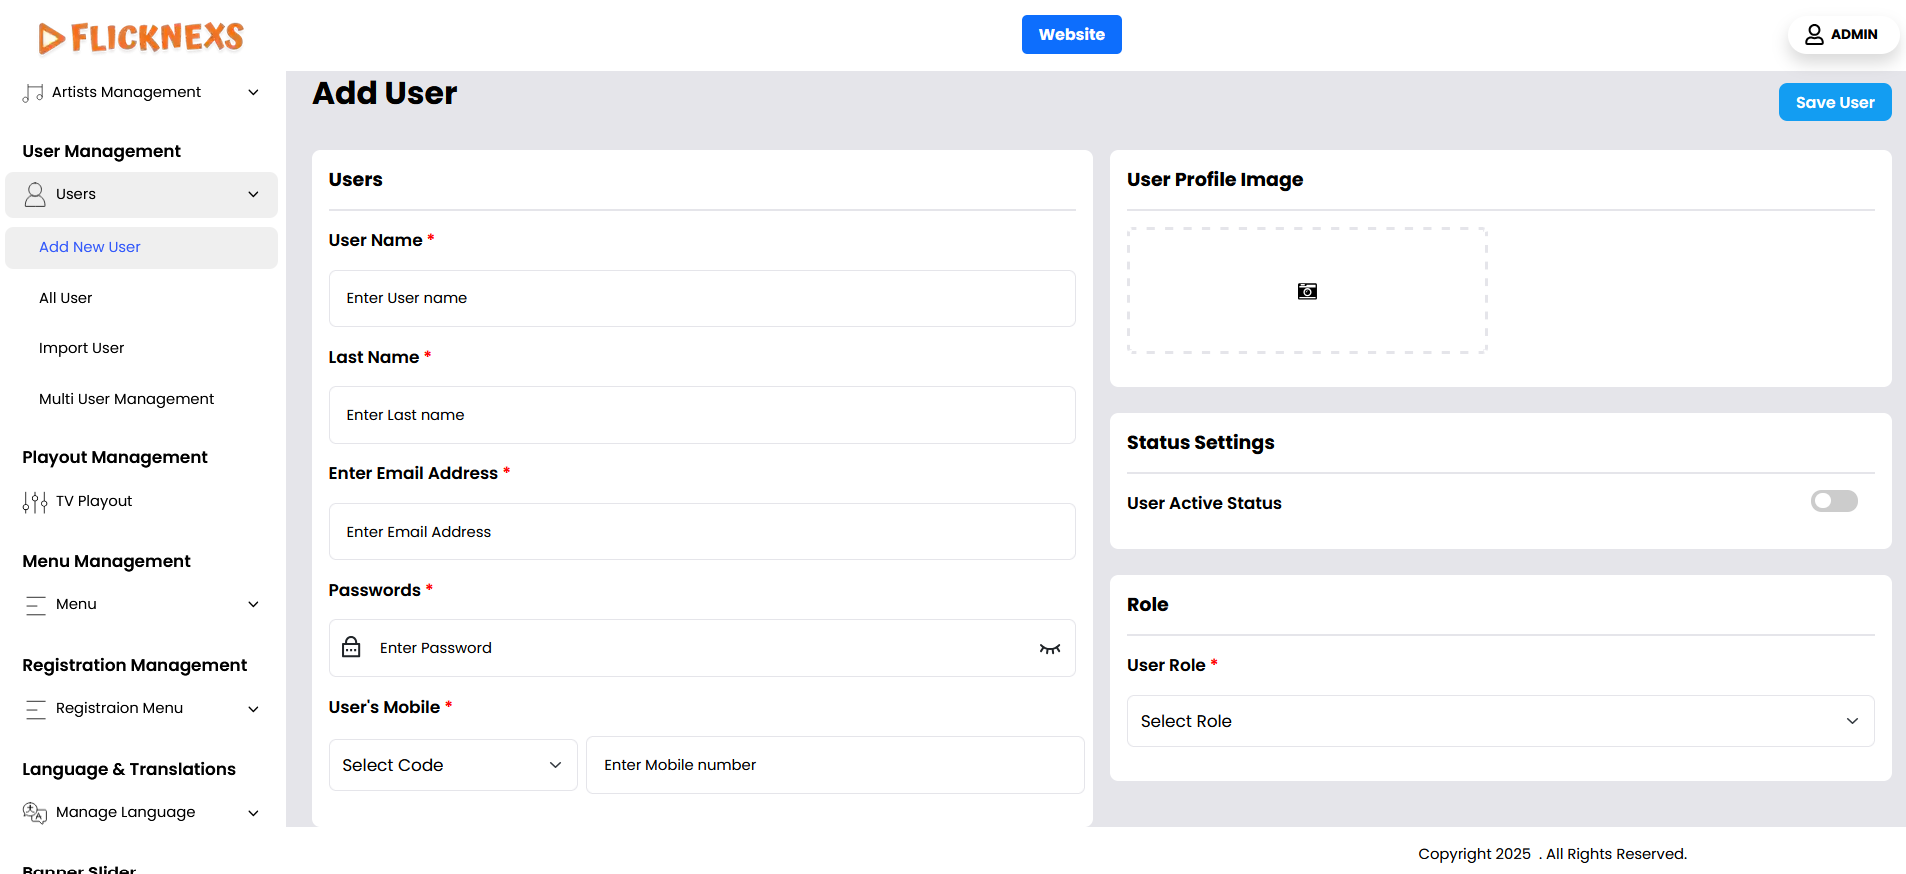
You can add a profile image for the user by uploading an image file that represents them.
For user information, you’ll need to fill in several fields:
- User’s Mobile Number with Code: Enter the user’s mobile number, including the international dialing code, to ensure accurate contact details.
- Username: Choose a unique username for the user. This will be their identifier on the platform.
- Password: Set a password for the user, ensuring it meets security requirements.
- User Email Address: Provide a valid email address for the user, which can be used for account verification and communication.
- User Role: Select the appropriate role for the user from the options available, such as Registered User, Subscriber, or Admin. This will determine their access and permissions within the platform.
- Active Status: If the user account is active, Enable the “User Active Status”. If the account should be inactive, make sure to disable this option.
This information is crucial for managing user accounts effectively and ensuring proper functionality on the platform.
Import Users
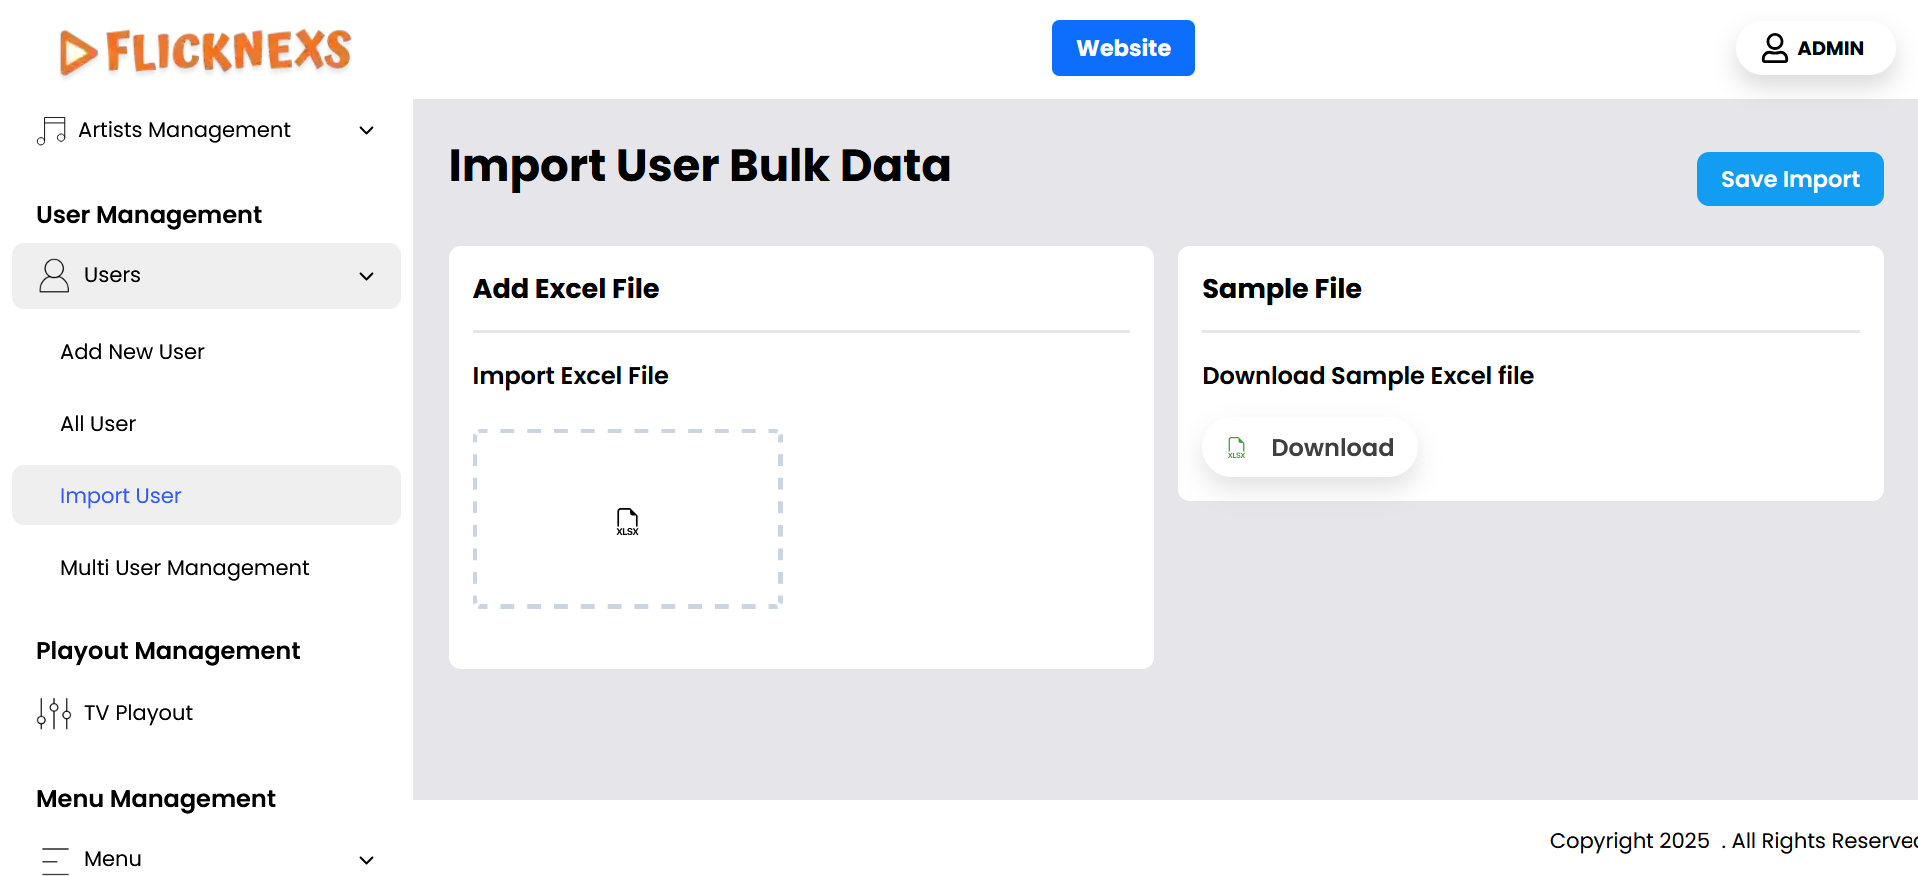
To import users into the platform, follow these steps:
- Access the Users Section: In the admin panel, navigate to the “User Management” section and click on the “Users” option. From there, select “Import Users.”
- Download the Sample Import Excel File: Before creating your own Excel sheet, you can download a sample import file. This file serves as a template to ensure you structure your data correctly.
- Maintain the Headings: When creating your Excel sheet, make sure not to alter the headings provided in the sample file. Keeping the original headings intact is crucial for the import process to work correctly.
- Fill in User Information:
- Role: Specify the role for each user (e.g., Subscriber, Admin, etc.).
- Email: Enter the users’ email addresses in this column.
- Subscription End Days: Indicate the number of days until the users’ subscriptions end.
- Package: Specify the type of package associated with the user account, such as “Pro” or “Business.”
- Package End Date: Provide the end date for the user’s package, detailing the number of days remaining.
- Active Status: Indicate the user’s active status by entering either active or 0 inactive.
- Upload and Import: After entering all necessary information into your Excel sheet, upload the file in the import section. Once the file is uploaded, select the “Import” option to begin the process.
By following these steps, efficiently import user data into the platform, ensuring that all details are accurately captured.
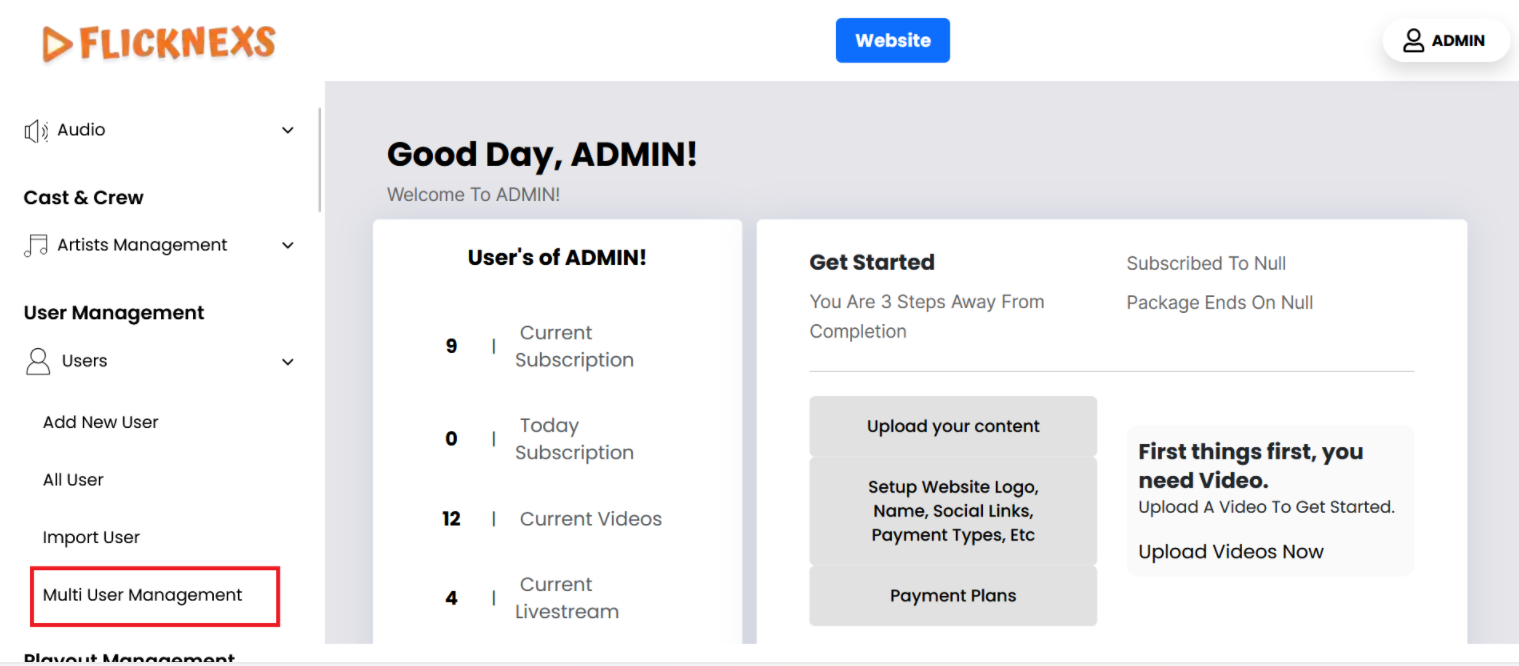
Multi-user management
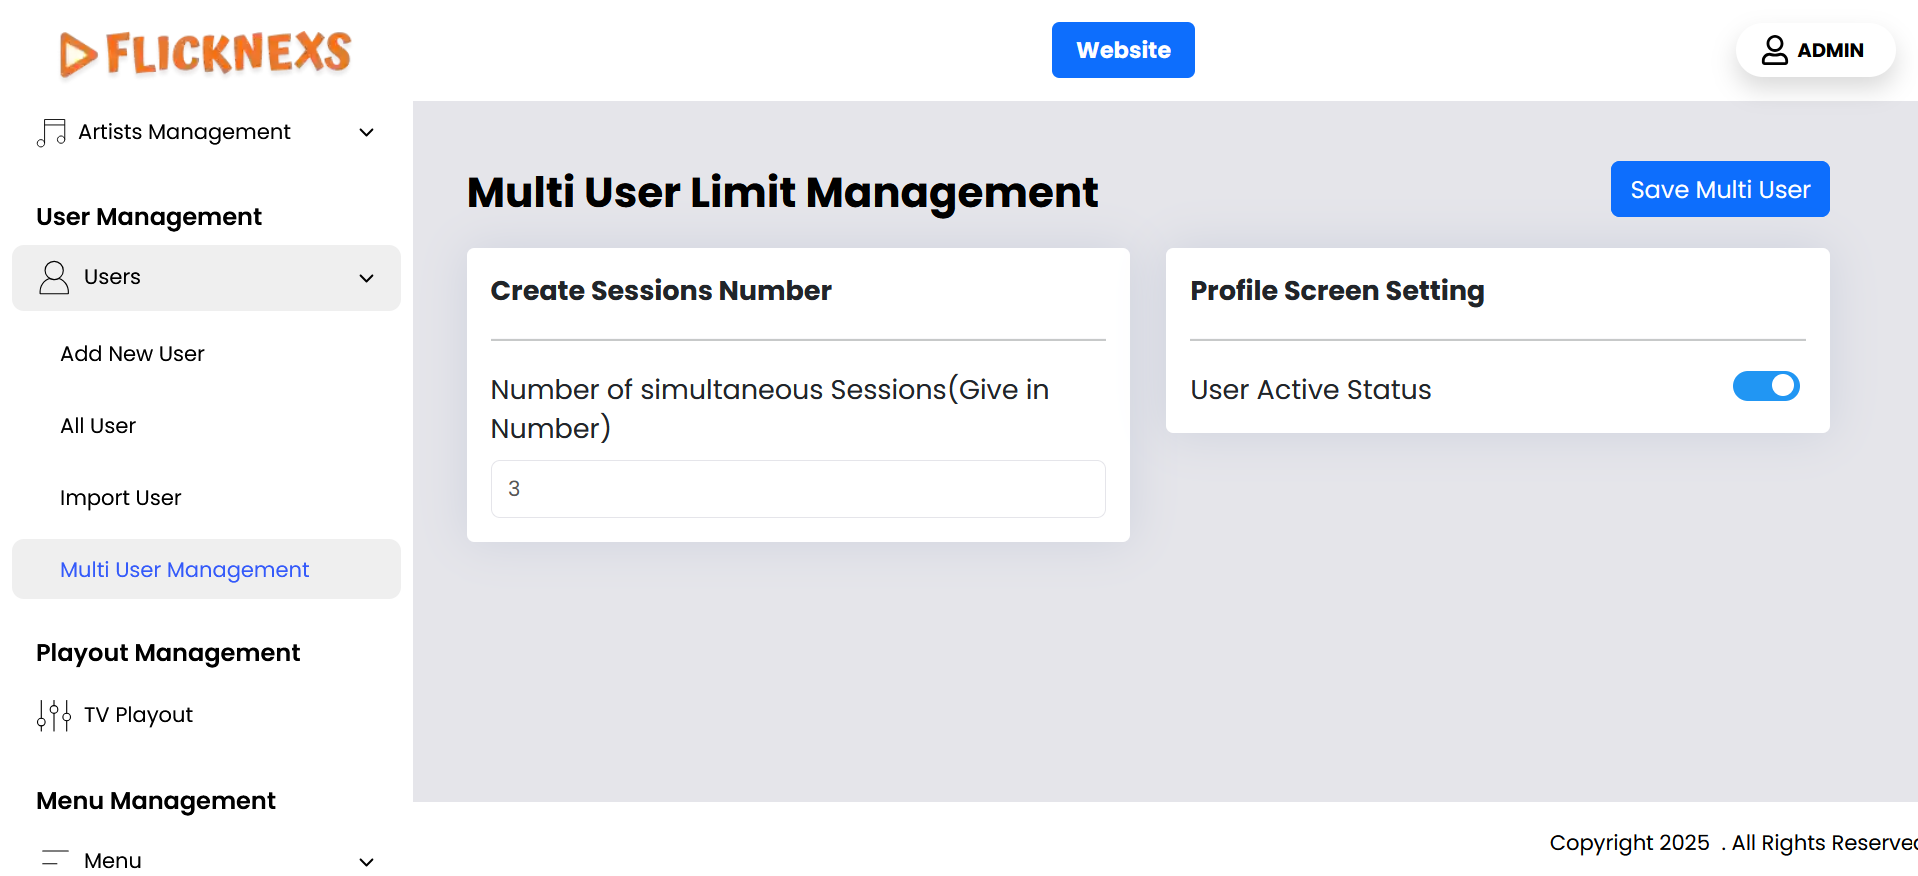
- You can limit the number of simultaneous sessions per user by specifying a number in this option. This allows you to control how many devices or sessions a user can be logged into at the same time, enhancing account security and preventing unauthorized sharing.
- Additionally, you have the option to enable or disable the “Choose Profile” screen during login. When enabled, users will be prompted to select a profile upon signing in, which is useful if multiple profiles are linked to a single account. If disabled, users will be taken directly to the main platform interface without being asked to choose a profile.