In the Admin panel, you will find various options listed on the left side of the page. To manage videos, please follow these steps:
1. Access the Admin Panel: Log in to the Admin panel from your platform.
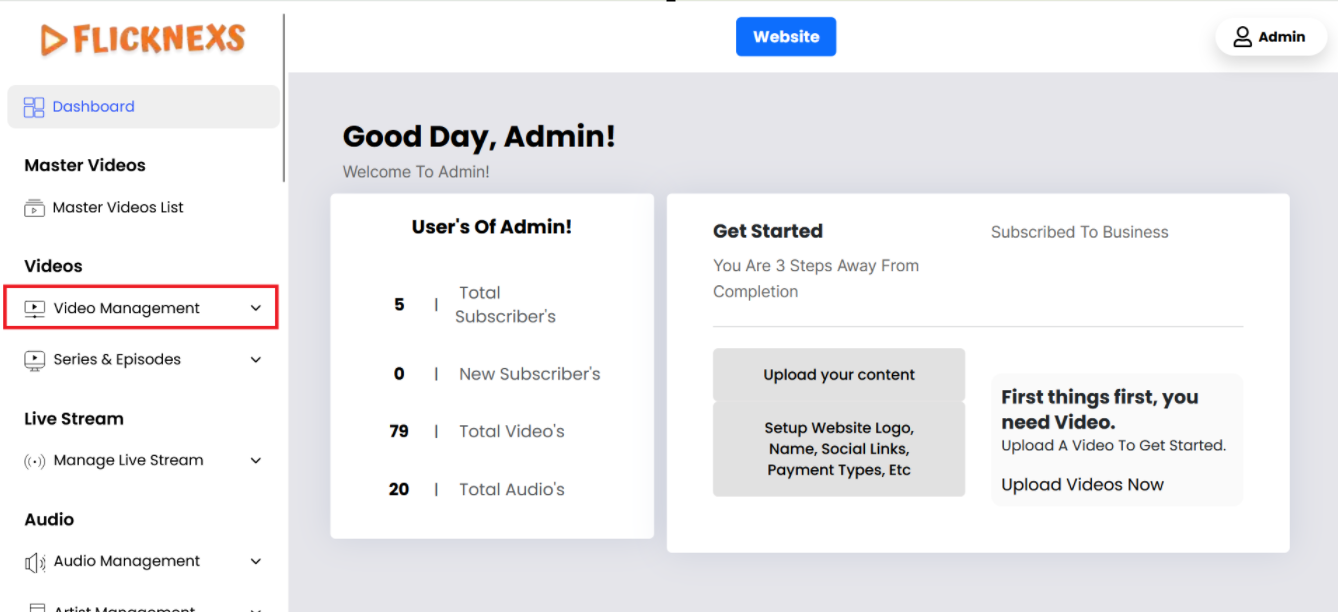
2. Locate the Sidebar: On the left side of the page, you will see a sidebar containing multiple options.
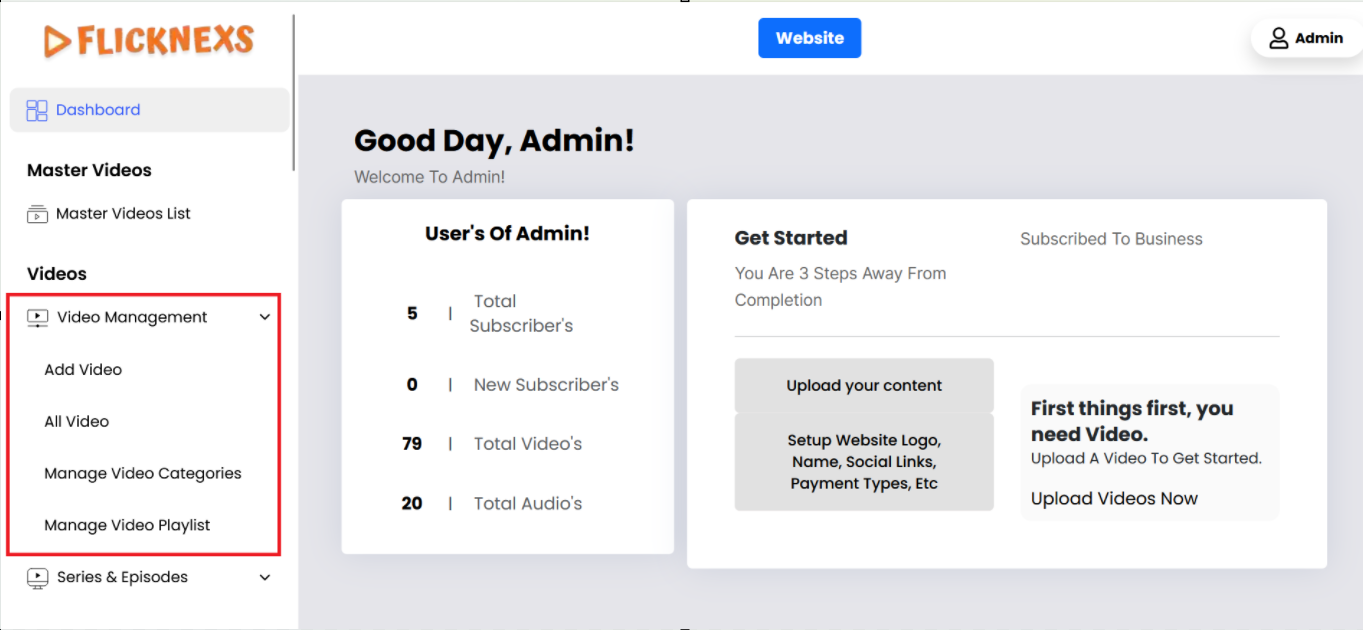
3. Select ‘Video Management’: From the sidebar, click on the ‘Video Management’ option.
4. Navigate to the Video Management Section: After selecting ‘Video Management’, you will be directed to the video management section where you can upload, edit, delete, and organize videos.
By following these steps, you can efficiently manage your video content through the Admin panel.
Add new video
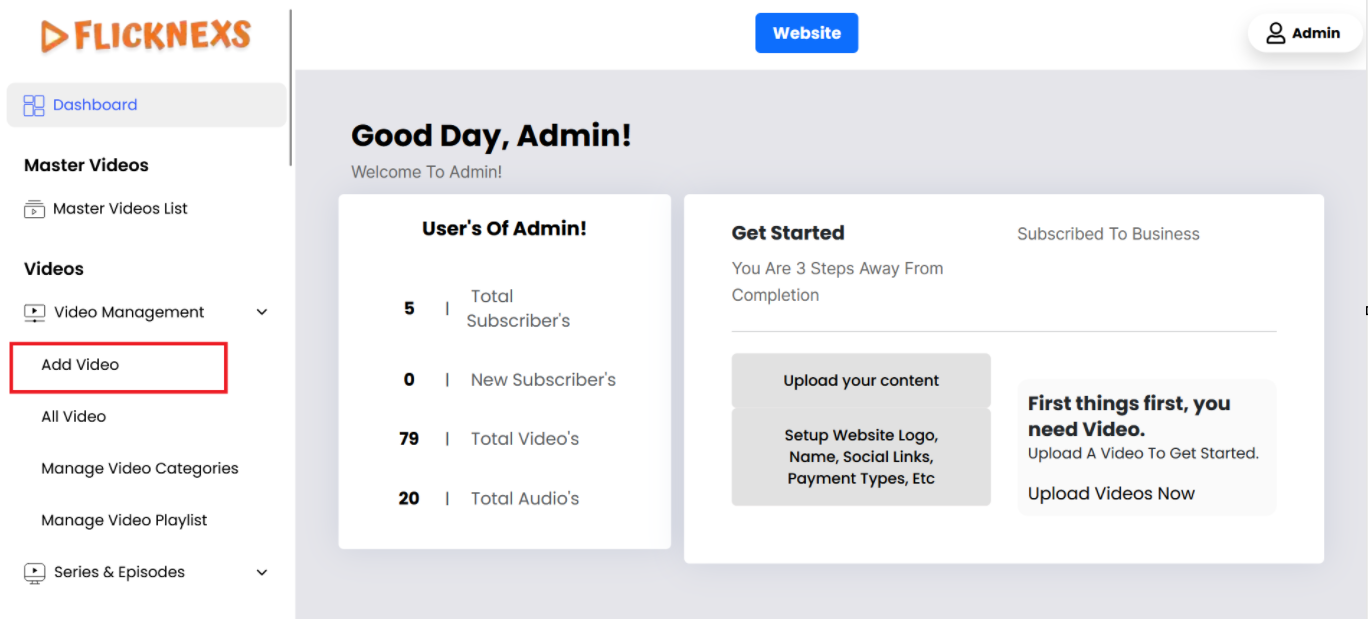
- The “Add Video” option is a button found on the video management.
- When clicked, it redirects you to the video upload page where you can upload a new video.
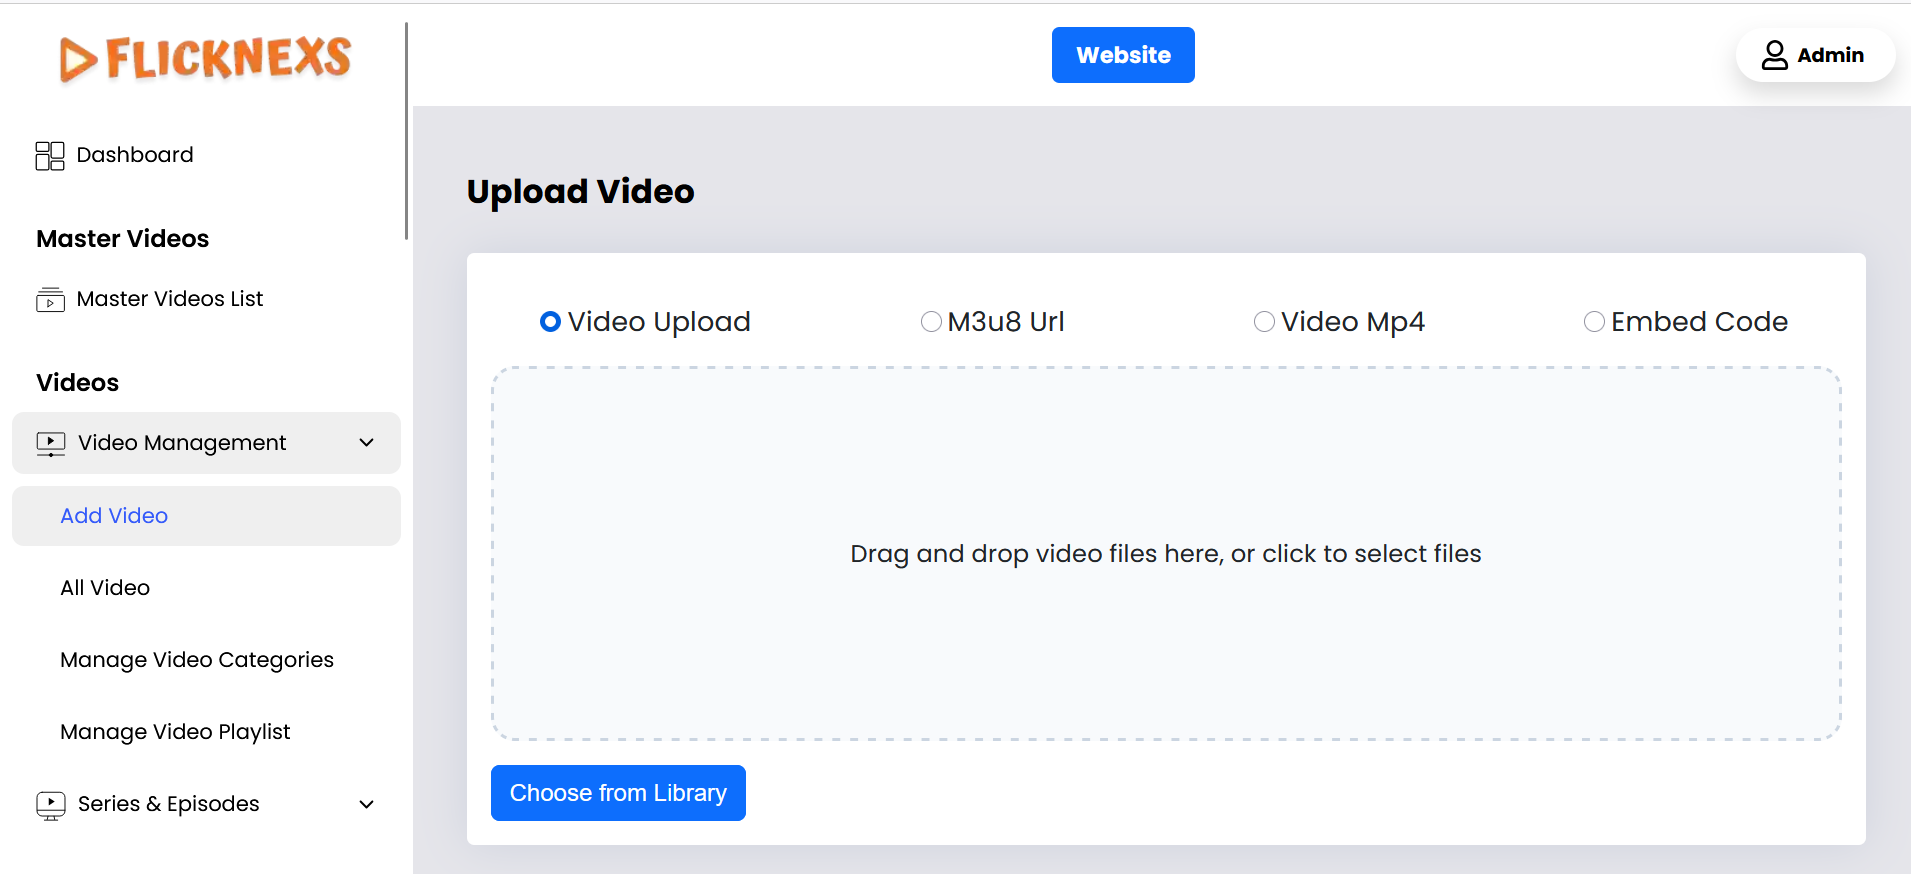
Upload video
Video Upload:
- Video upload
- m3u8 url,
- Video MP4
- Embed code
- Description: This option allows you to upload video files directly from your devices. Supported formats will include MP4, MOV, etc.
- Functionality:
- Browse and Select: Users can click a button to browse their device and select a video file.
- Drag and Drop: Users can drag and drop the video file into a designated area on the upload page.
Video details
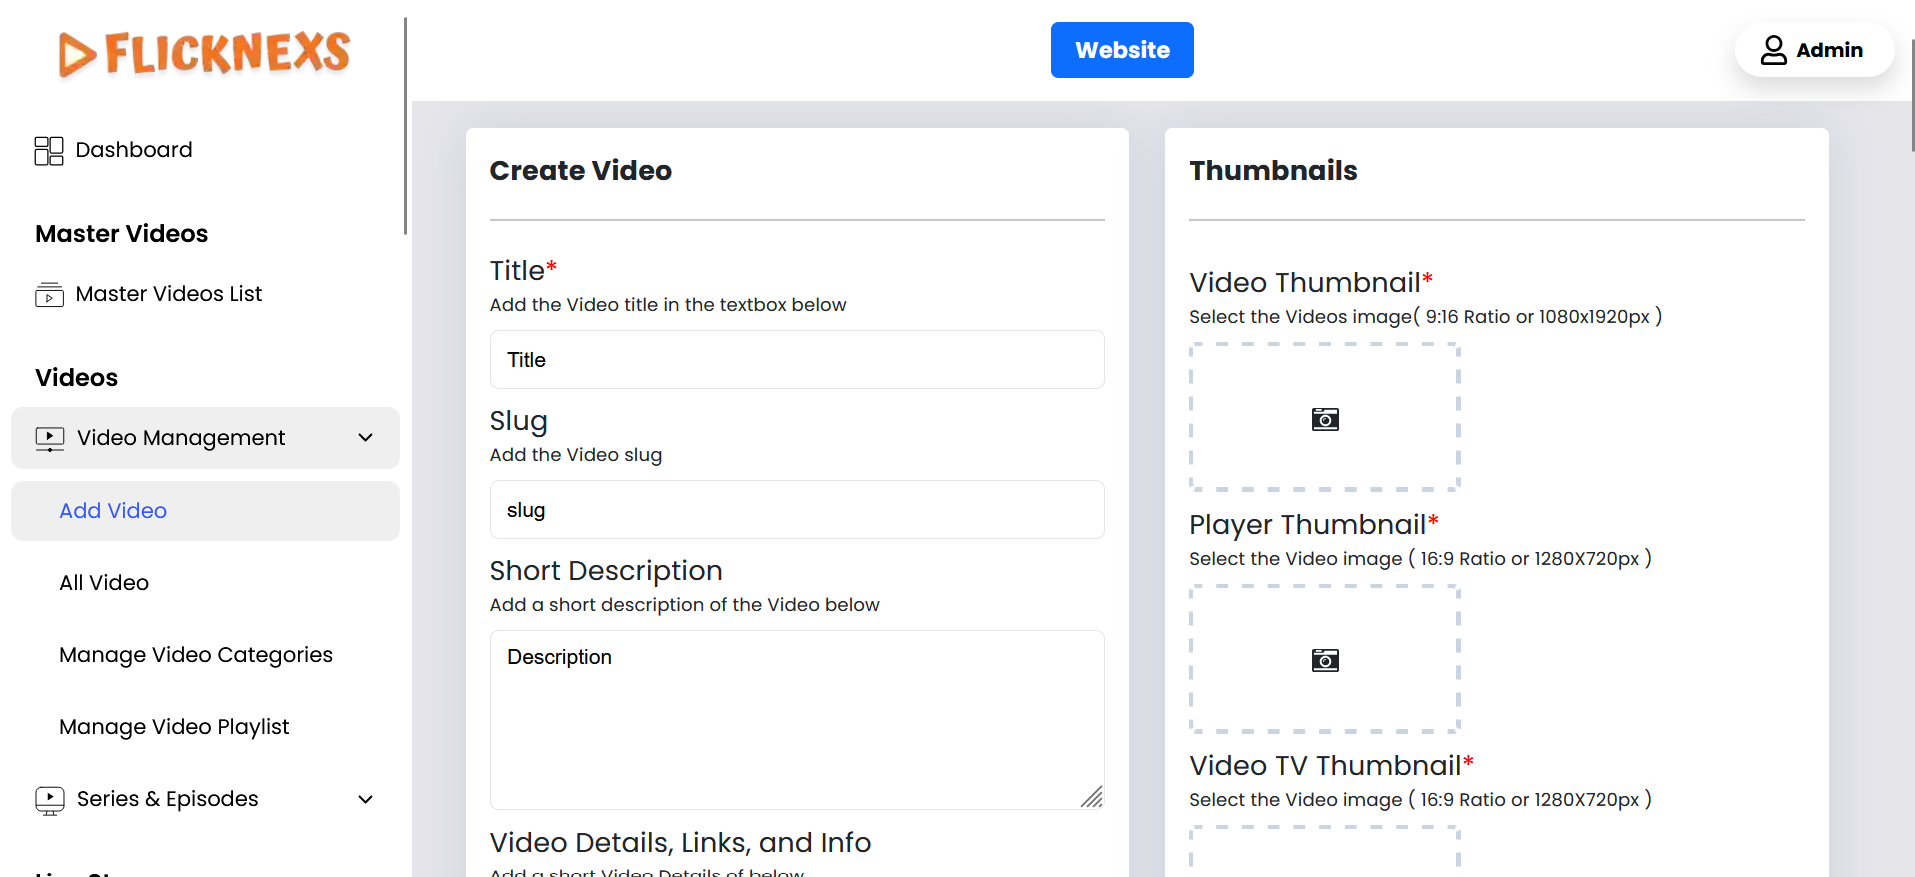
- Title: Add the video title.
- Slug: The Slug will be auto-generated from the title
- Short Description: Add a description for the video.
- Video Details, Links & Info: Include any reference links or trailer links, along with additional details about the video.
- Duration: The Video Duration will be displayed.
- Publish Year: Specify the year when the video was created or broadcasted.
- Video Rating: Provide a rating for the video based on its content.
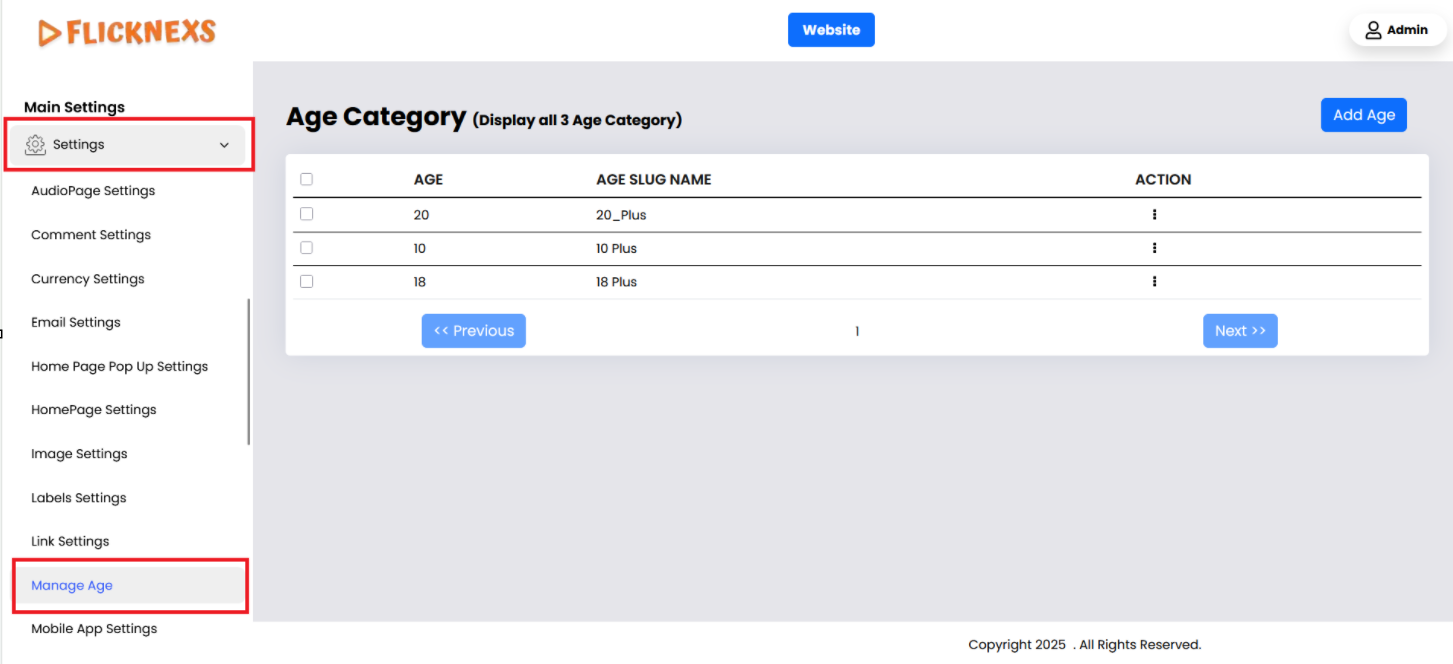
- Age Restrict: Select the appropriate age restriction for the video from the options provided before proceeding to the next step.
Note: Admin -> Settings-> Manage Age
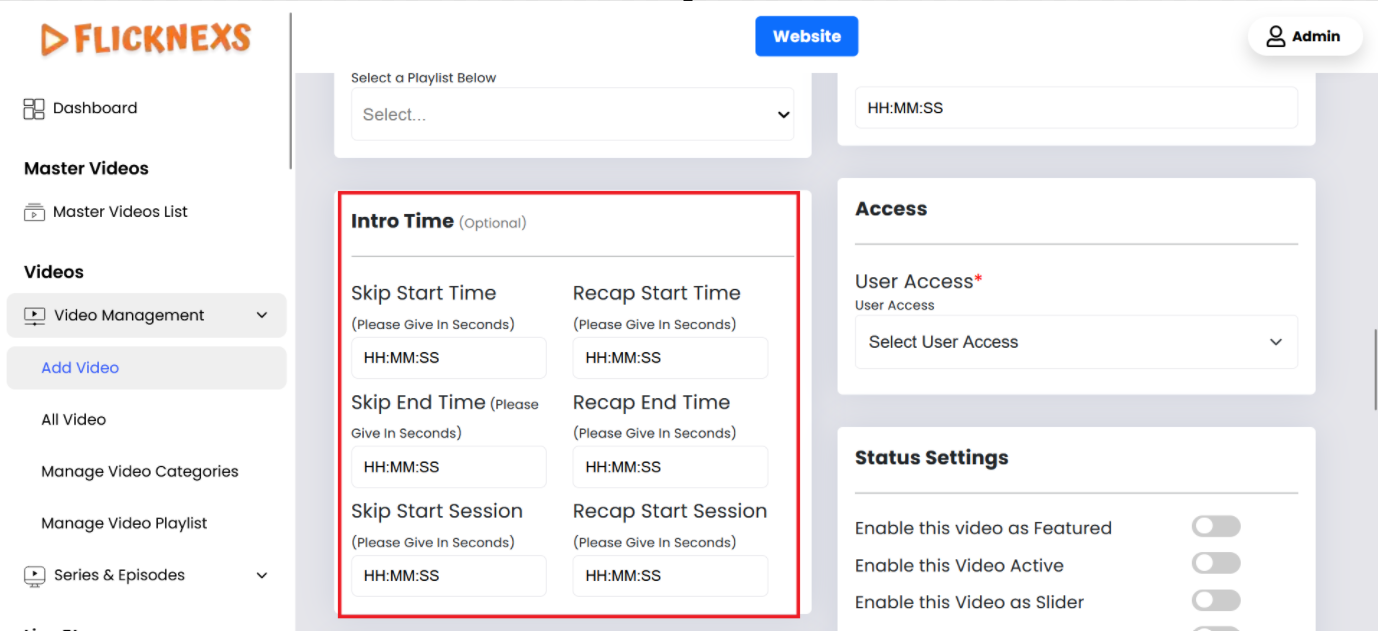
- Skip Intro Time: Specify the intro start and end times (in seconds) if you want to skip the intro.
- Recap Time: Specify the start and end times (in seconds) for the recap if needed.
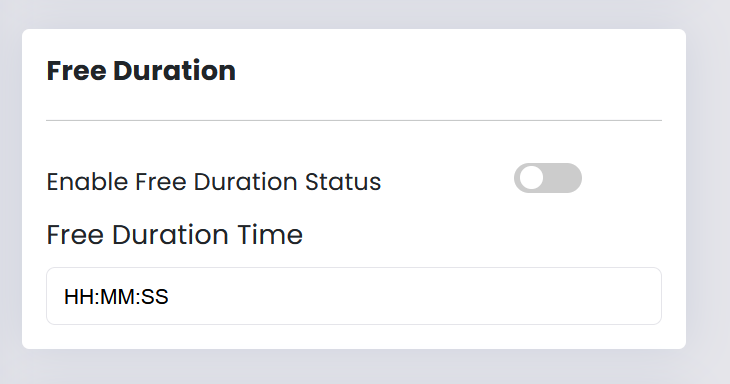
- Enable Free Duration: Enable this option to allow users to watch a specific portion of the video for free. After the preview ends, users will be prompted to subscribe to continue watching the entire video.
Example: This section allows users to watch the video on a Pay-Per-View or rental basis. You can set the viewing duration to 10 minutes or 30 minutes as desired. Once the allotted time expires, the video will stop playing. The video will only play after the payment process is completed.
- Free duration: Please specify the free preview duration here.
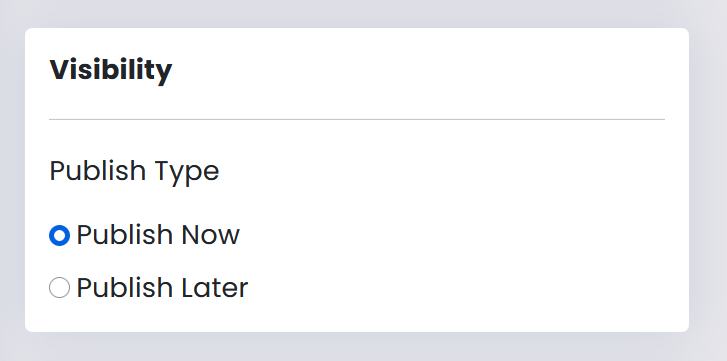

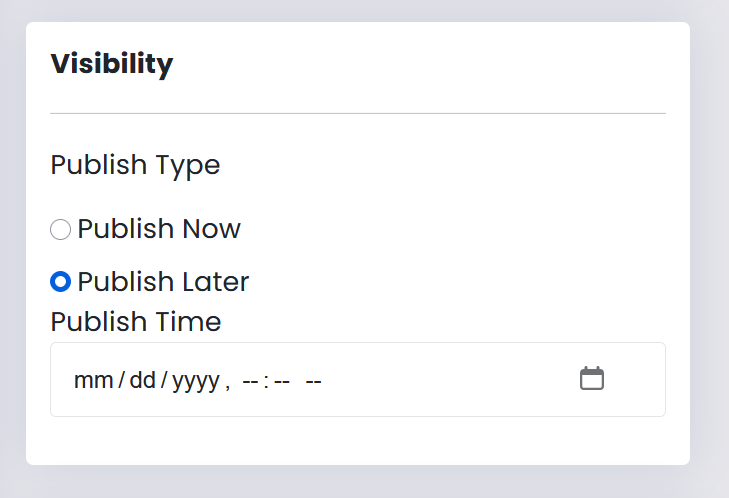
- Publish Type: Choose between publishing the video immediately or scheduling it for a later time.
- Publish Time: If you want to publish the video later, please specify the publish time here.
Category
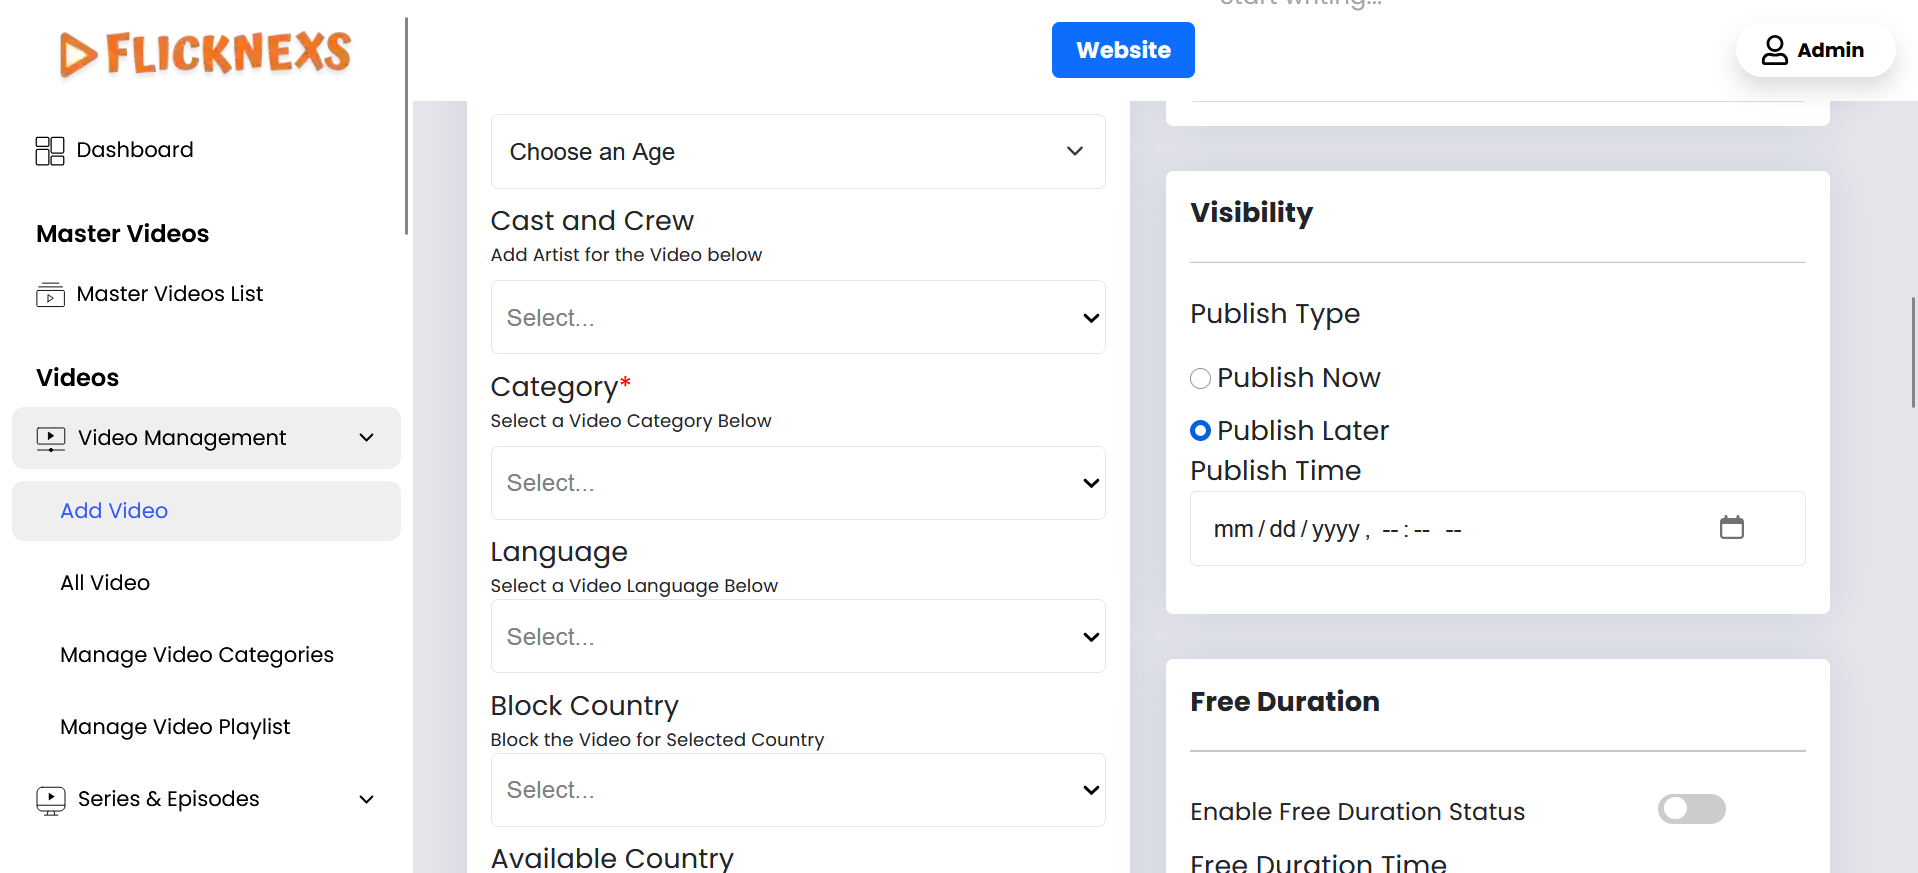
- Cast and Crew: Add the names of the artists and crew members in this section. Note: Admin -> Audio -> Artist Management -> Add New Artist
- Category: Choose the appropriate category for the uploaded video from the available options. Admin -> Video -> Video Management -> Manage Video Categories
- Language: Select the appropriate language for the video from the available options. Admin -> Language -> Manage Languages -> Video Languages
- Block Country: Select the country where you want to block the video from being viewed. Admin -> Geo Fencing -> Manage Countries
- Available Country: You can select the countries to make sure the videos are available for those countries.
- Related Videos: Select related videos from the list of available options.
- Reel Videos: Upload your reel video here.
- Reels Video Thumbnail: Add a thumbnail for your reel video in this section.
- Choose Playlist: Select the playlist to which this video belongs. Admin -> Video -> Video Management -> Manage Video Playlist
- E-Paper: You may upload a PDF file here if needed.
- URL Link: Enter the URL link you want to appear in the video.
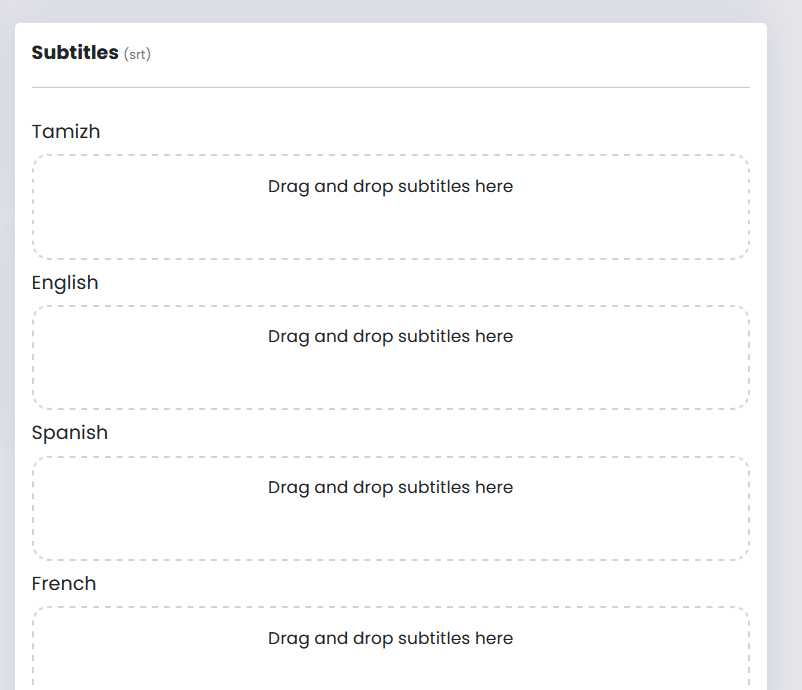
- Subtitles (SRT or TXT): Upload subtitles in other languages here, using either SRT or TXT format. Admin -> Language -> Add Subtitle Languages
- URL Time: Specify the time at which the URL link will be displayed in the video, Start and End.
User Video Access

- User Access Options:
- Guest (Everyone): Anyone can watch the video.
- Subscriber: Only subscribers can watch the video.
- Registered User: Only registered users can watch the video.
- PPV User: Users must pay to watch the video.
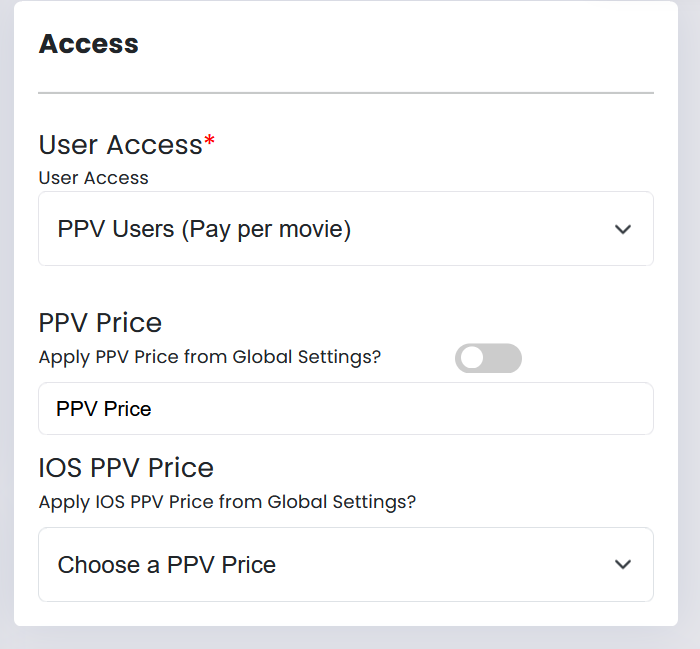
- Get Pricing from Global PPV Rates Set: Enable this option to use the global PPV pricing set in the settings, or manually set the PPV price for the video. Admin -> Settings -> Storefront Settings -> PPV Settings
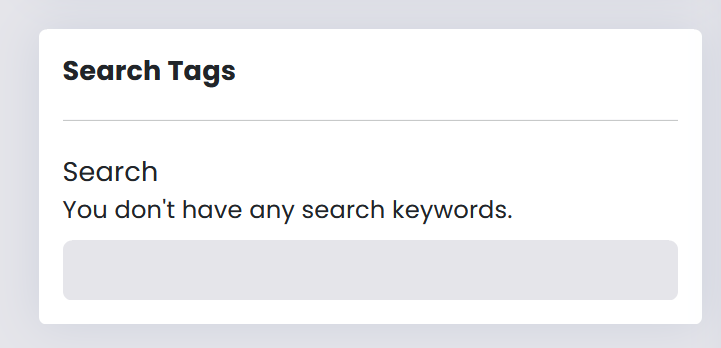
- Search Tags: Create and add search tags to make the video easily searchable.
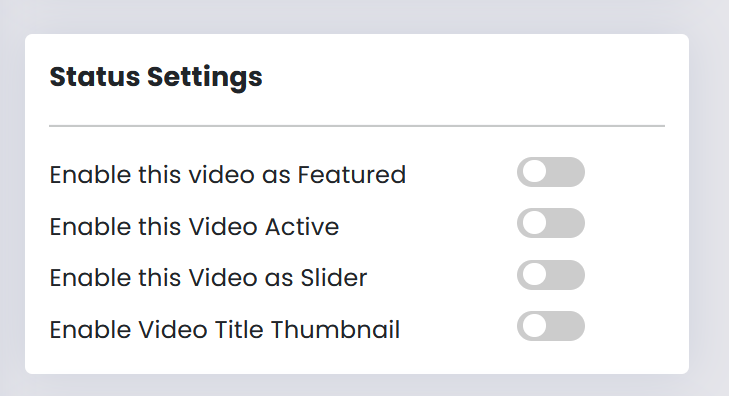
- Status Settings:
- Enable this Video as Featured: Enable this option to highlight the video as a featured video.
- Enable this Video Active: Use this option to make the video available on the web, Android, and iOS apps.
- Enable this Video as Slider: Enable this option to display the video in the slider.
- Enable Video Title Thumbnail: Enable this option if you want the video thumbnail image to be displayed as the video title thumbnail.
Upload Image & Trailer
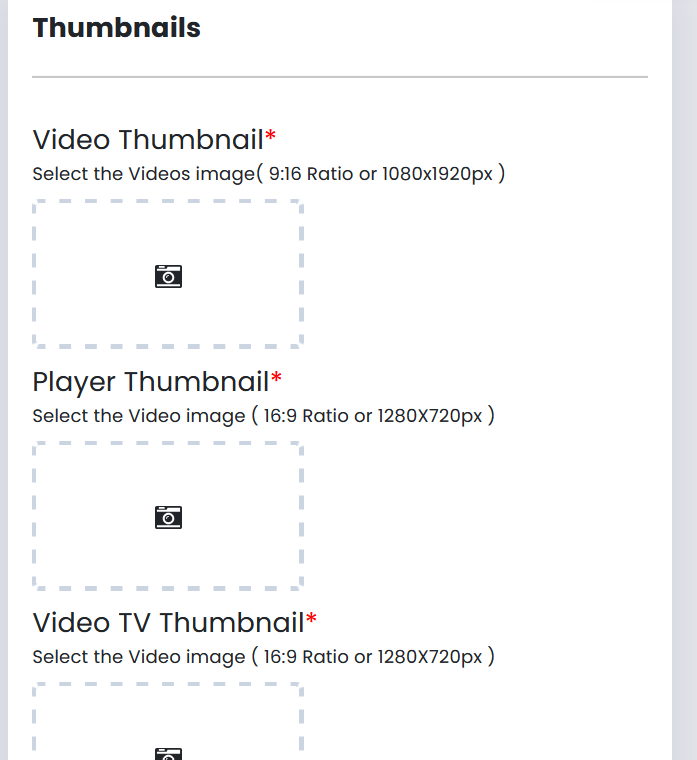
Image Upload
- Video Thumbnail: Upload the image that will be used as the thumbnail for the video. This is the primary image users will see before playing the video.
- Player Thumbnail: Upload the image that will be used as the thumbnail for the video player. This image appears in the video player interface.
- Video TV Thumbnail: Upload the image that will be used as the thumbnail for TV displays. This is specifically designed for optimal viewing on TV screens.
- Video Title Thumbnail: Upload the image that will be used as the thumbnail for the video title. This is typically shown in listings and search results.
Trailer Upload
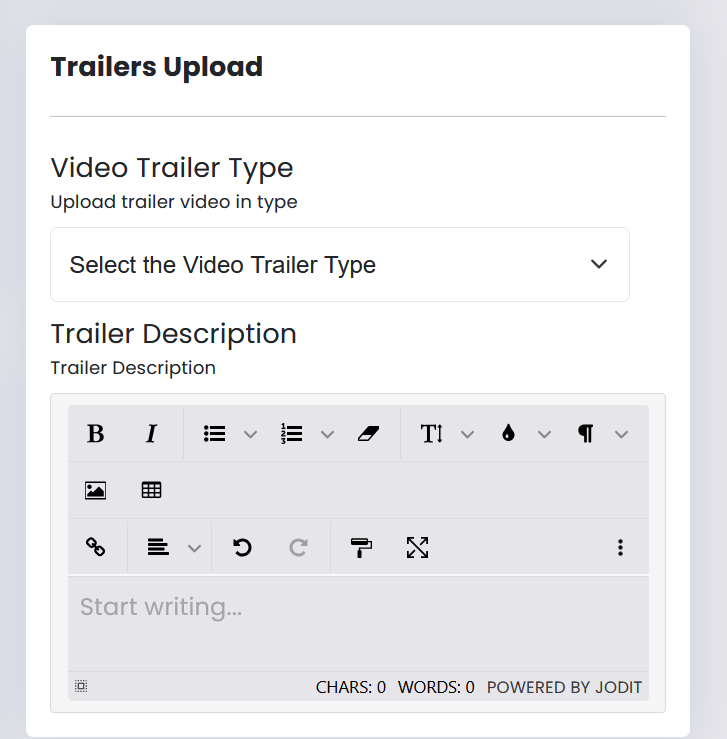
- Video Trailer Type: Select the type of video trailer you want to upload. Use the drag-and-drop option or browse to upload the trailer video.
- Trailer Description: Enter a description for the trailer. This should provide a brief overview or teaser of what the main video is about.
Ads Management:
Advertisement Devices: Choose the devices where advertisements will be displayed. This may include options such as Website, Android, iOS, TV and Roku. Select the devices from the available choices to ensure ads are shown on the appropriate platforms.
Choose the Pre & Post Position Advertisement:
- Pre-Advertisement: Select an advertisement to be displayed before the main video starts. This ensures that viewers see the ad before watching the video content.
- Post-Advertisement: Select an advertisement to be shown after the video ends. This allows you to promote additional content or products once the video has concluded.
Choose the Mid-Position Advertisement Category: Select the category of advertisements that will appear in the middle of the video. This could include various categories such as related products, services, or promotional content. Choose from the available categories to target the appropriate audience.
Mid-Advertisement Sequence Time: Specify the time at which the mid-position advertisement should be displayed during the video. This is typically set in seconds from the start of the video and determines when the ad will appear during playback.
After completing all the selections and settings, you can add the video to the platform by clicking the “Save Video” button.
All videos

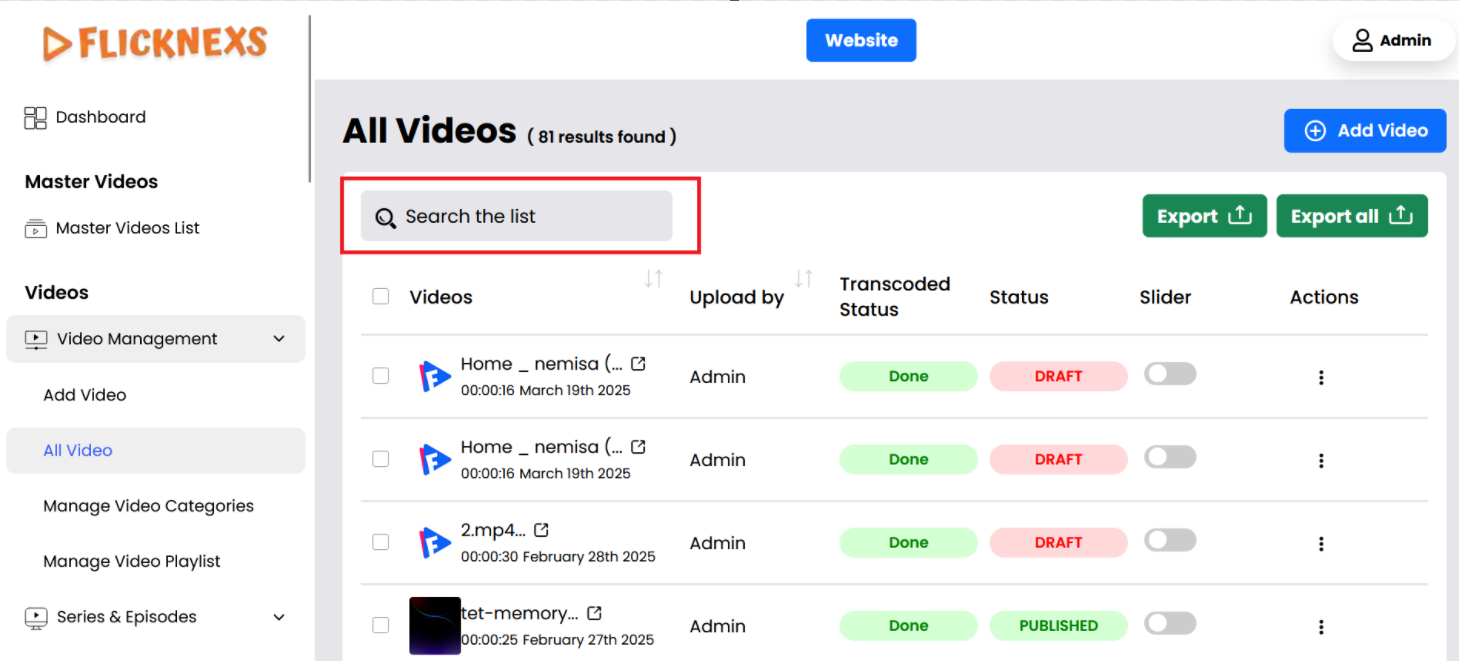
Select “All Videos”:
- Within the “Video Management” section, there should be an option labeled “All Videos.” Click on this option to navigate to the page displaying all video content.
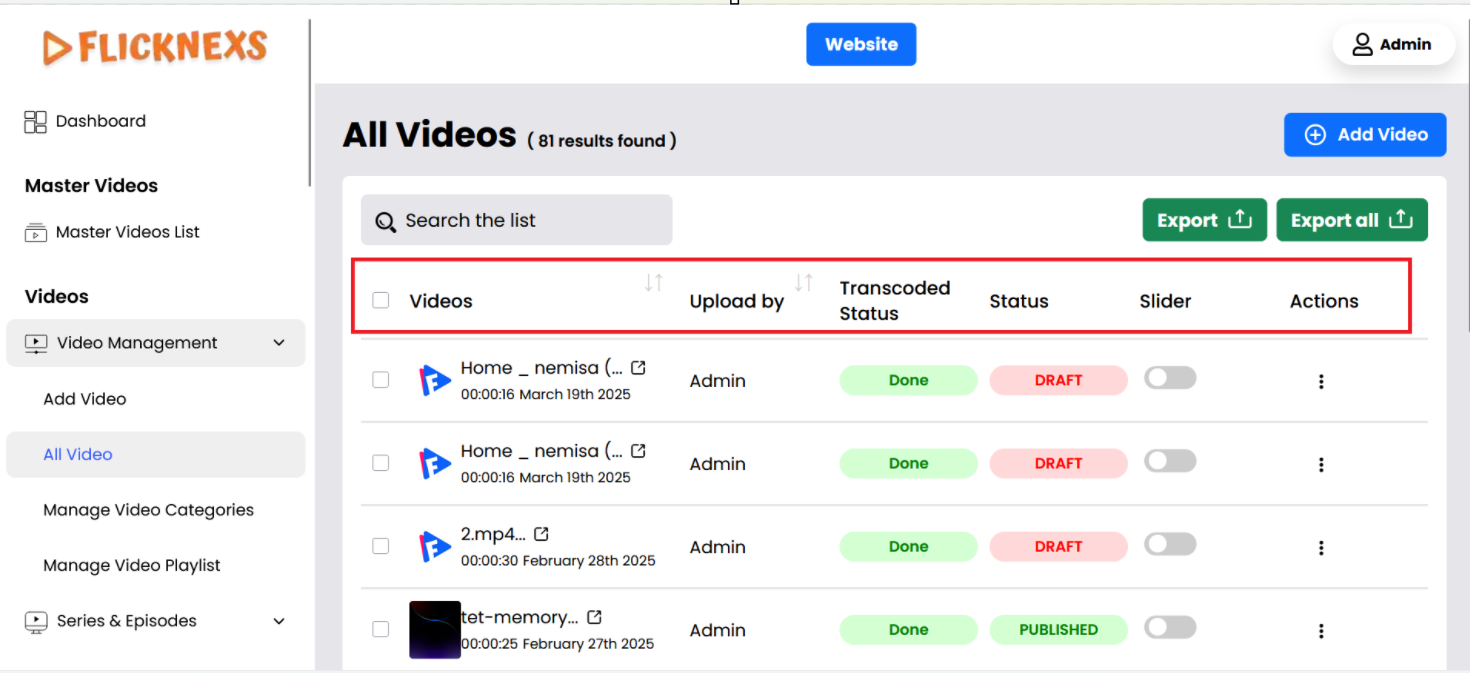
- Video: This is the name of the video, often chosen to give a clear idea of its content.
- Uploaded By: This field shows the name of the person who uploaded the video.
- Transcoded Status: This field indicates the current status of the transcoding process. It provides three possible status options:
Pending – The transcoding process has not started yet and is awaiting execution.
In Progress – The transcoding is actively being processed.
Done – The transcoding has been successfully completed, and the video is ready for use.
- Status: This denotes the current state of the video, which will include options like published and draft. It helps the uploader and administrators manage the video’s lifecycle. If the video’s status is “Draft,” it is waiting in a queue for the transcoding process.
- Slider: This will refer to a slider control. You can enable/disable this option if you want to show that video to the slider of the homepage.
- Actions: This includes buttons that allow users to perform actions on the video. The actions will include preview, edit meta, edit video, and delete.
View Videos Uploaded by Admin and Partners:
- On the “All Videos” page, you will see a collection of videos. This page includes videos uploaded by both the admin and partners of the platform.

- You can browse through the videos, search functionality to find specific content, and play the videos directly from this page.
Manage Video Categories
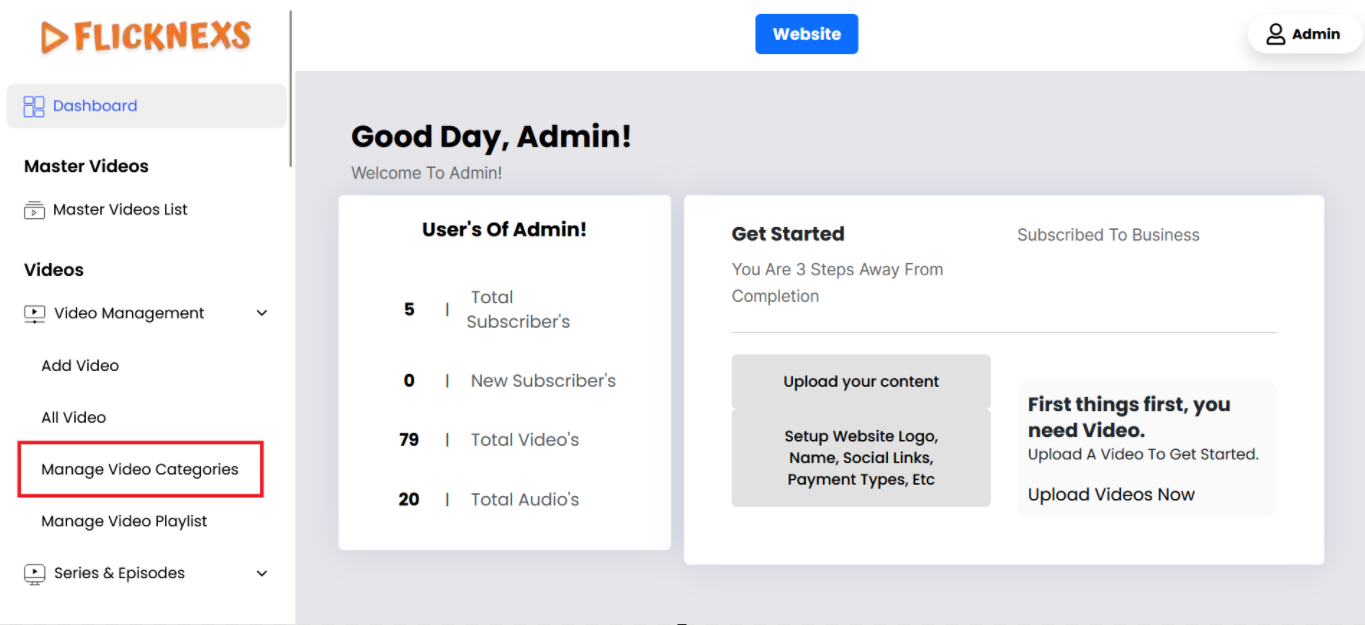
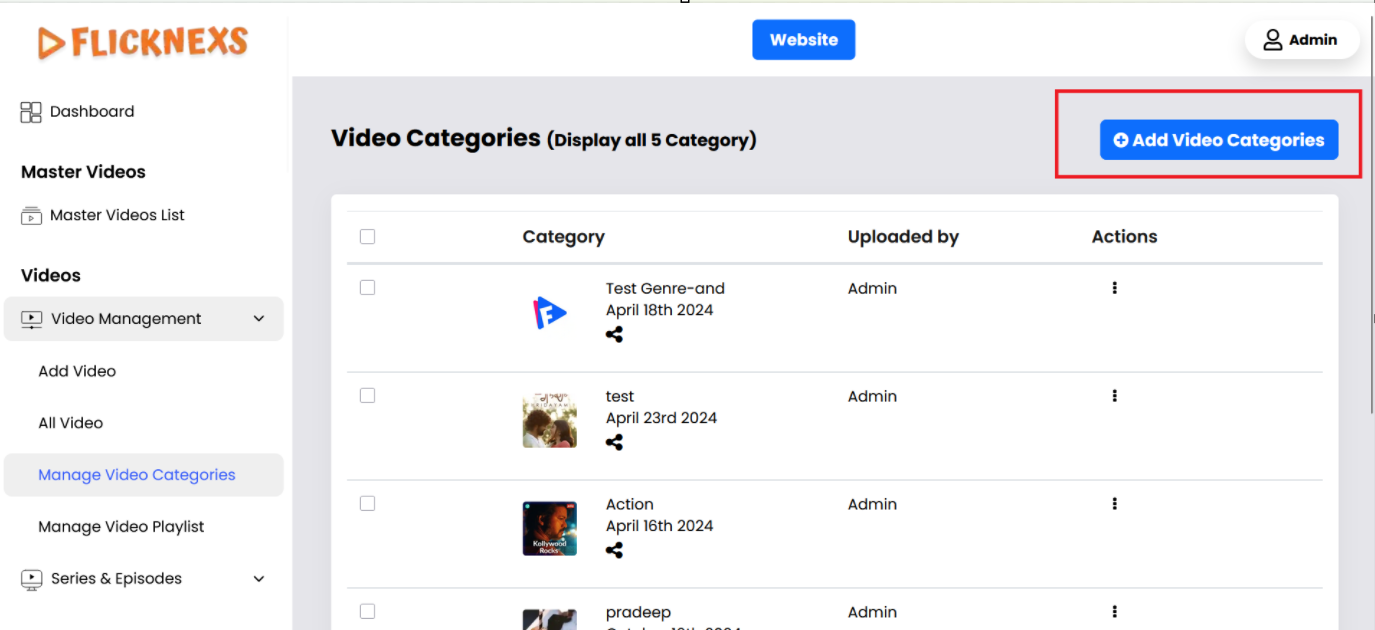
- Overview: This section provides a comprehensive list of video categories available on the platform. Categories help organize content into specific groups, making it easier for viewers to find and explore videos based on their interests.
- List of Existing Categories:
- Display: Shows all current video categories.
- Details: Each category entry includes:
- Category Name: The name of the category (e.g., “Documentary,” “Comedy,” “Education”).
- Category Image: A visual representation or icon associated with the category.
- Active: Enabling this option will display all uploaded videos in the category within the homepage slider.
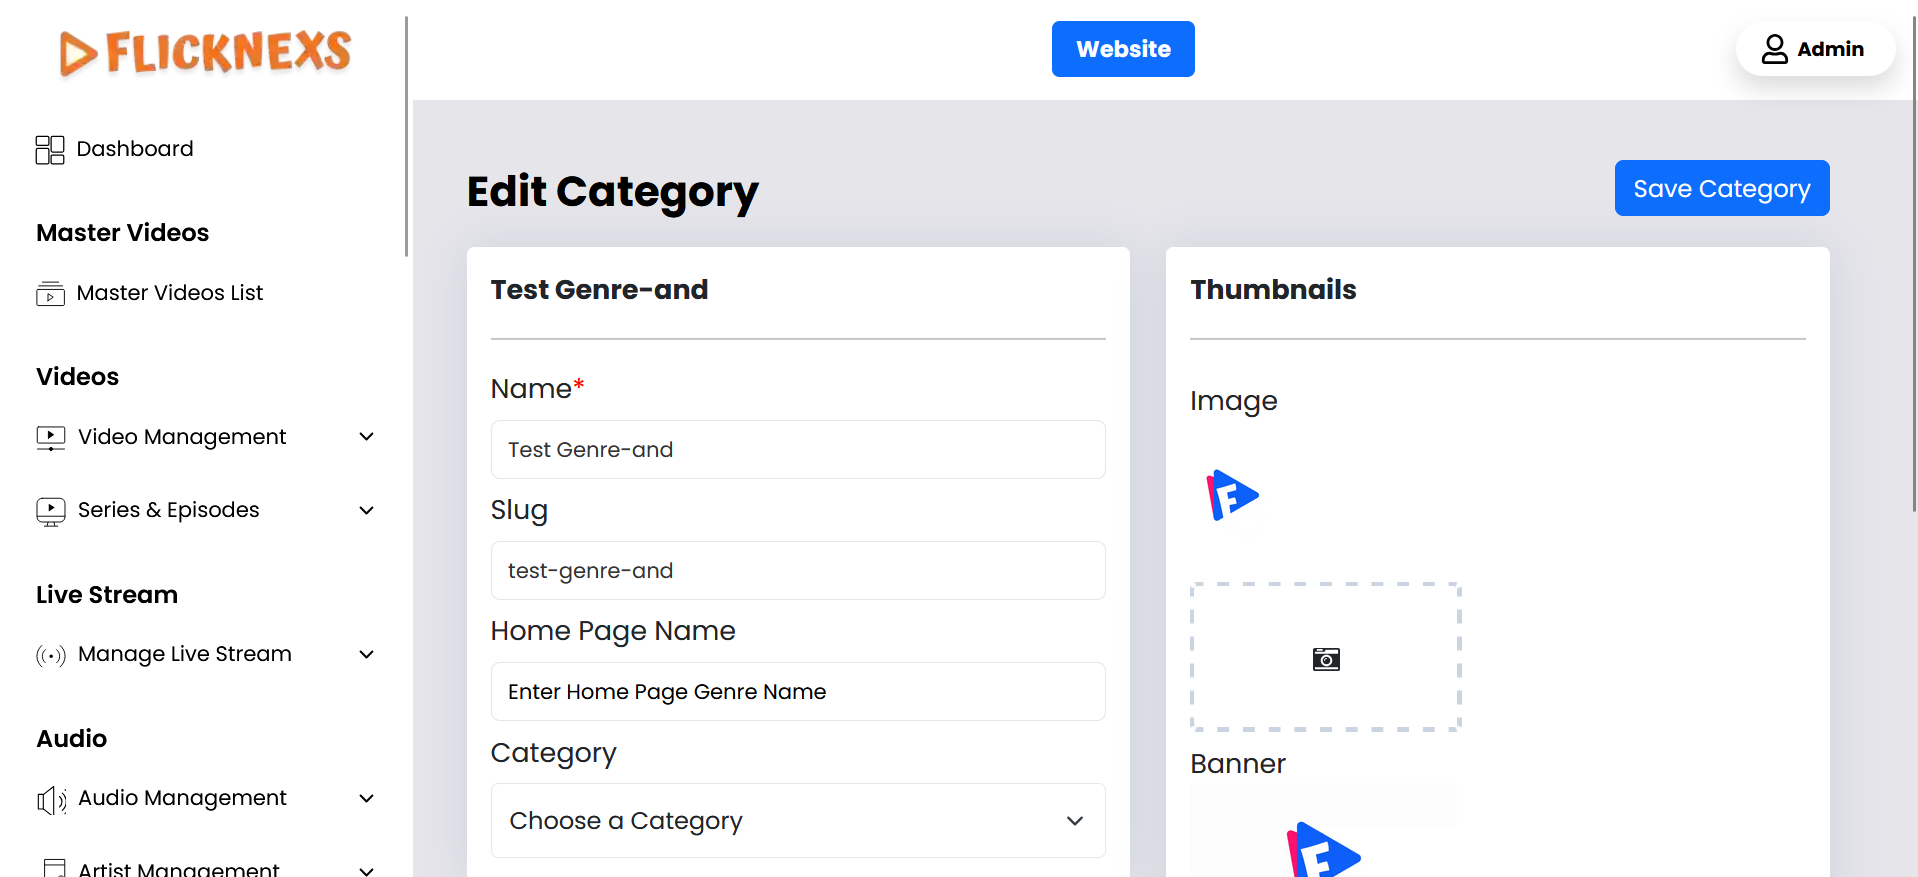
- Add New Categories:
- Action: Click an “Add New” button.
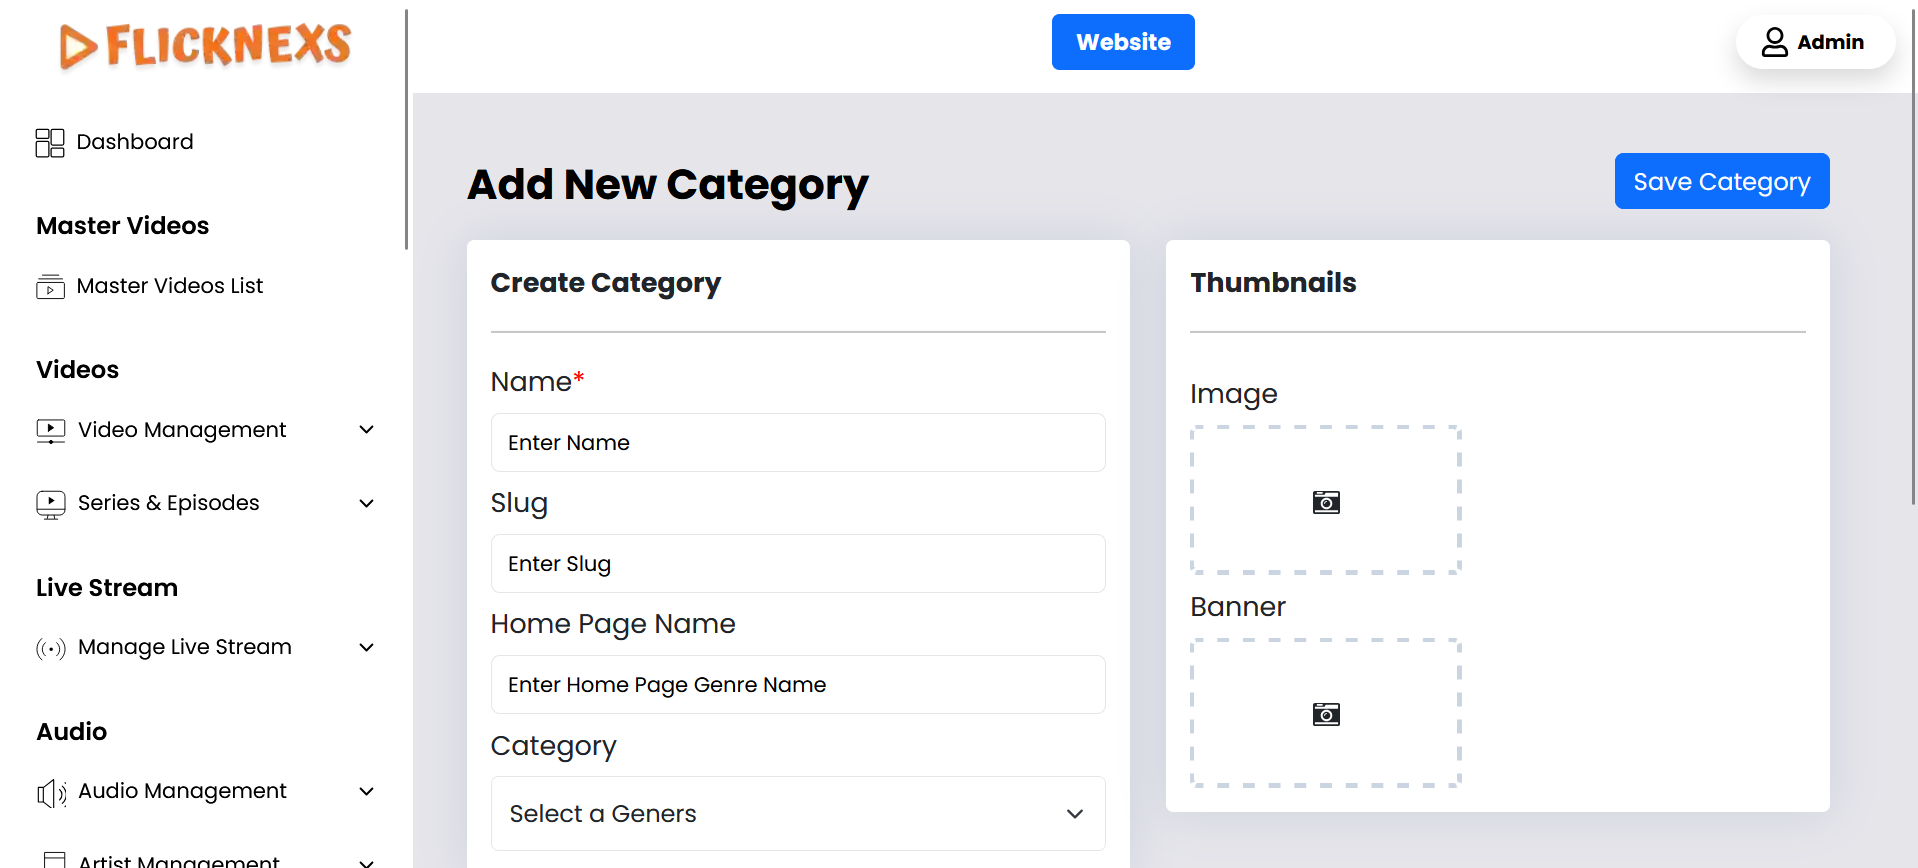
- Details: Provide the following information to create a new category:
- Category Name: Enter the name for the new category.
- Slug: Create a URL slug for the Category.
- Home Page Name: Assigning a genre name for the homepage category helps in organizing and labeling the content displayed on the homepage, making it easier for users to find videos related to specific interests or themes.
- Category: You can organize your content more effectively by creating sub-categories within a main category. From the options provided, select the main category under which you want the new sub-category to be placed.
- Image: Upload an Image for the category.
- Banner Image: Upload a banner image or icon that represents the category
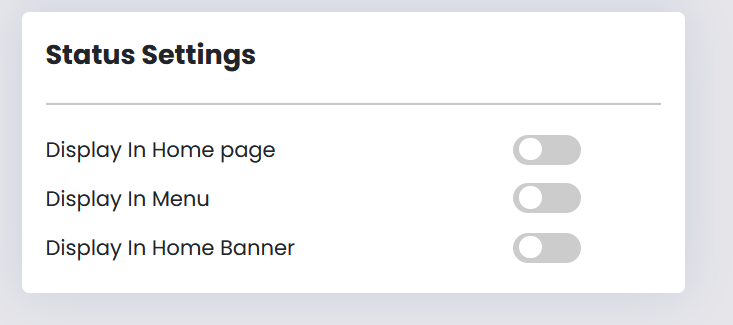
- Display In Home page:
Option 1: Enable:
- Action: Enable this option, if you want this category to be displayed on the homepage.
- Outcome: The category will appear prominently on the homepage, allowing users to easily access videos within this category. This option is ideal for highlighting popular or featured content.
Option 2: Disable:
- Action: Disable this option, if you do not want this category to be displayed on the homepage.
- Outcome: The category will not be shown on the homepage, but it will still be available within the site’s overall navigation or in other sections. This option is useful for categories that are less relevant or should not be highlighted at the moment.
- Display In Menu :
Option 1: Enable:
- Action: Enable this option, if you want this category to be displayed in the site’s navigation menu.
- Outcome: The category will appear in the menu, making it readily accessible to users. This is ideal for categories that you want to highlight and make easily discoverable.
Option 2: Disable:
- Action: Disable this option, if you do not want this category to be shown in the navigation menu.
- Outcome: The category will not appear in the menu but will still be available through other means on the site. This option is useful for categories that are less central or should be less prominent.
- Display In Home Banner: Enabling this option will display all uploaded videos in the category within the homepage slider.
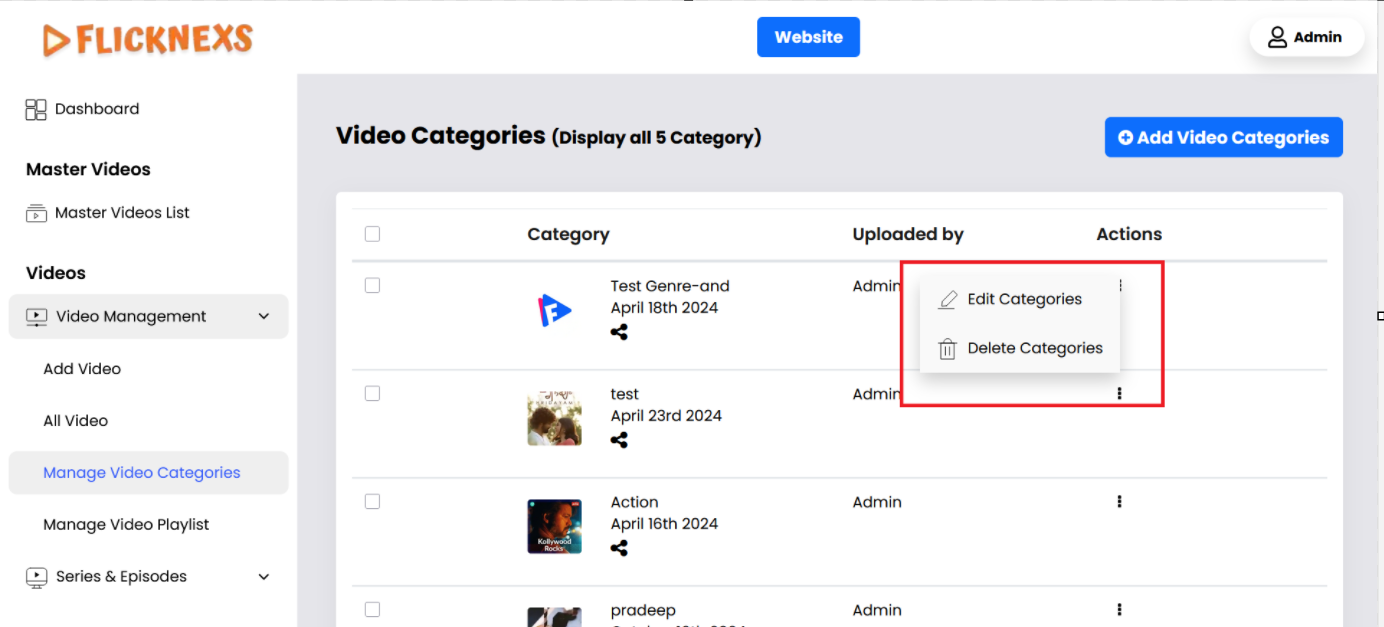
- Edit Existing Categories:
- Action: Select an existing category to modify.
- Details: You can change the following for each category:
- Rename: Update the category name if needed.
- Change Image: Upload a new image or icon to represent the category.
- Save Changes: Ensure to save any changes made to keep the category updated.
- Delete Categories:
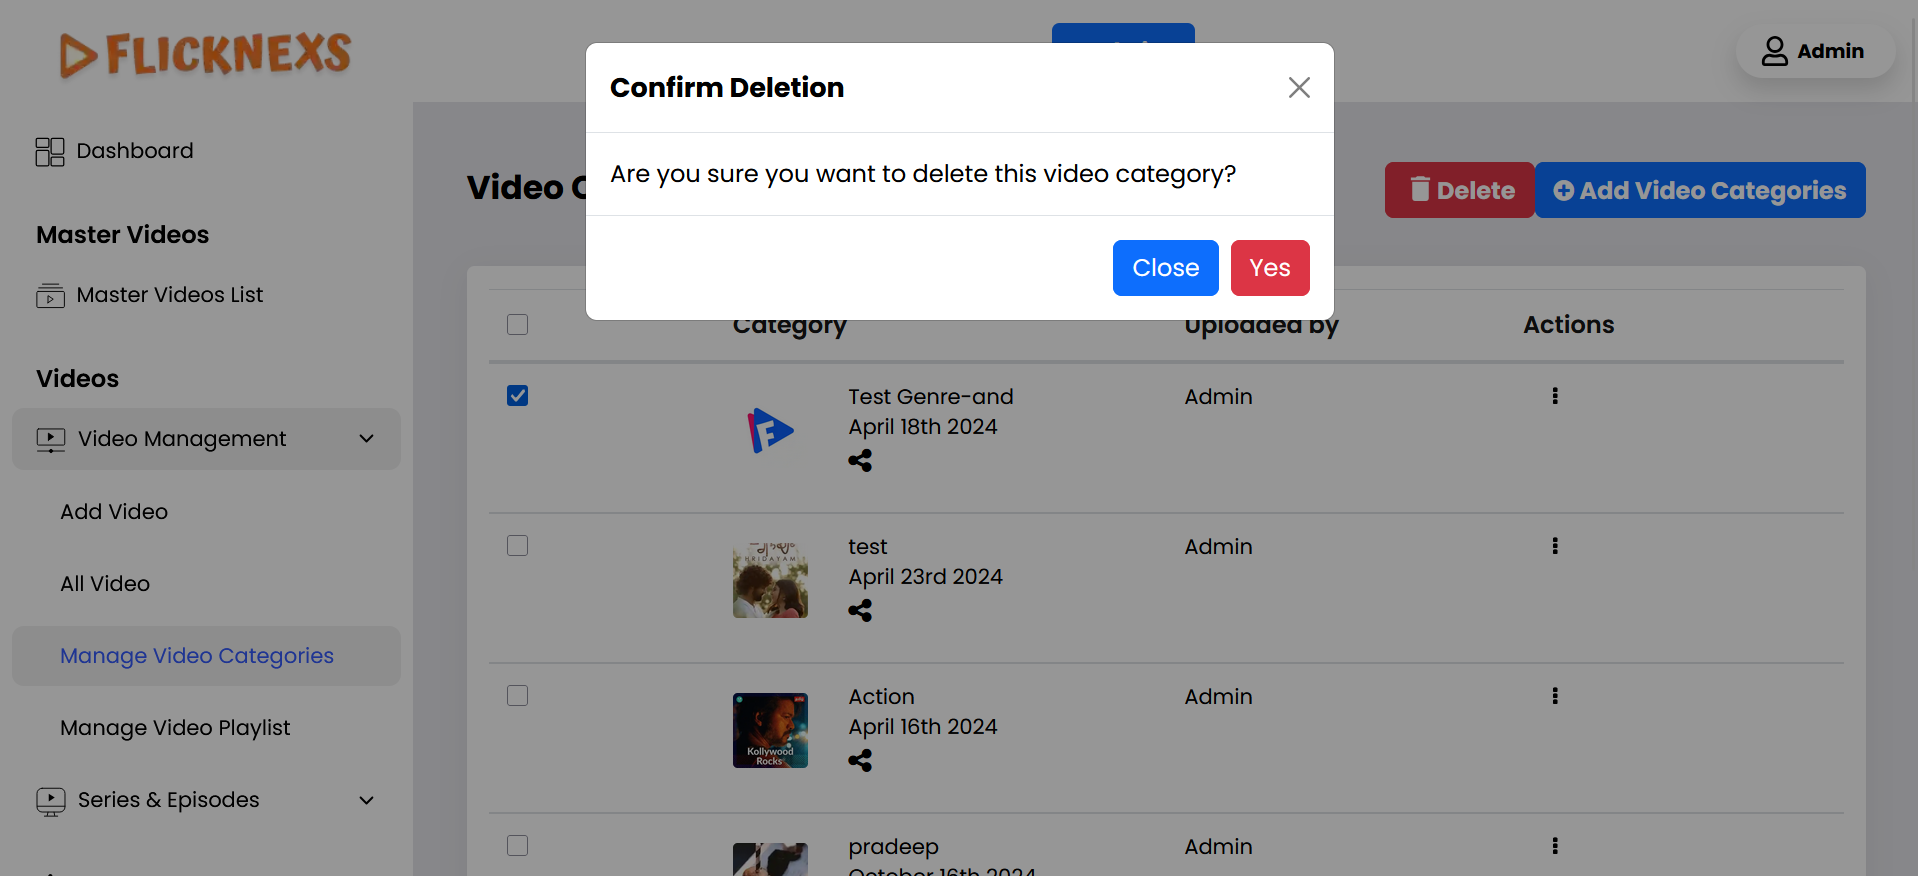
- Action: Optionally, you can delete a category if it’s no longer needed.
- Details: Confirm the deletion to ensure that all associated videos are either reassigned to another category or handled appropriately.
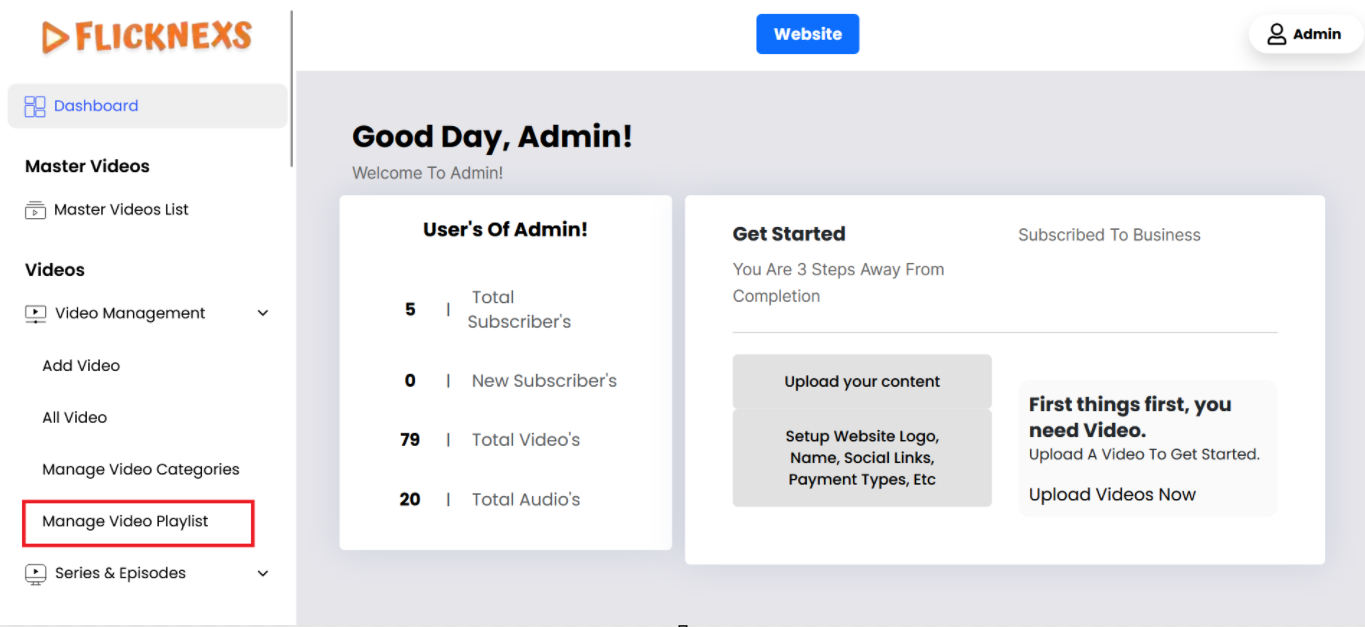
Manage Video Playlist
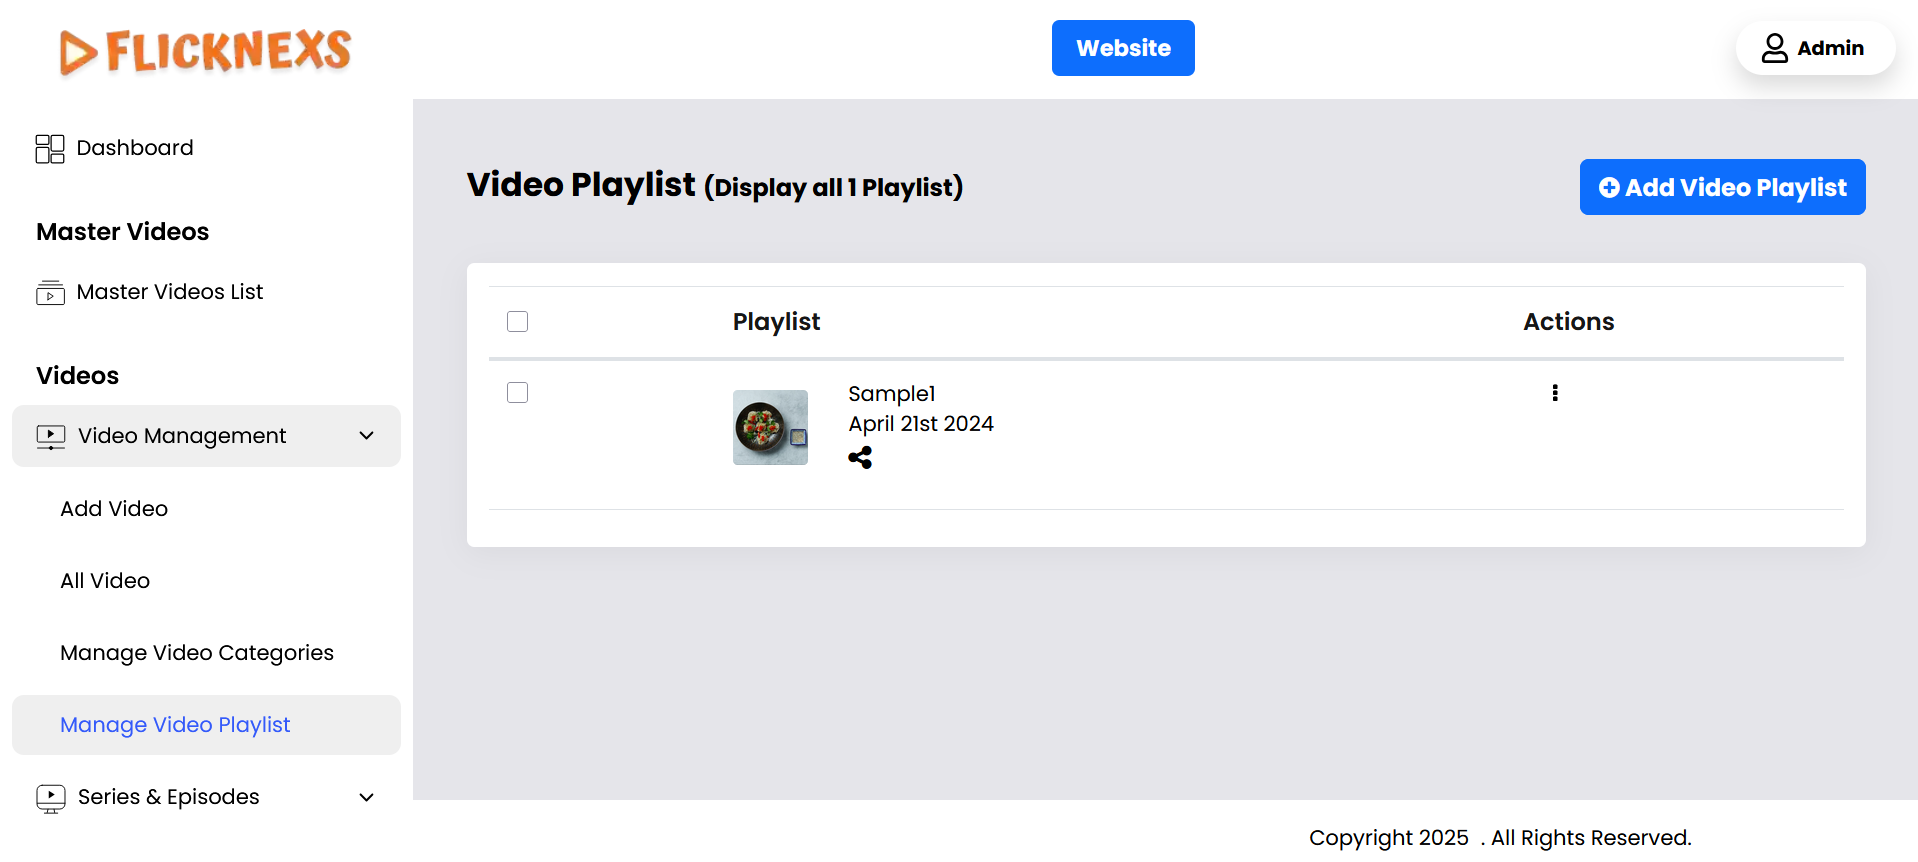
1. Create Your Playlist:
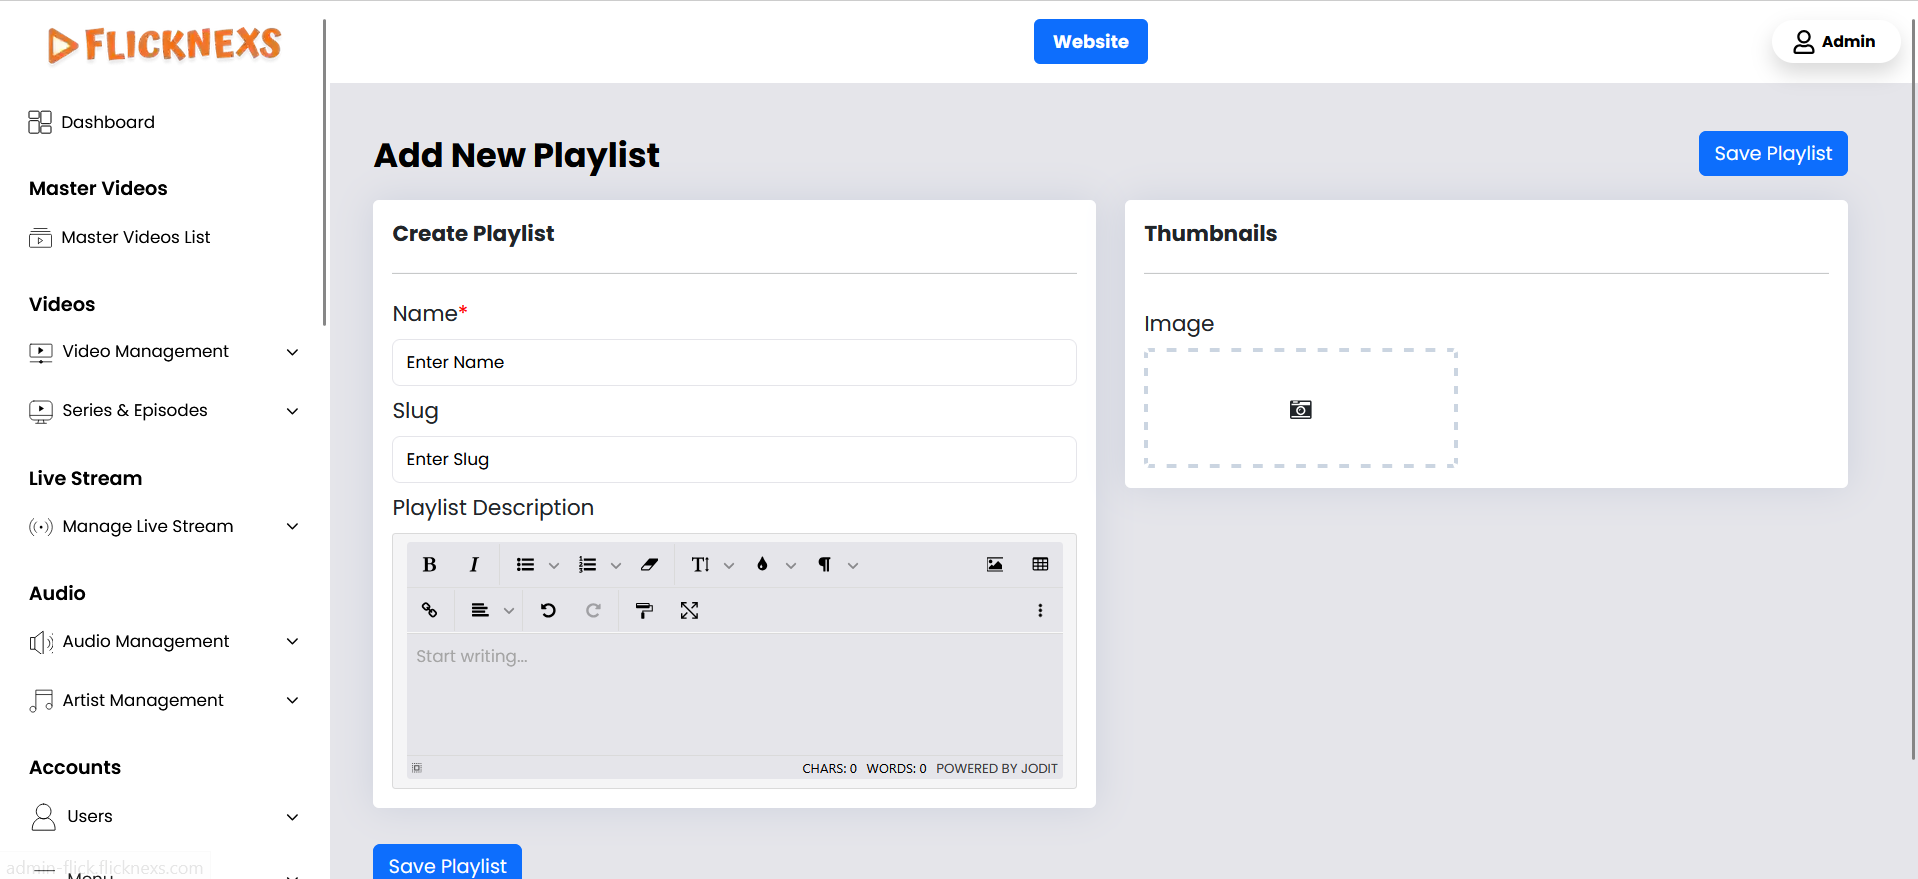
- Action: Click an “Add New” button.
- Details: Provide the following information to create a new playlist:
- Name: Enter the name for the new Video Playlist.
- Slug: Create a URL slug for the Video Playlist.
- Image: Upload an image or icon that represents the video playlist
- Playlist Description: Add a brief description if needed.
2. Managing Playlists During Video Upload:

- View Available Playlists: When you upload videos, the names of the playlists you have created will be displayed.
- Select Playlist: During the video upload process, you can select the appropriate playlist from the list.
- Add to Playlist: Assign the video to the selected playlist. This helps in categorizing and organizing your videos efficiently.
- Display in Playlist: Once added, the video will be displayed under the relevant playlist.